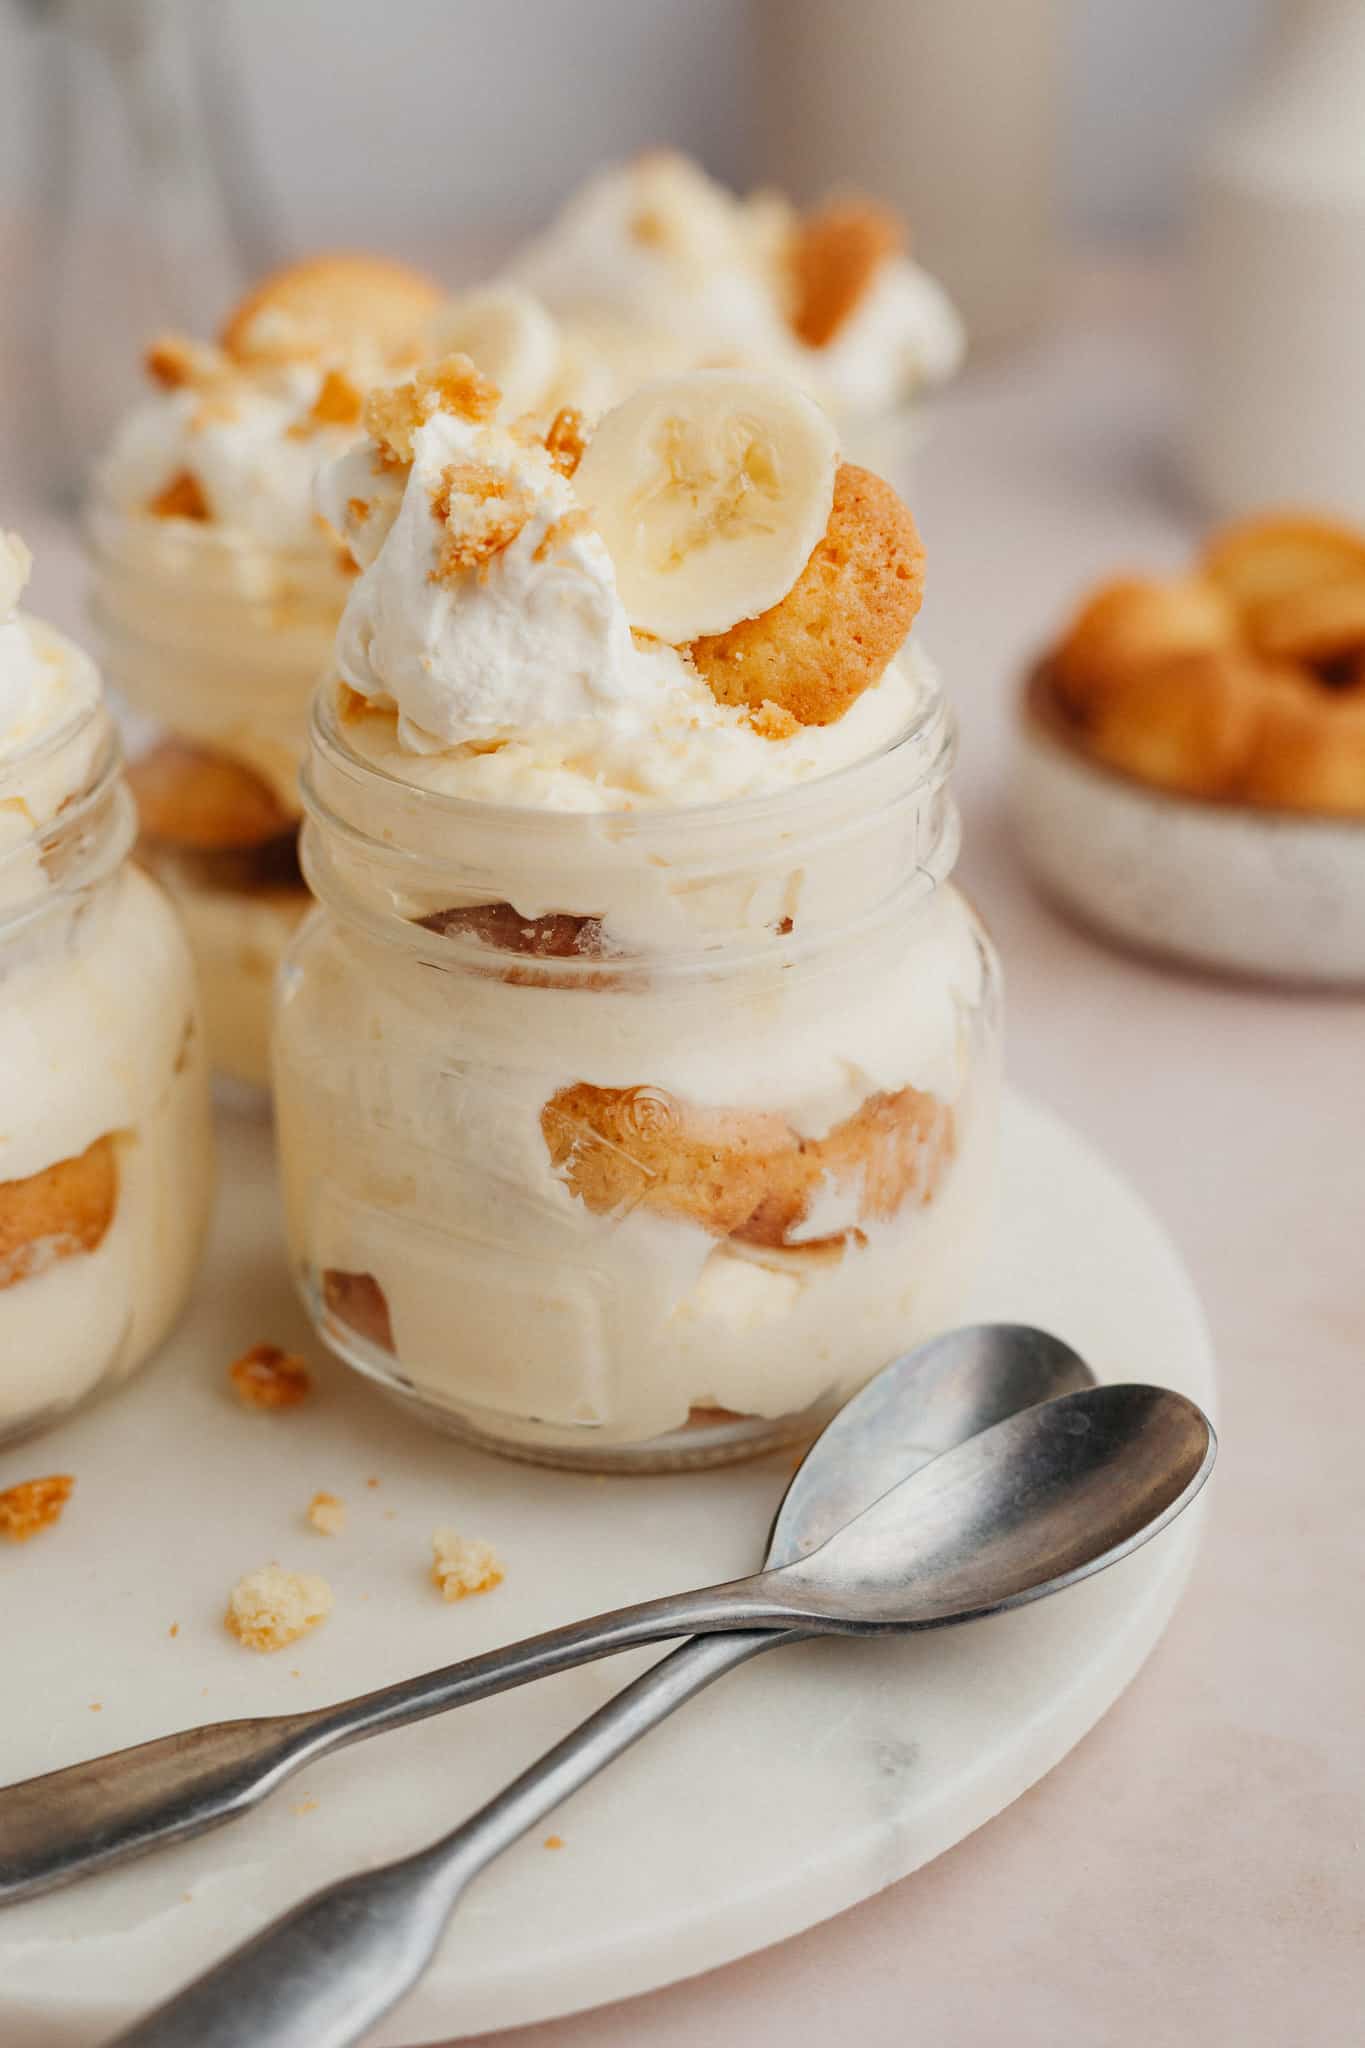
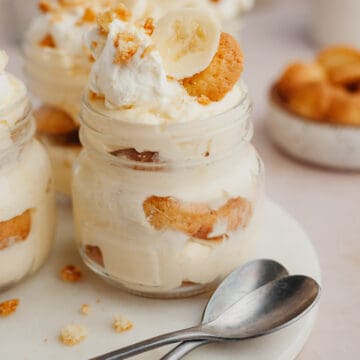
If you're looking for an easy and no fuss individual dessert, this banana pudding in a jar recipe is it! The jars are layered with creamy vanilla pudding, banana slices, vanilla cookies and whipped cream. This recipe takes just 15 minutes to make and you can make it the night before.
Want to Save This Recipe?
Enter your email & I'll send it to your inbox. Plus, get great new recipes from me every week!
By submitting this form, you consent to receive emails
I am all about no bake desserts! Whether it's something like my turtle cheesecake or this banana pudding in a jar, I always loving whipping something up in my kitchen which doesn't require me to turn on the oven. Also, how cute are the little mason jars!
Jump to:
Tell me about this recipe!
- This no bake recipe is so easy and you can whip it up in no time.
- Vanilla pudding from scratch is folded with homemade whipped cream.
- The mason jars are layered with vanilla wafer cookies and sliced bananas.
- Once the jar is full, top it with more whipped cream, sliced bananas and crushed cookies!
- You can make this dessert the night before, this will allow the cookies to soften slightly.
Ingredients Needed
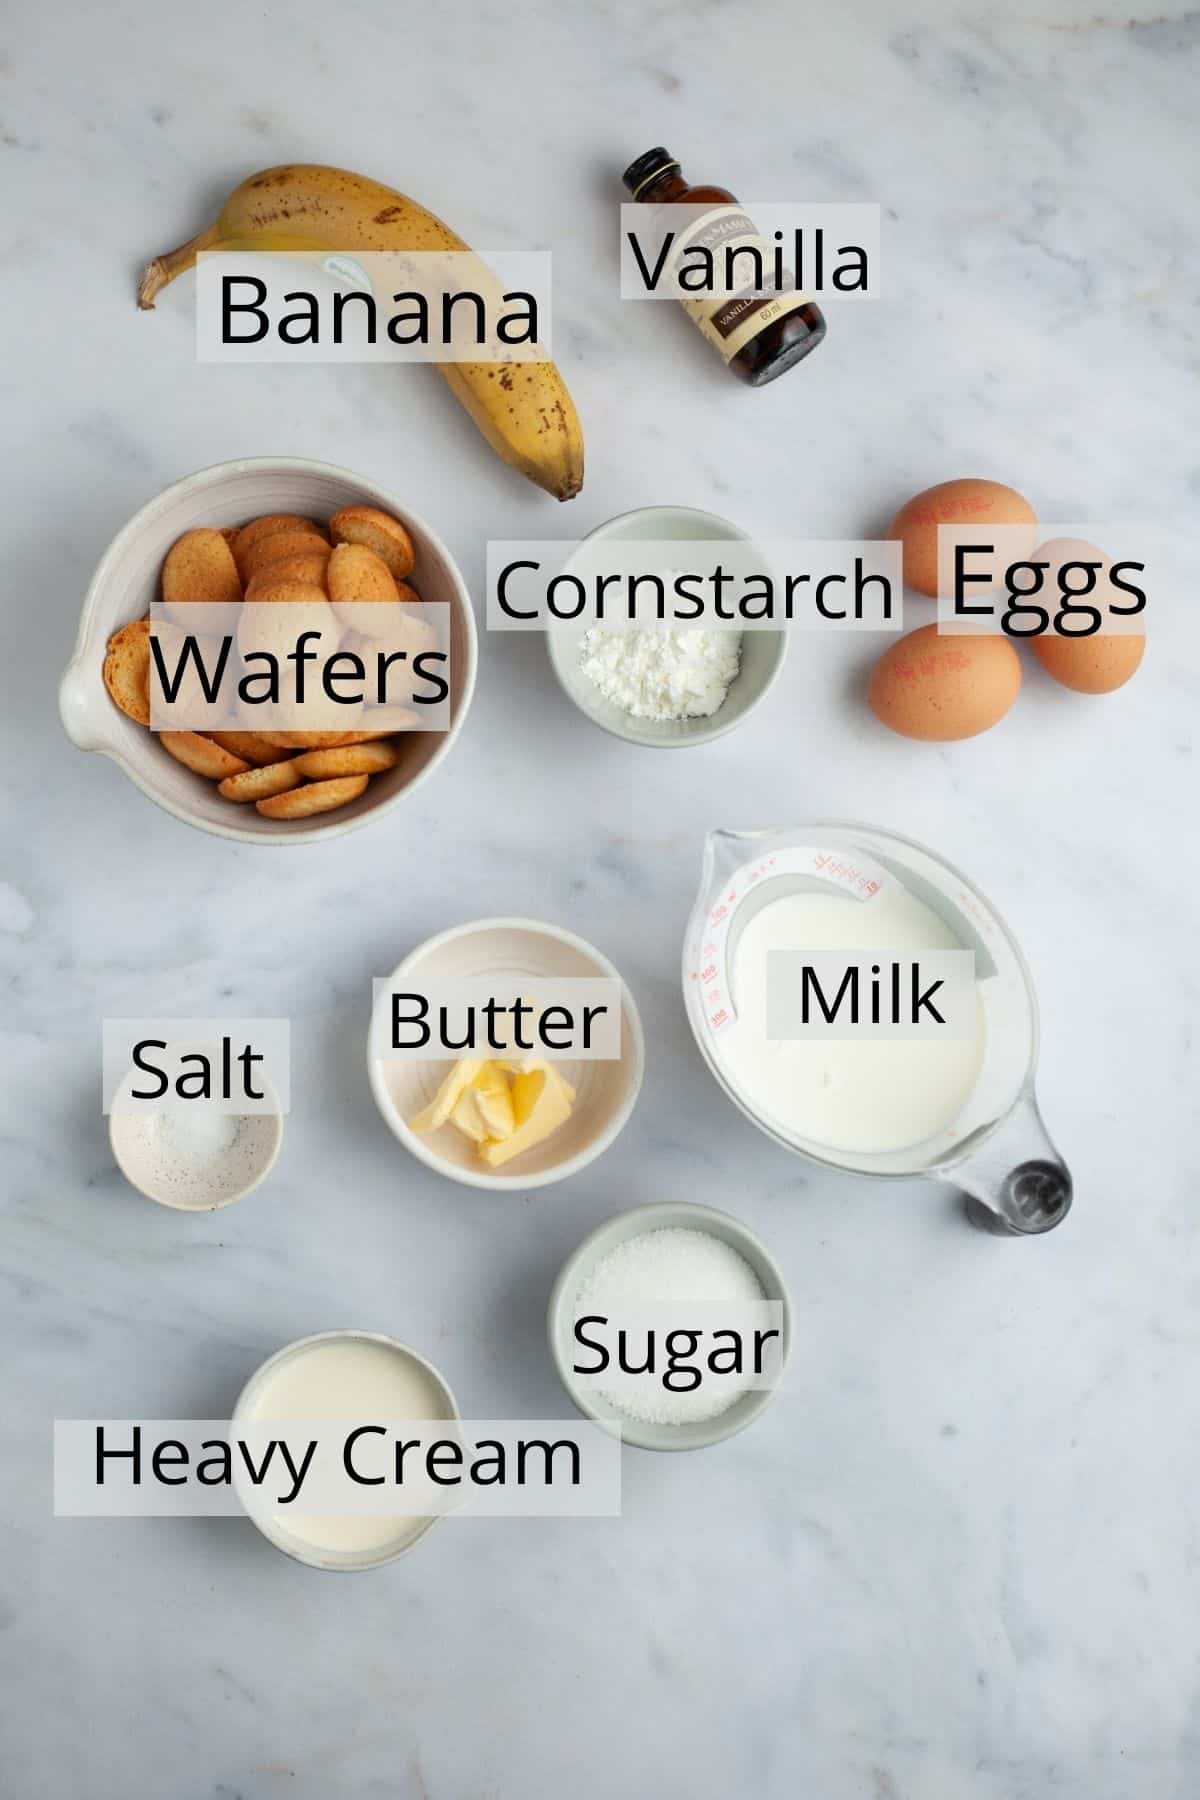
- Cookies: Use Nilla wafers, chessmen cookies or graham crackers! I made my own homemade nilla wafers (I made it from the Brave Tart book, though I saw a few similar recipes online!) as they are not available in the UK.
- Heavy Cream: You'll want to use heavy cream to make the vanilla pudding and the whipped cream, this is called double cream in the UK.
- Milk: I always use whole milk in my recipes.
- Banana: I used just one banana to make 4 jars of banana pudding.
- Cornstarch: You'll need a little bit of cornstarch to help thicken your vanilla pudding. This is called cornflour in Europe.
How to make this recipe
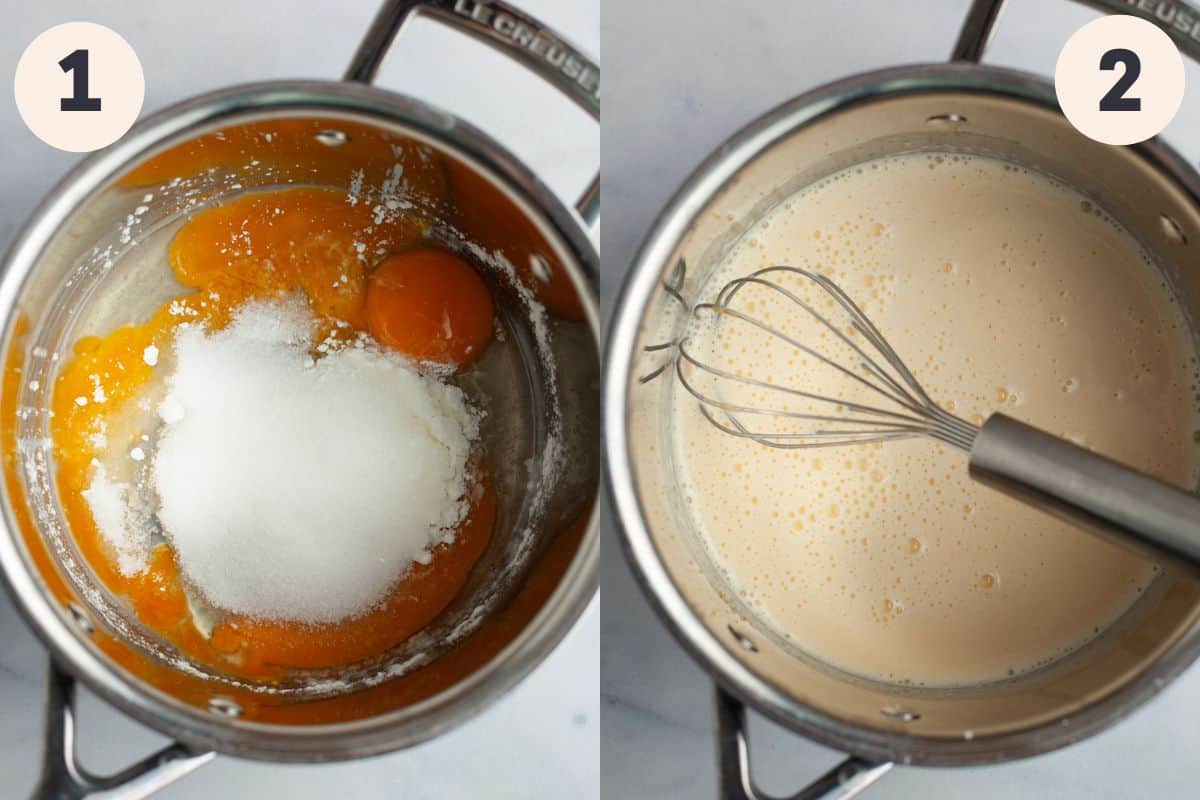
Step 1: In a medium sized saucepan, whisk together your sugar, salt, egg, egg yolks and cornstarch. Whisk until it is completely smooth.
Step 2: Pour in your milk and heavy cream, whisking while pouring.
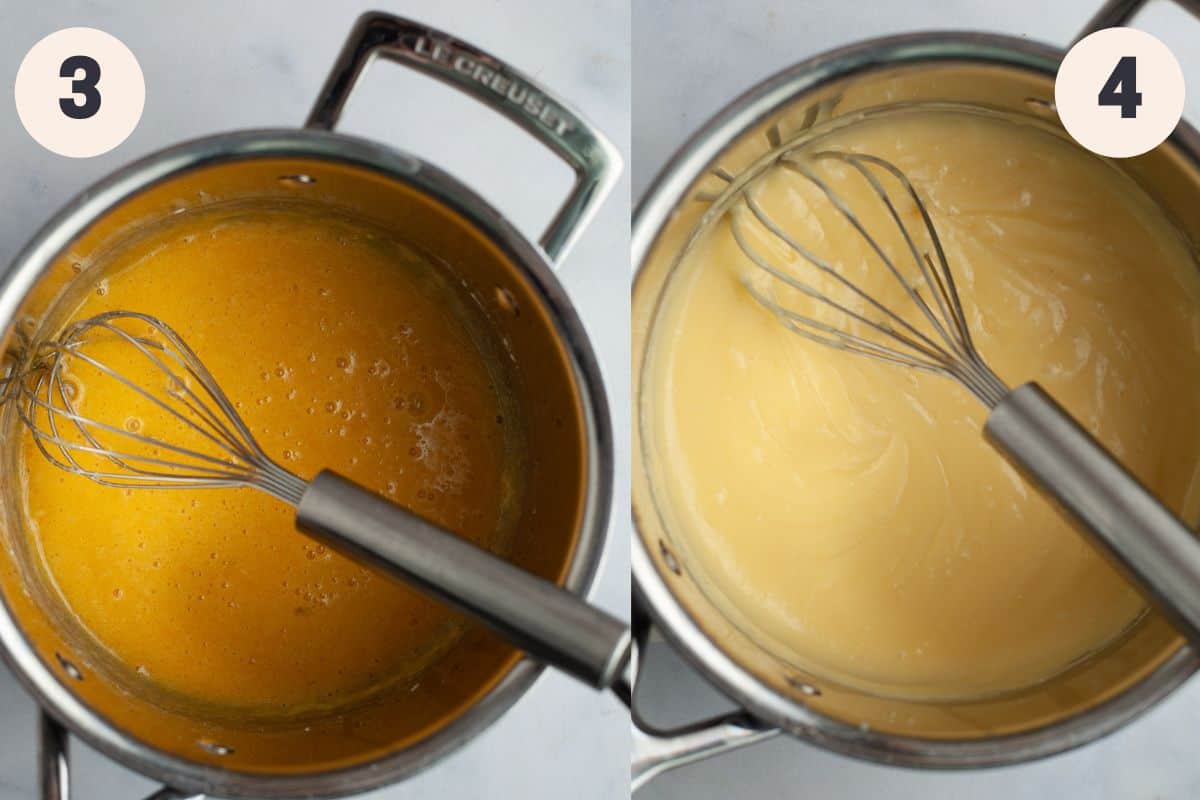
Step 3: Place over medium-high heat and allow it to come to a simmer, while whisking constantly. Whisk until it begins to thicken. This will take 3-4 minutes. You don't want it to boil!
Step 4: Take it off the heat and whisk in your butter pieces and vanilla extract.
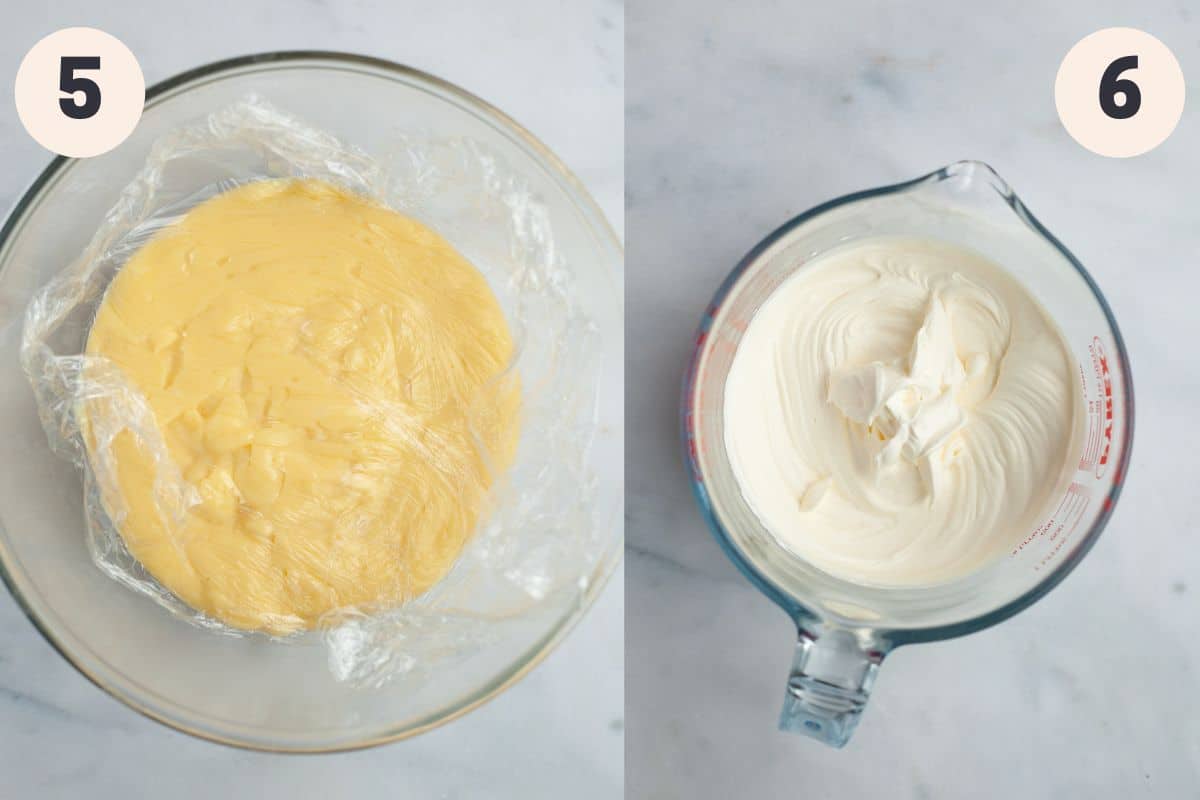
Step 5: Pour your vanilla pudding into a bowl and immediately cover to top with plastic wrap. This will stop a skin from forming. Allow it to come to room temperature and then place in the fridge to chill for at least 4 hours.
Step 6: Place your heavy cream and sugar in a stand mixer fitted with the whisk attachment, or using a hand held mixer, and whip until you have soft peaks forming.
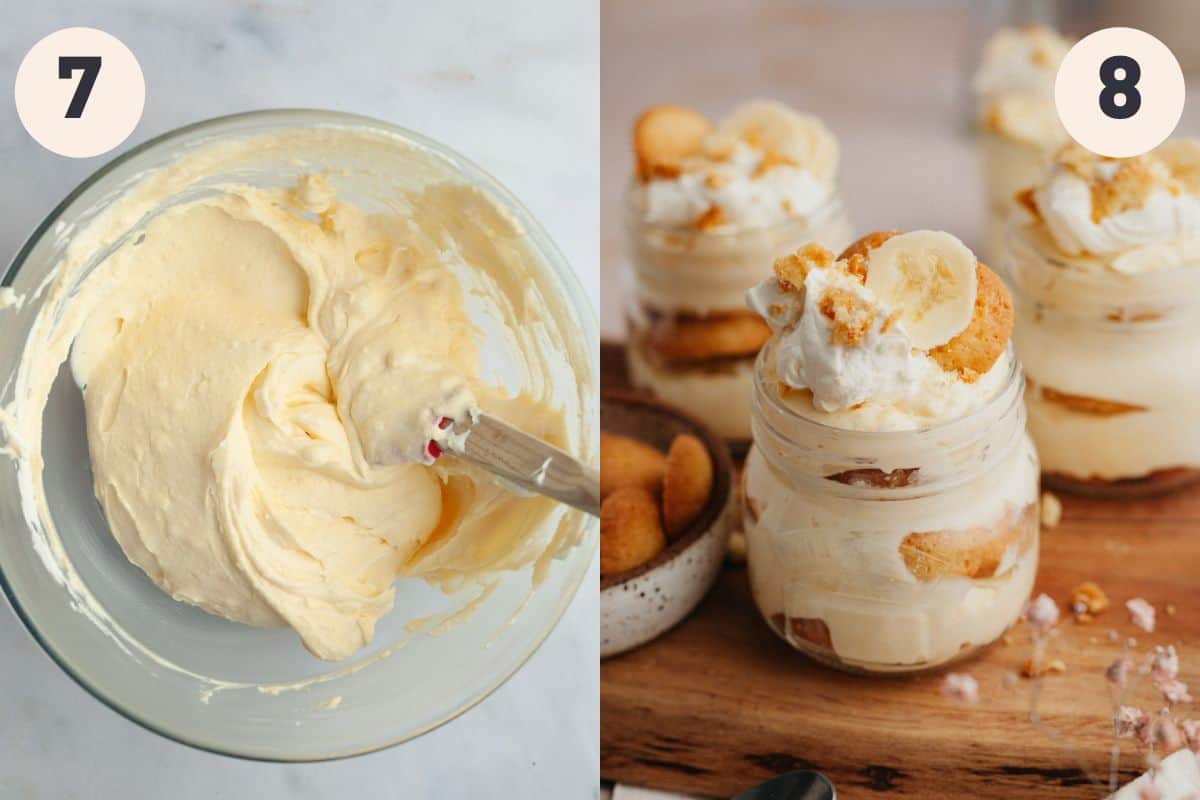
Step 7: After 4 hours in the fridge (at least!) take your vanilla pudding out. Fold in half of your whipped cream until it is completely incorporated. Keep the other half of the whipped cream to the side.
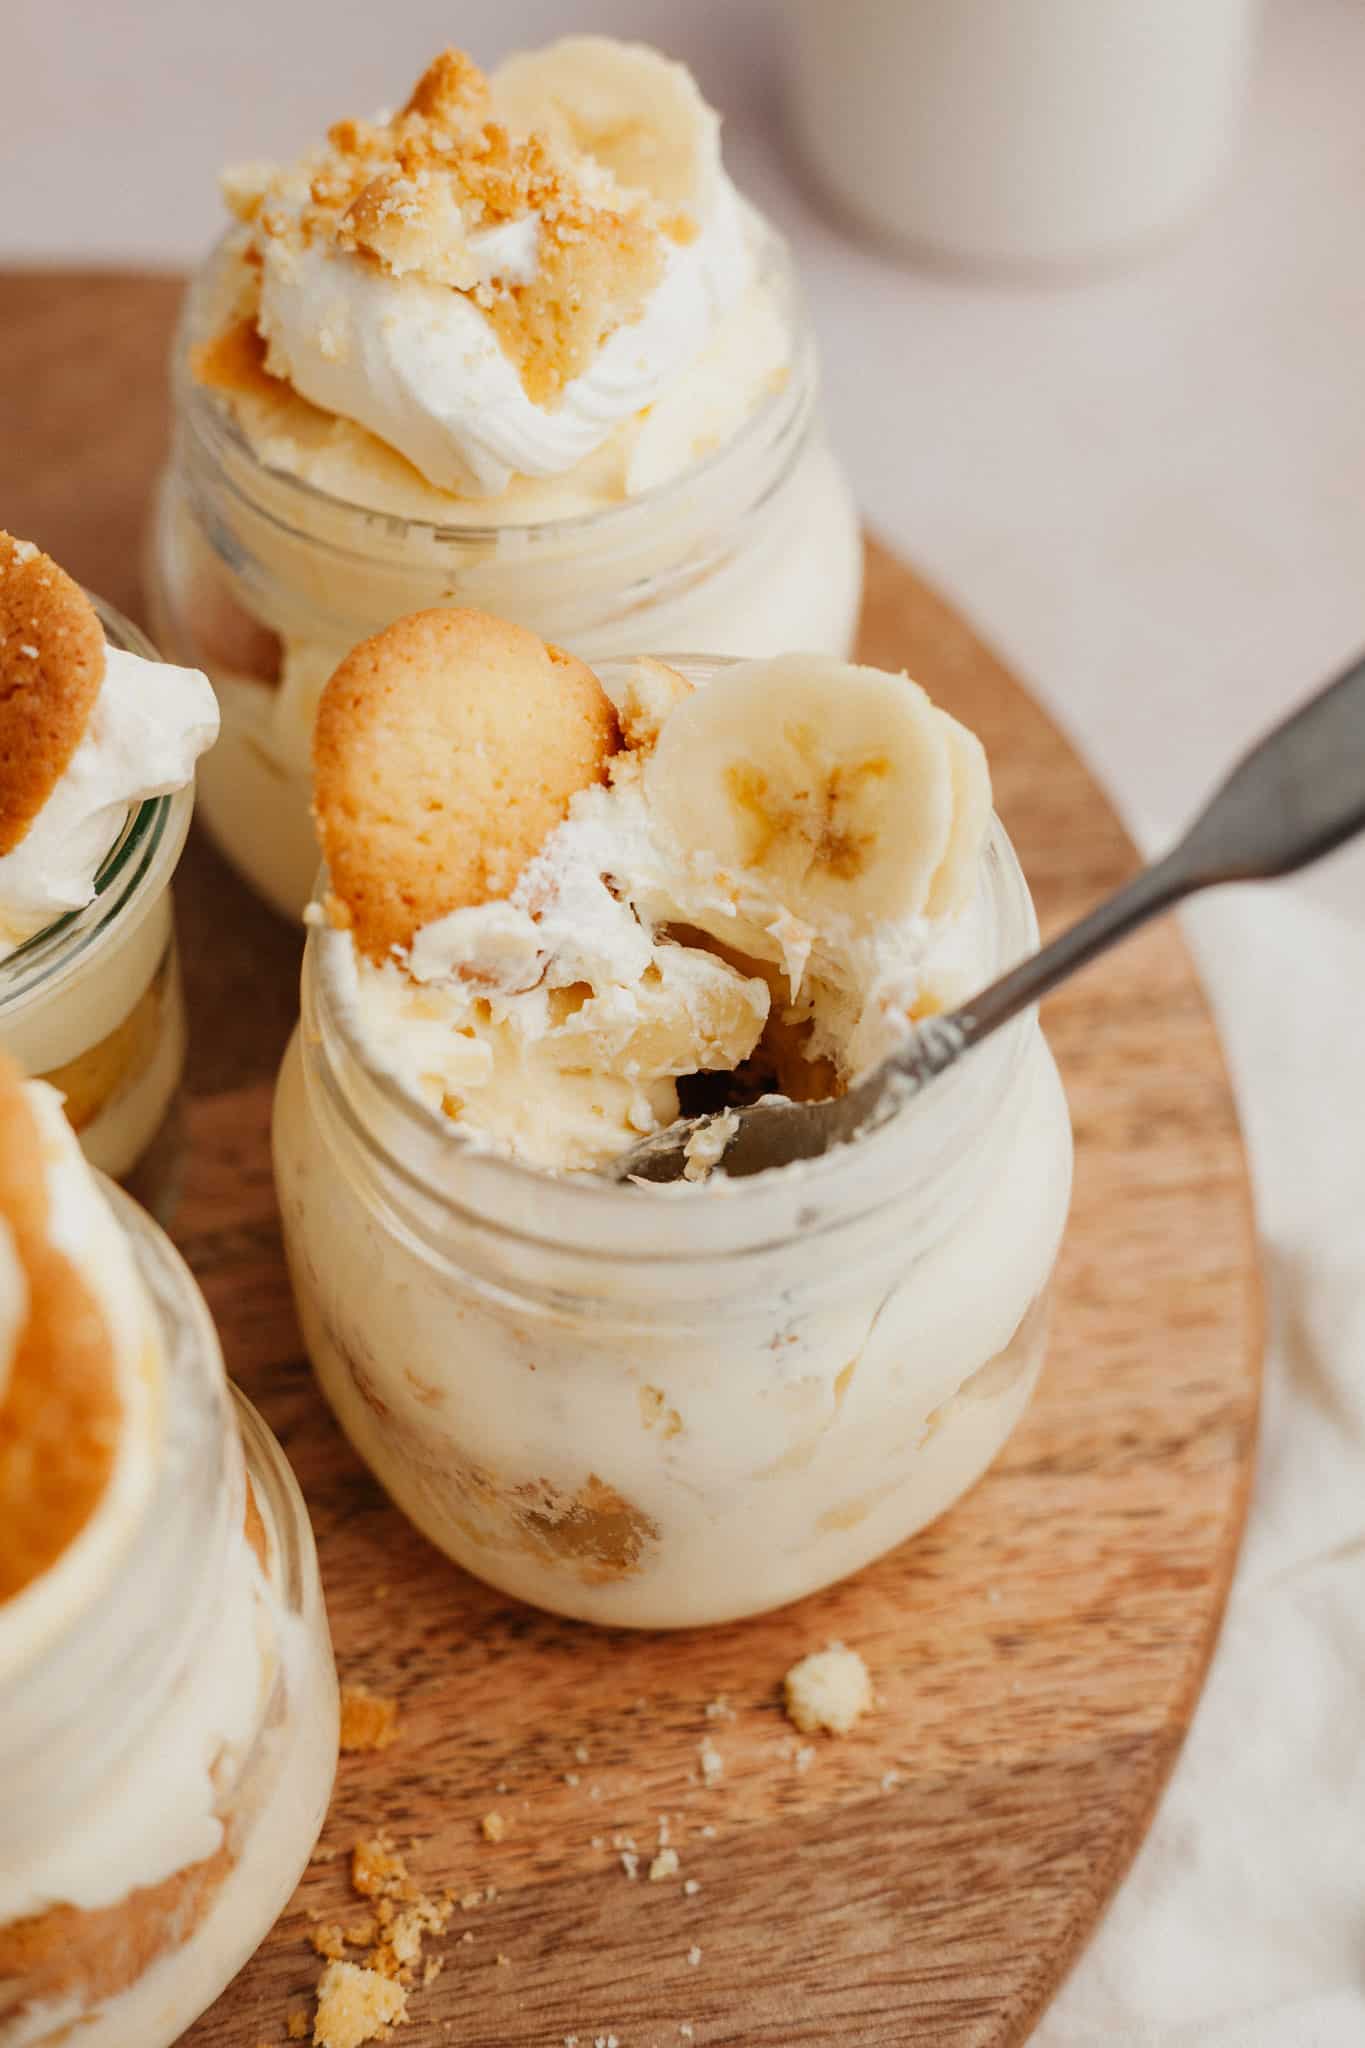
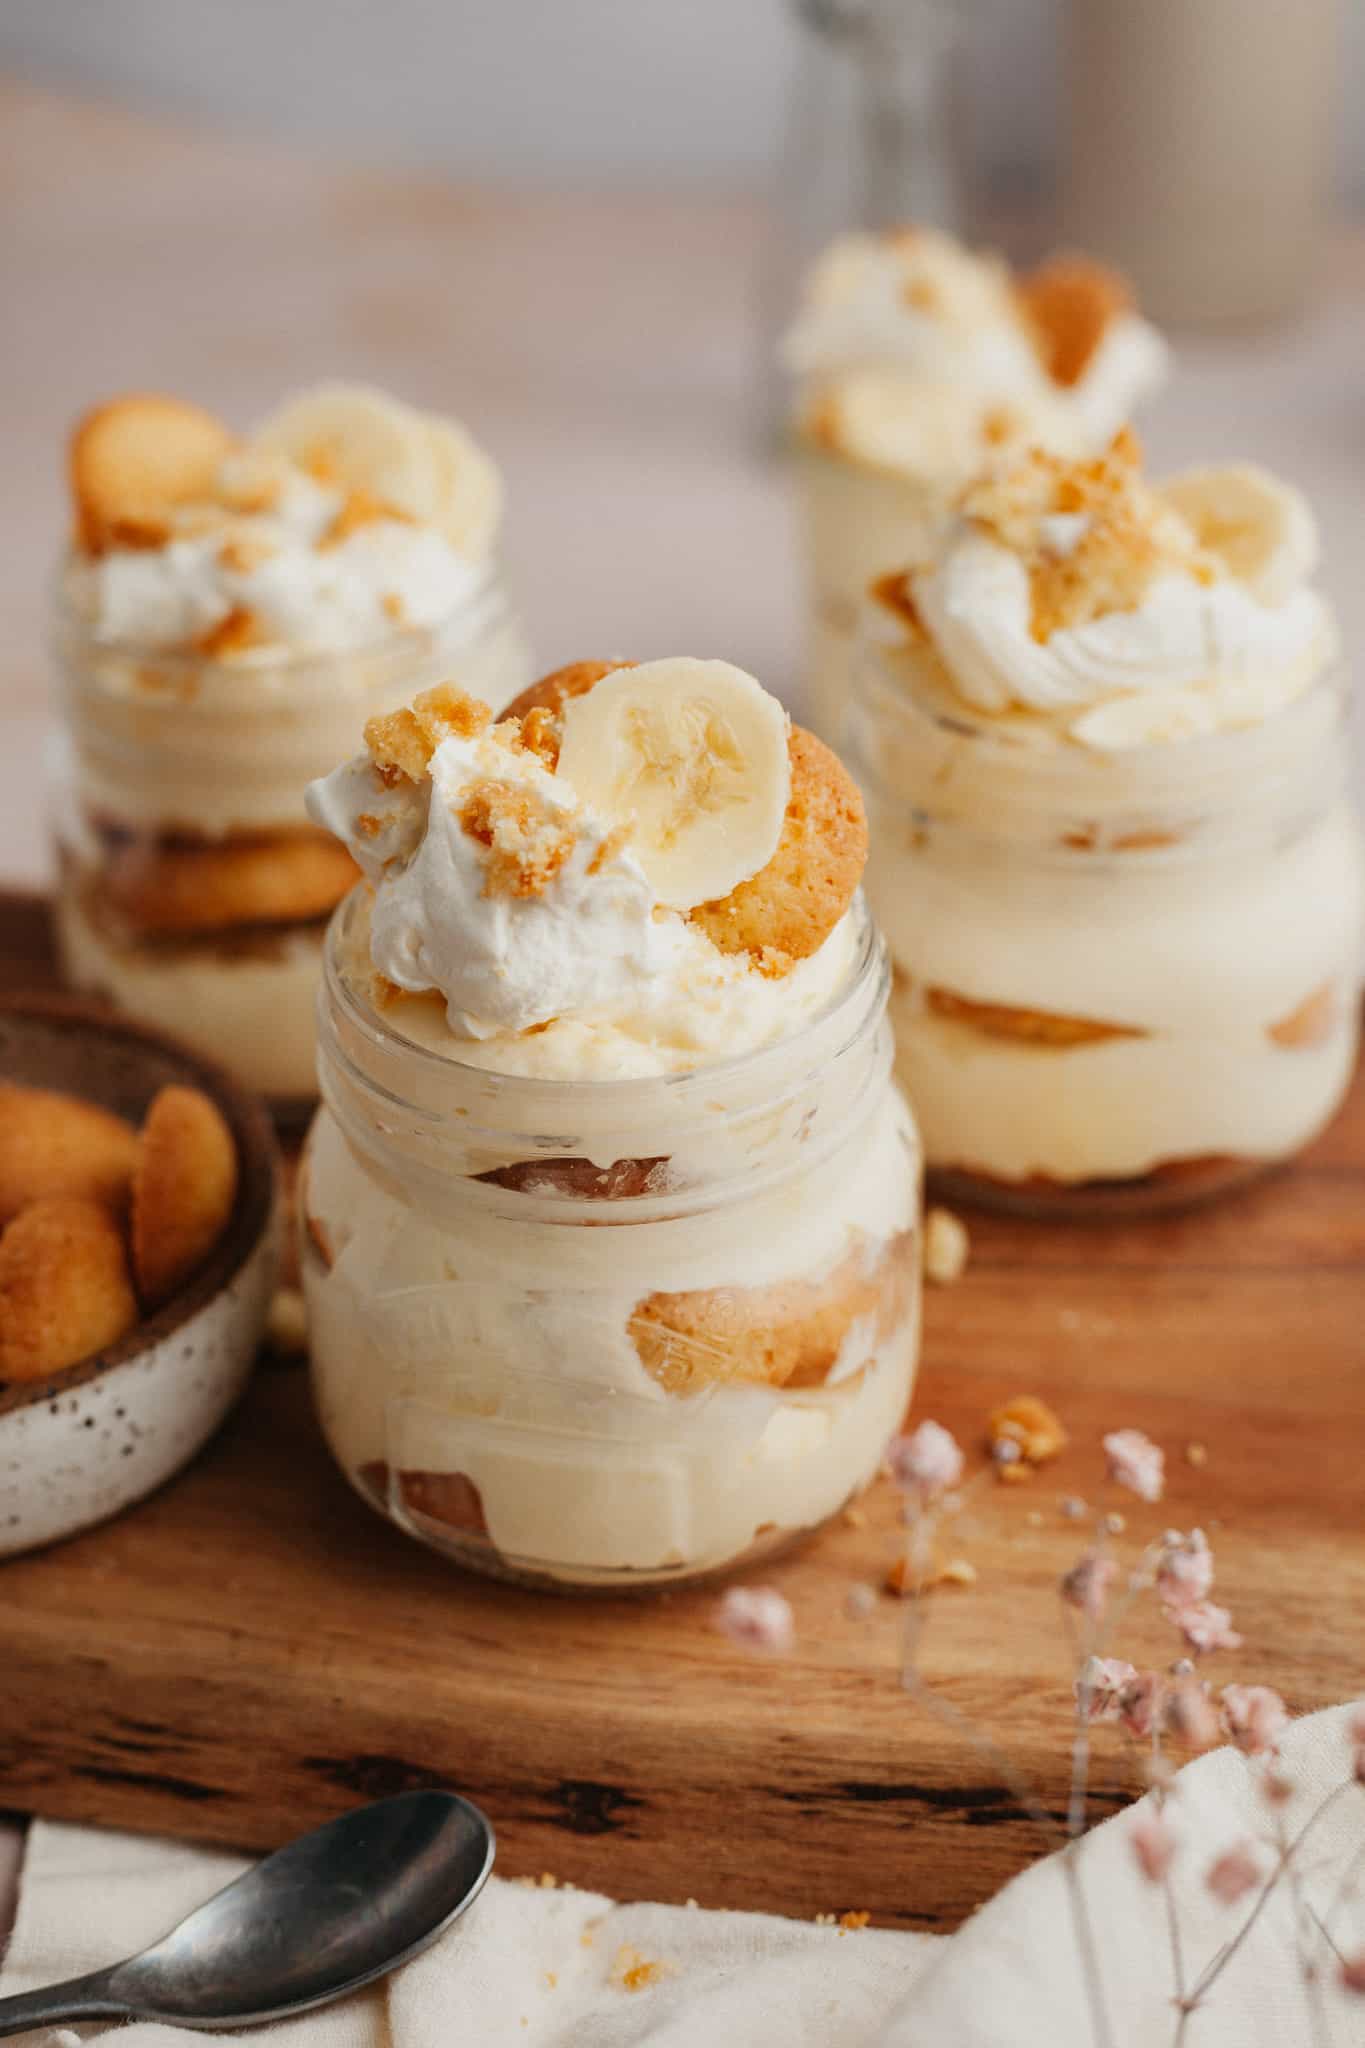
Step 8: Assemble your banana pudding! Take 4 small jars and start off with a layer of cookies. Scoop out the pudding and carefully place on top, then cover the pudding with banana slices. Repeat this until you get to the top of the jar and you can scoop out the reserved whipped cream to place on top. Garnish the whipped cream with another banana slice, vanilla cookie and cookie crumbles.
Recipe Tips
- I recommend using a weighing scale and measuring out your ingredients the metric way. It makes a huge difference to your baking and is the most accurate way to bake!
- I suggest making the vanilla pudding the night before, this will give your pudding more time to set.
- Don't garnish the top of the pudding with banana slices until you're about to serve them. If you do it ahead of time then the banana slices will brown and dry out a bit.
- Make sure the ingredients are at room temperature before you start baking. Pull out the eggs and butter 1-2 hours before you start the recipe.
- Double check the expiration date of your cornstarch! If it has expired then your pudding might not thicken properly.
Frequently Asked Questions
Keep these in the fridge until you're ready to serve.
I haven't tested this out with pudding mix, but I know Magnolia Bakery uses instant pudding for their famous banana pudding!
I used 0.25 litre/8.5 fluid ounce Kilner jars and it filled 4 of them. You could also use 2 large jam jars (like the kind you get with Bonne Maman jam!) or any mini dessert containers.
You can keep this in the fridge for up to 3 days.
Try these no bake recipes next!
Have you made this recipe? Make sure to tag me on Instagram @alpineella and leave a review below if you have! If you want more baking ideas, you can follow me on Pinterest.
Recipe
Banana Pudding in a Jar
Equipment
- 4 0.25 litre/8.5 fl oz jars
Ingredients
Vanilla pudding
- 1 egg room temperature
- 2 egg yolks room temperature
- 75 grams sugar
- 20 grams cornstarch
- ¼ teaspoon kosher salt
- 58 ml heavy cream
- 283 ml whole milk
- 2 teaspoons vanilla extract
- 23 grams unsalted butter room temperature
Whipped Cream
- 2 teaspoons sugar
- 227 ml heavy cream
Assembly
- 1 banana sliced
- vanilla wafer cookies
Instructions
- In a medium sized saucepan, whisk together your sugar, salt, egg, egg yolks and cornstarch until it is completely smooth.
- Drizzle in your heavy cream and your milk, whisking constantly. Heat this over medium heat and allow it to come to a simmer, stirring constantly. Once it starts to simmer it should begin to thicken, this takes 2-4 minutes. Don’t allow it to come to a boil or it will curdle.
- Remove from the heat and whisk in your butter and vanilla extract.
- Pour into a bowl and put a piece of plastic wrap on top of the pudding so a skin doesn’t form. Let it chill for at least 4 hours or ideally overnight. This makes 2 cups of pudding.
- Beat heavy cream with the sugar until soft peaks form.
- Keep half of the whipped cream to the side. Fold the other half of the whipped cream in with the pudding. Fold until it is completely smooth.
- Layer your jars as follows: a few cookies, a spoonful of pudding, a couple banana slices. Repeat this until you get to the top of the jar and top with the reserved whipped cream. Refrigerate, preferably for a few hours so the cookies can soften slightly. When ready to serve, top with a banana slice, a cookie and some crushed cookies on top of the whipped cream.


Nicole
Made these for my family. Everyone loved them. So easy to make. So delicious!