
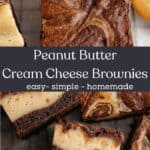
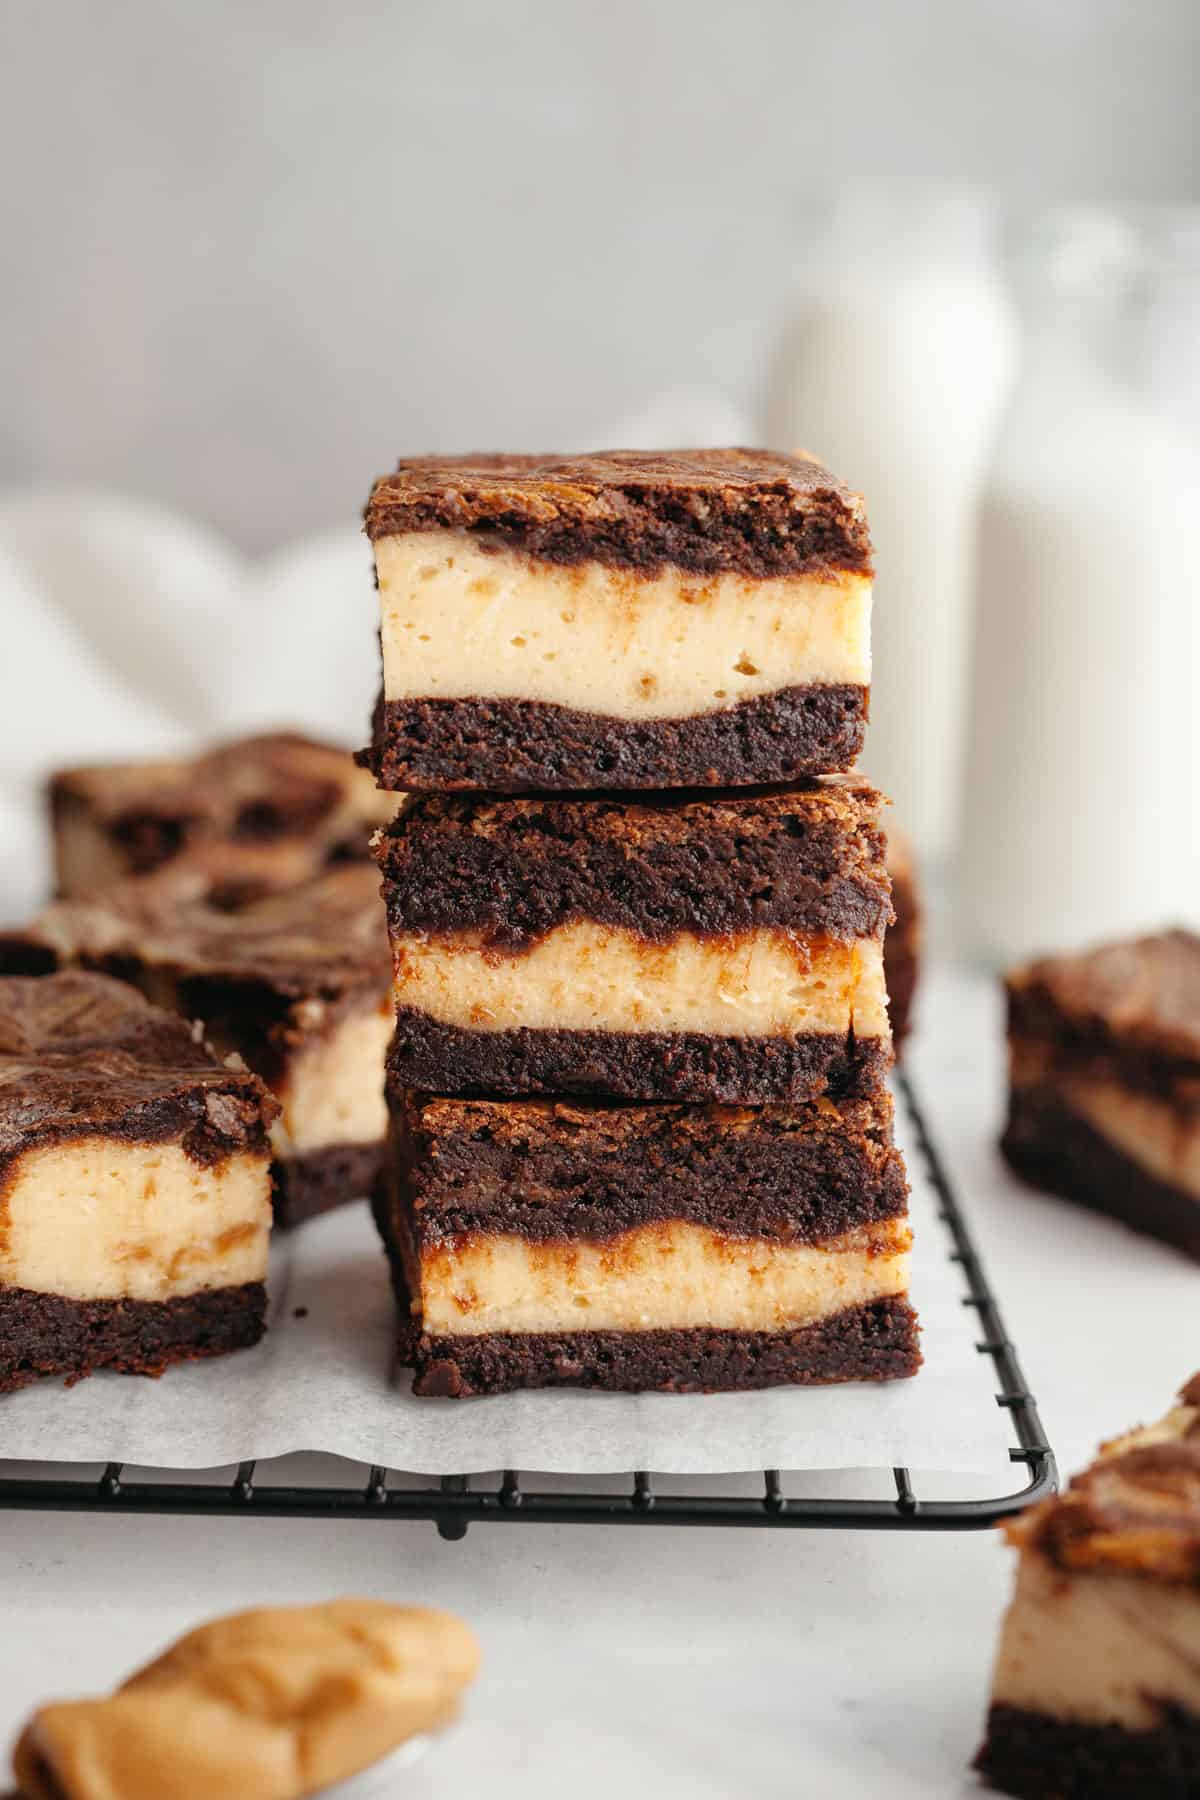
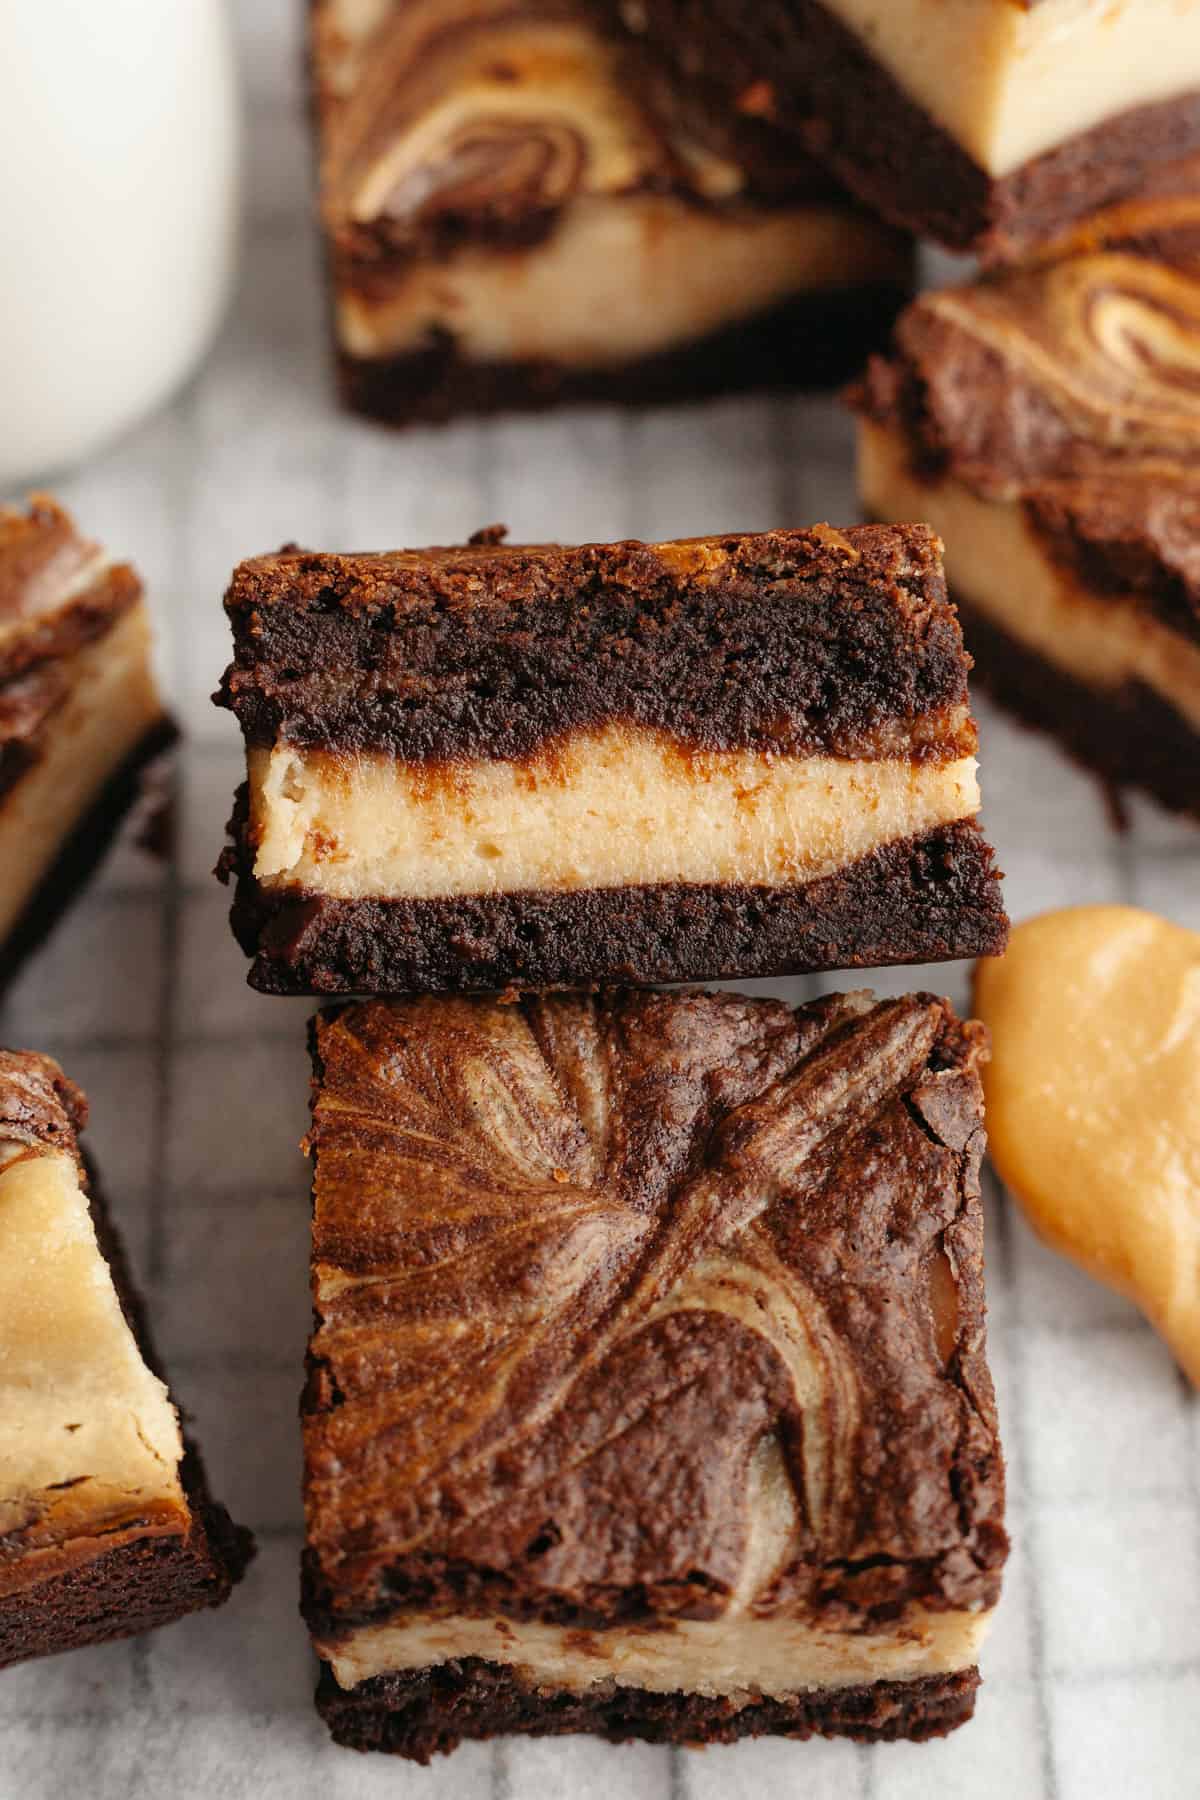
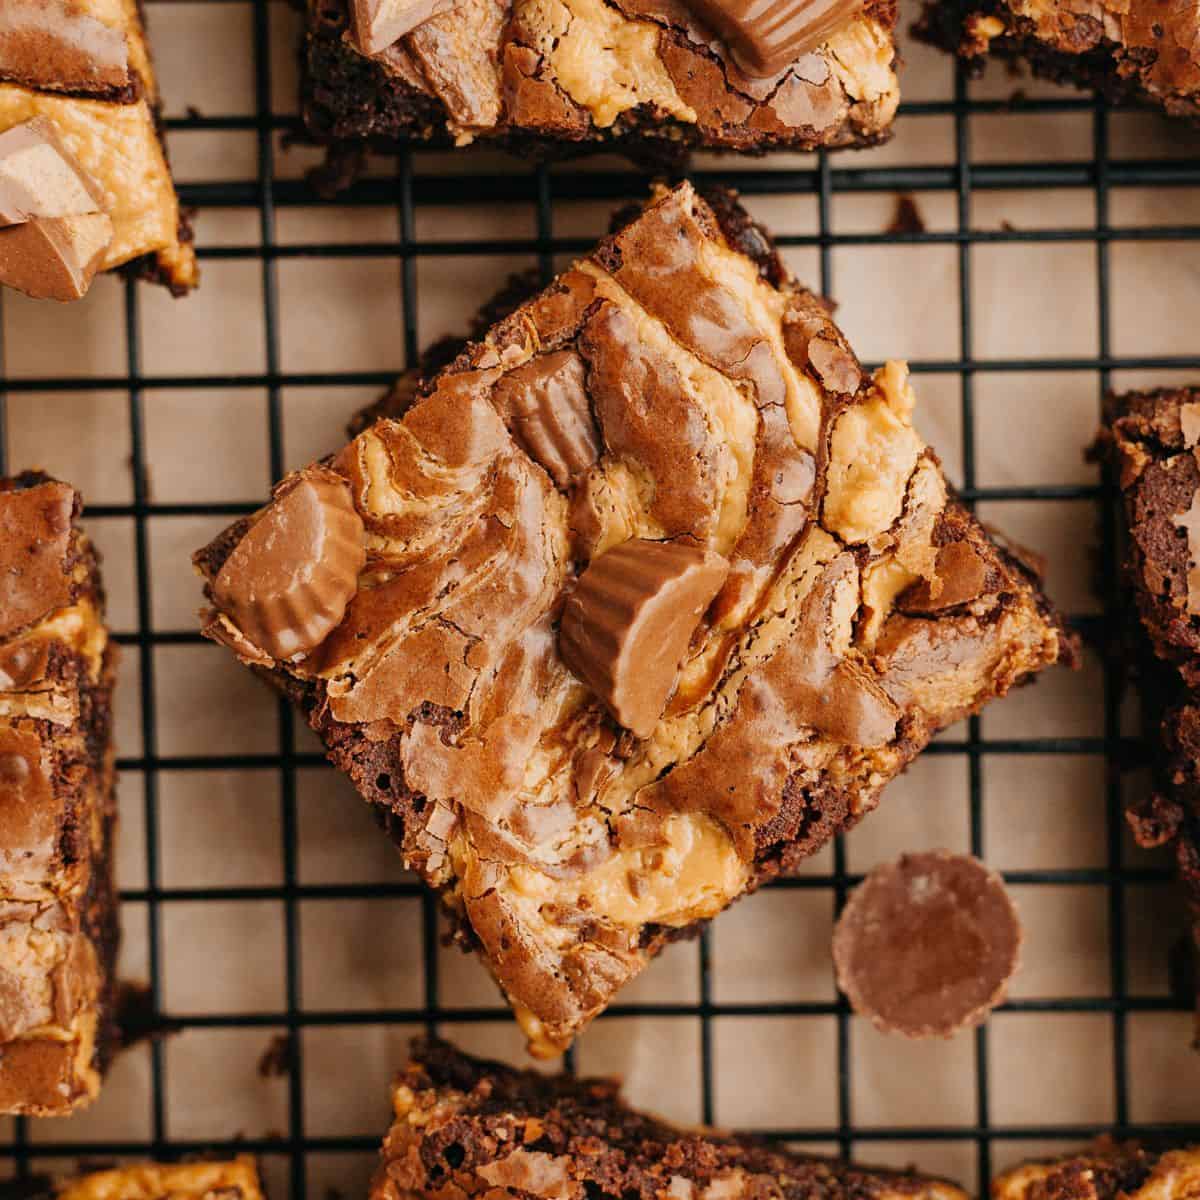
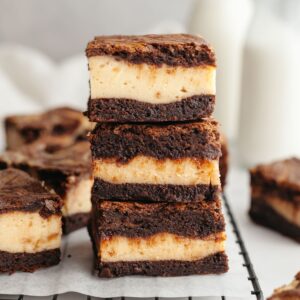
These peanut butter cream cheese brownies are the perfect combo of fudgy brownies and peanut butter cheesecake! You don't even need an electric mixer to make these creamy cheesecake brownies and just a few simple pantry ingredients. If you're like me and a peanut butter chocolate lover, then you need to try this recipe!
Save This Recipe! 💌
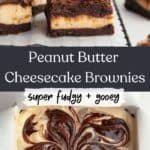
These peanut butter cream cheese brownies are the perfect mash-up of my fudgy peanut butter cup brownies and cheesecake brownies!
These peanut butter brownies use my favorite homemade brownie recipe that I know and love, and then I added smooth creamy peanut butter to the cheesecake filling.
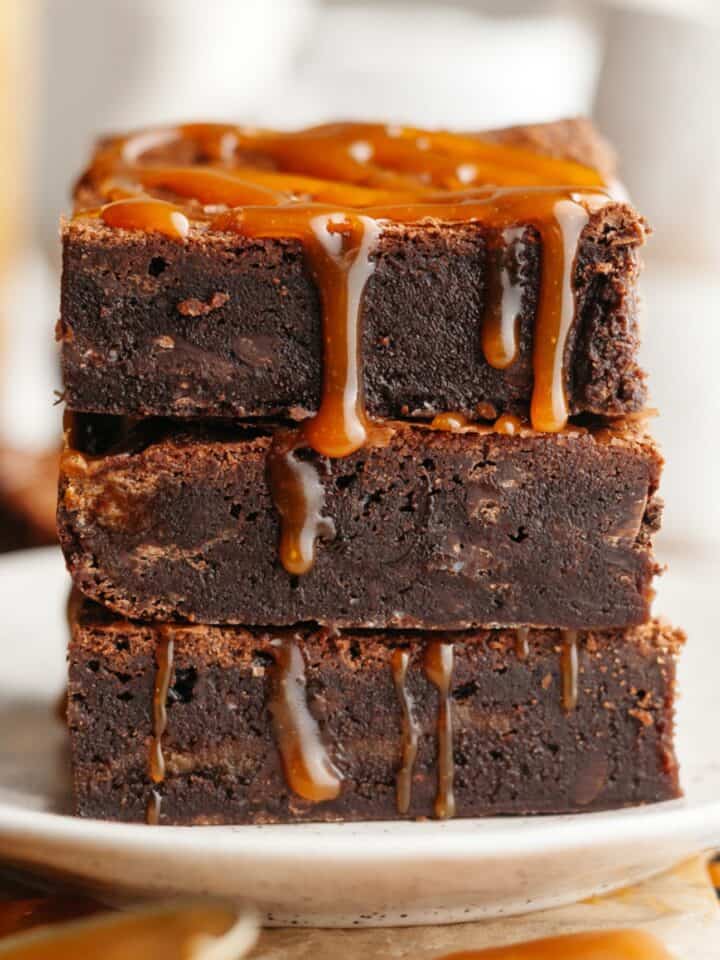
If you want even more brownie recipes (because, hi! Who doesn't??) then you need to try my brownies with cream cheese frosting, double fudge brownies or brownies with chocolate ganache! If you want super fudgy brownies packed with brown butter, then you need to try my browned butter espresso brownies!
Why you'll love this recipe!
- Simple to Make: this is a super easy recipe to make, but you're gonna need a few bowls on hand! You don't need a mixer to make these brownies though, and you know how much I love not having to haul out the ol' stand mixer.
- Super Chocolatey: you get so much chocolate flavor from a combo of melted chocolate and dutch processed cocoa powder!
- Easier than Cheesecake: these peanut butter cheesecake brownies are so much easier than an actual cheesecake - no water bath required!
Grab your ingredients
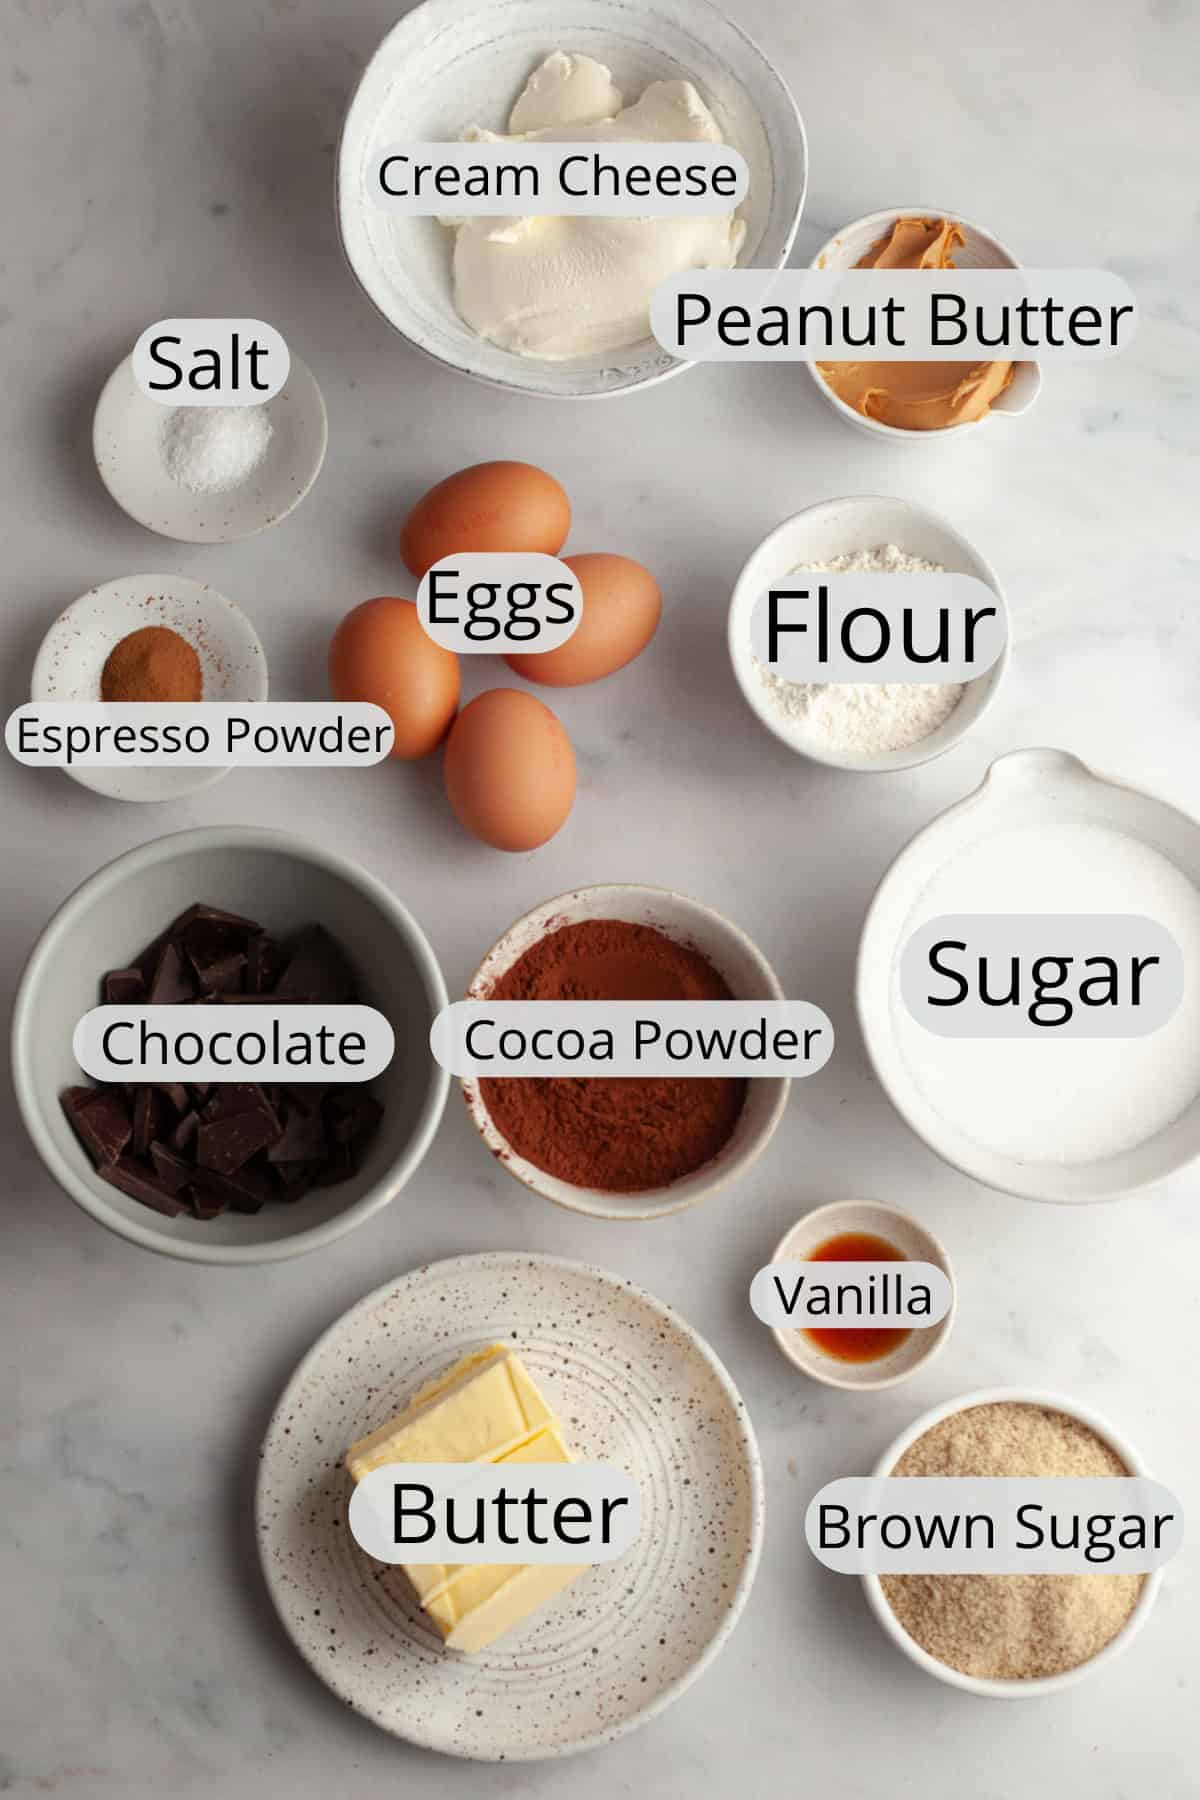
- Cocoa Powder: I'm using Dutch-processed cocoa powder because it's darker and richer in flavor, but you could swap it out for natural cocoa powder.
- Dark Chocolate: I recommend using semisweet chocolate or dark chocolate, or if you're in the UK you can chocolate that is 65-72% cocoa. I don't think milk chocolate works well here!
- Espresso Powder: I promise this won't make the brownies taste like coffee, but it will help deepen the chocolate flavor. Feel free to leave it out if you don't have any. If you want more of a coffee brownie vibe, try my espresso brownies!
- Cream Cheese: please make sure you use full-fat cream cheese, it will make all the difference in the final taste and texture of the brownies!
- Peanut Butter: I recommend using smooth peanut butter. You want the type that's like Skippy or Jif, and not natural peanut butter that has oil on top.
- Eggs: we'll need eggs for both the brownies and the cheesecake batter.
- Sugar: a combo of granulated sugar and light brown sugar in the brownies will make them extra fudgy and chewy.
How to make this recipe!
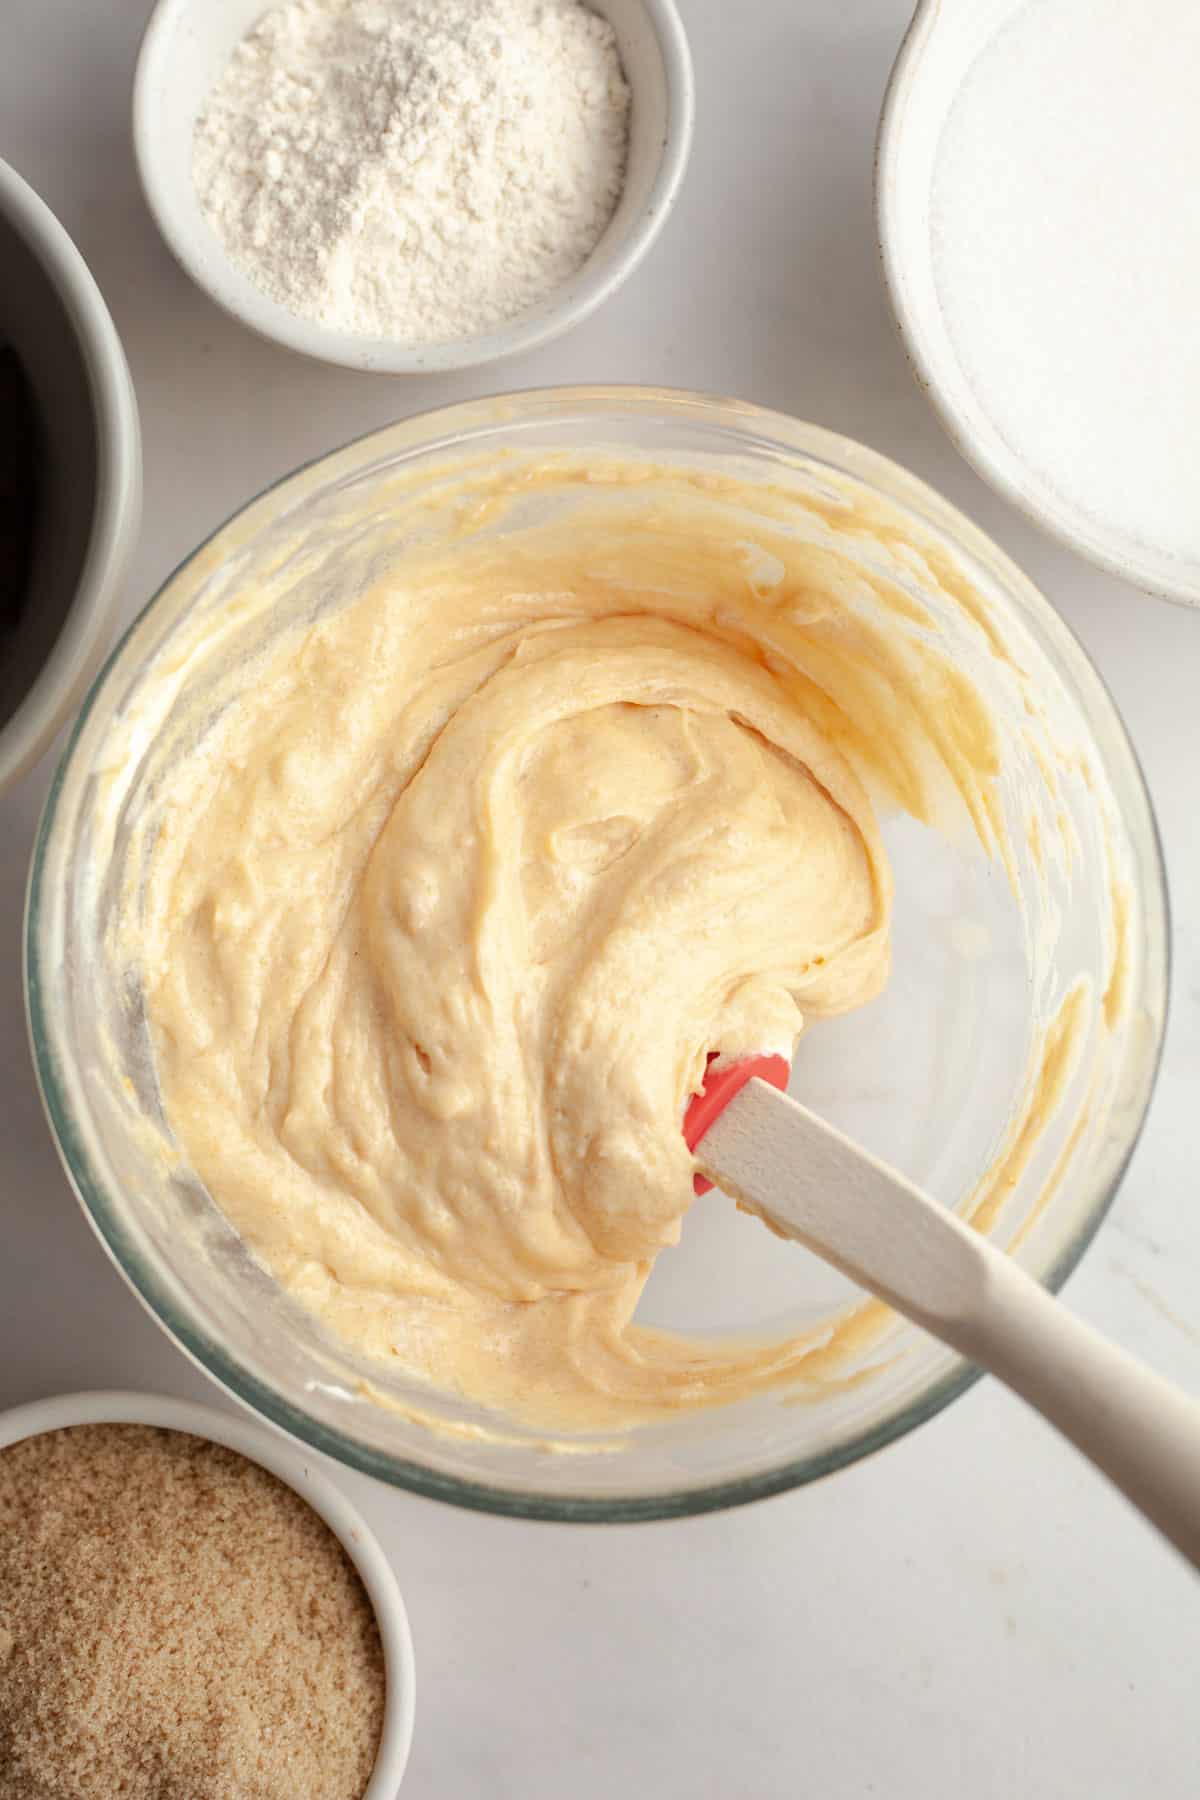
- Step 1: Preheat the oven to 350ºF and line an 8x8 baking pan with parchment paper. In a medium bowl, combine the peanut butter cheesecake ingredients together until small. Set aside.
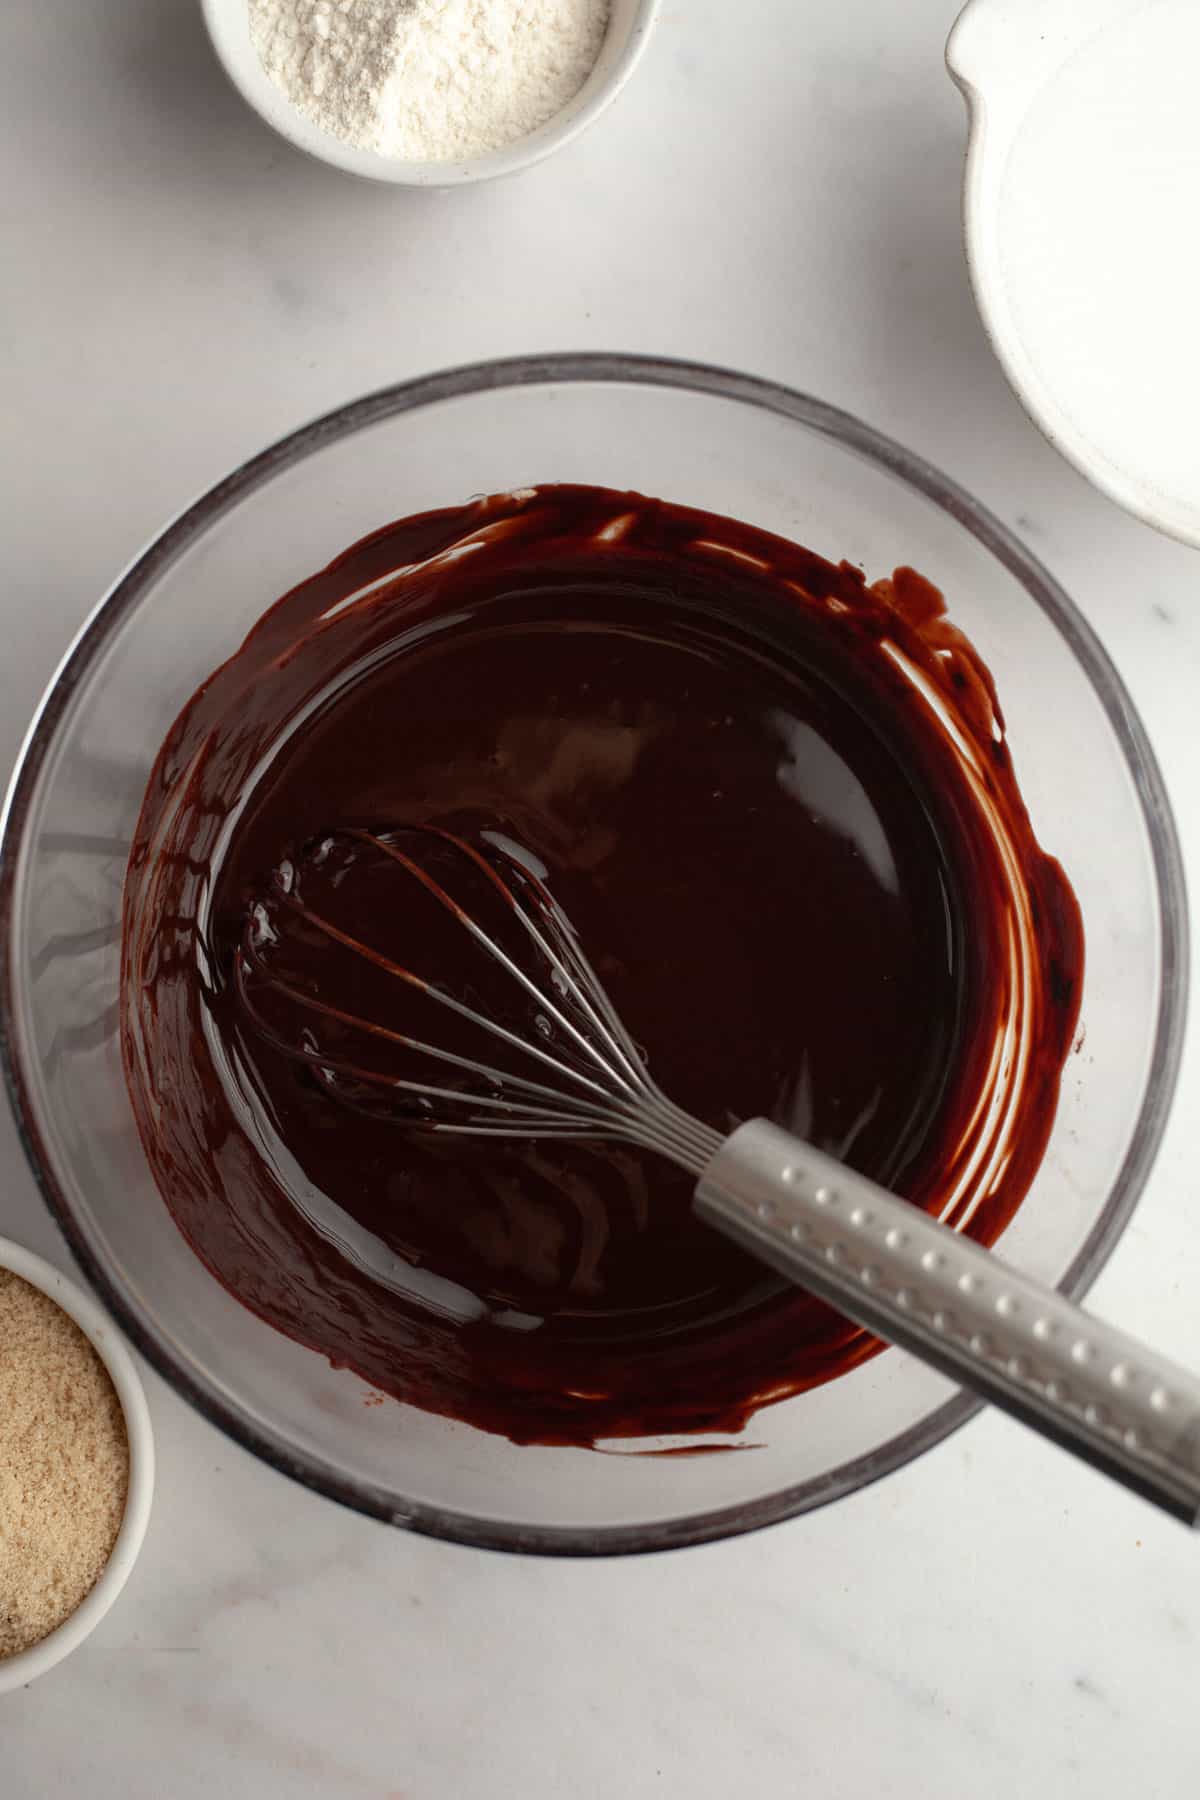
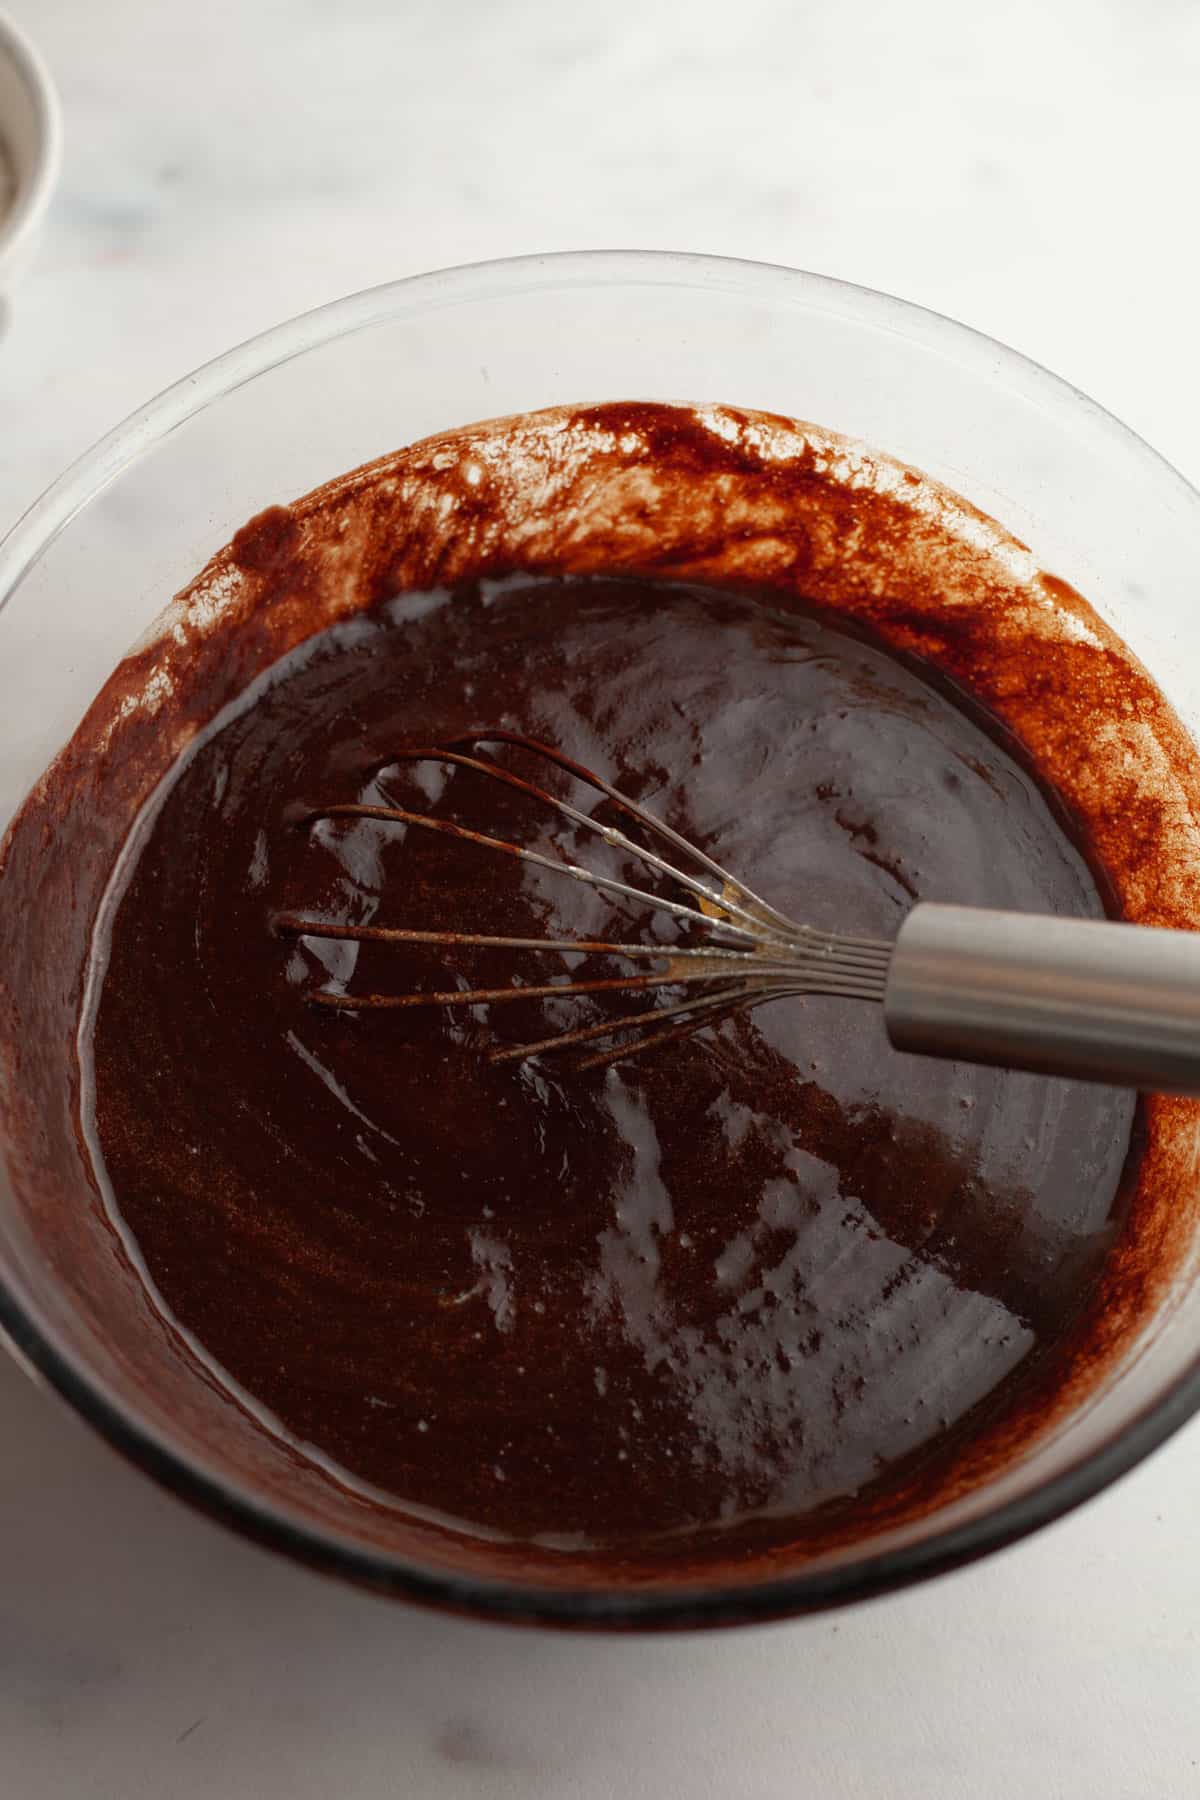
- Step 2: Melt the butter in a large bowl until melted and hot. Add the cocoa powder to the melted butter and whisk until smooth. Add the chopped chocolate and let sit for a few minutes before whisking again.
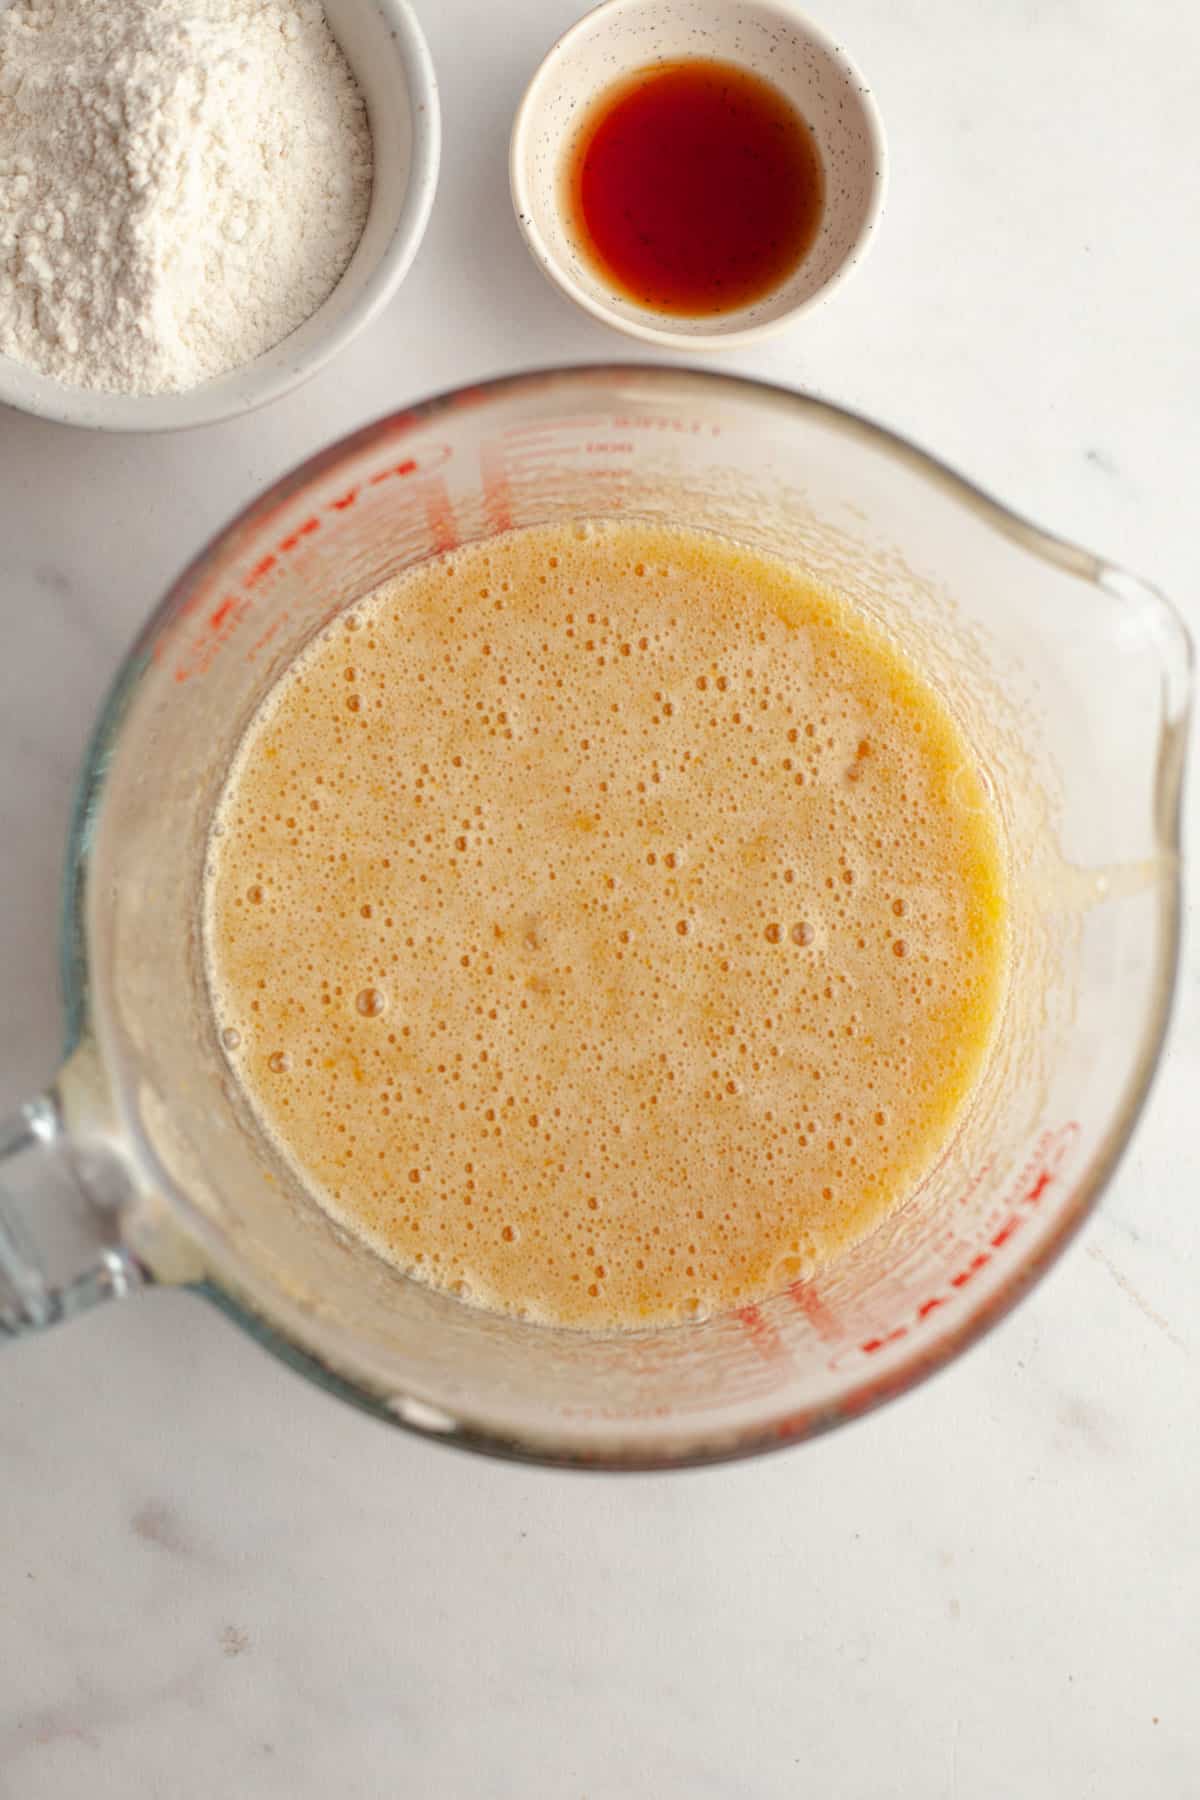
- Step 3: In a jug or small bowl, whisk the eggs with the granulated sugar and light brown sugar for 2 minutes.
- Step 4: Pour the sugar mixture into the melted chocolate and mix until smooth. Whisk in the vanilla extract.
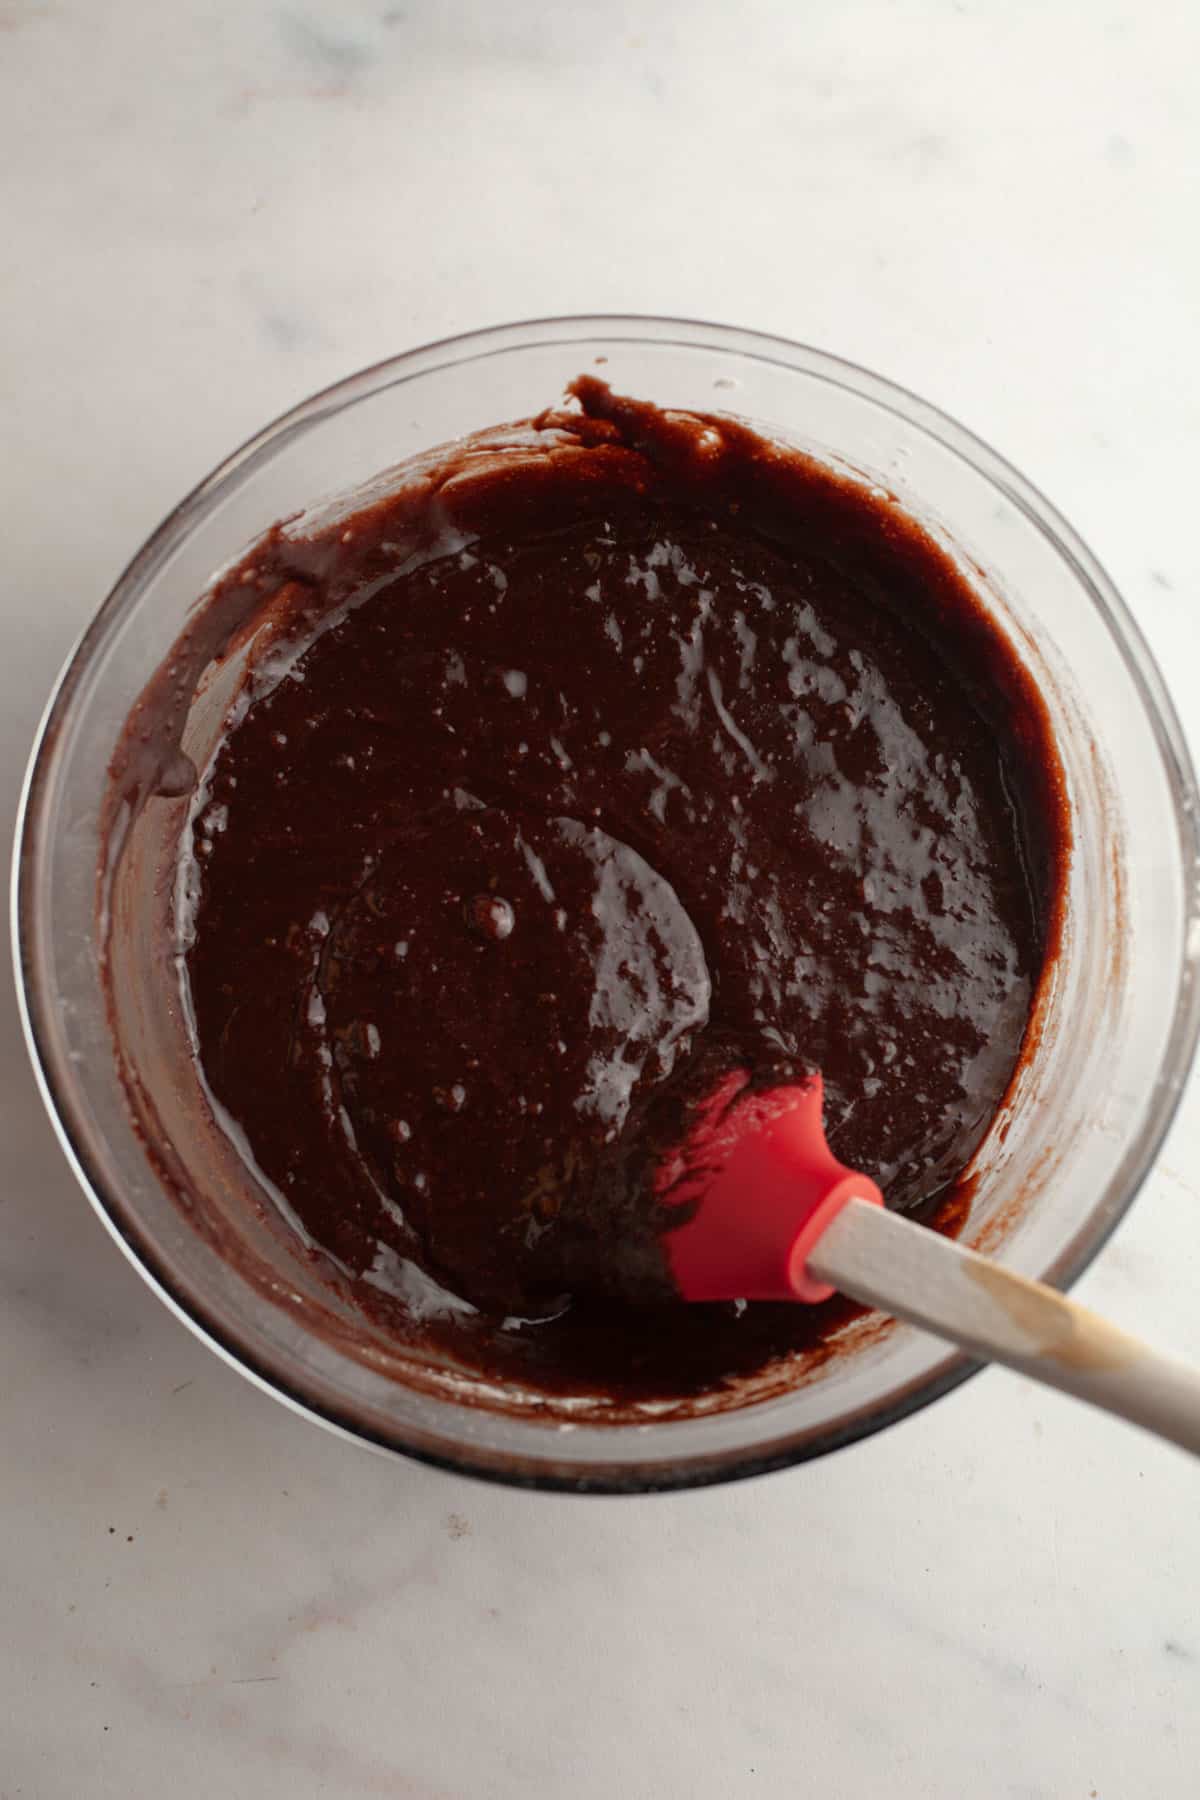
- Step 5: Add the flour, salt and espresso powder. Mix using a rubber spatula until just combined.
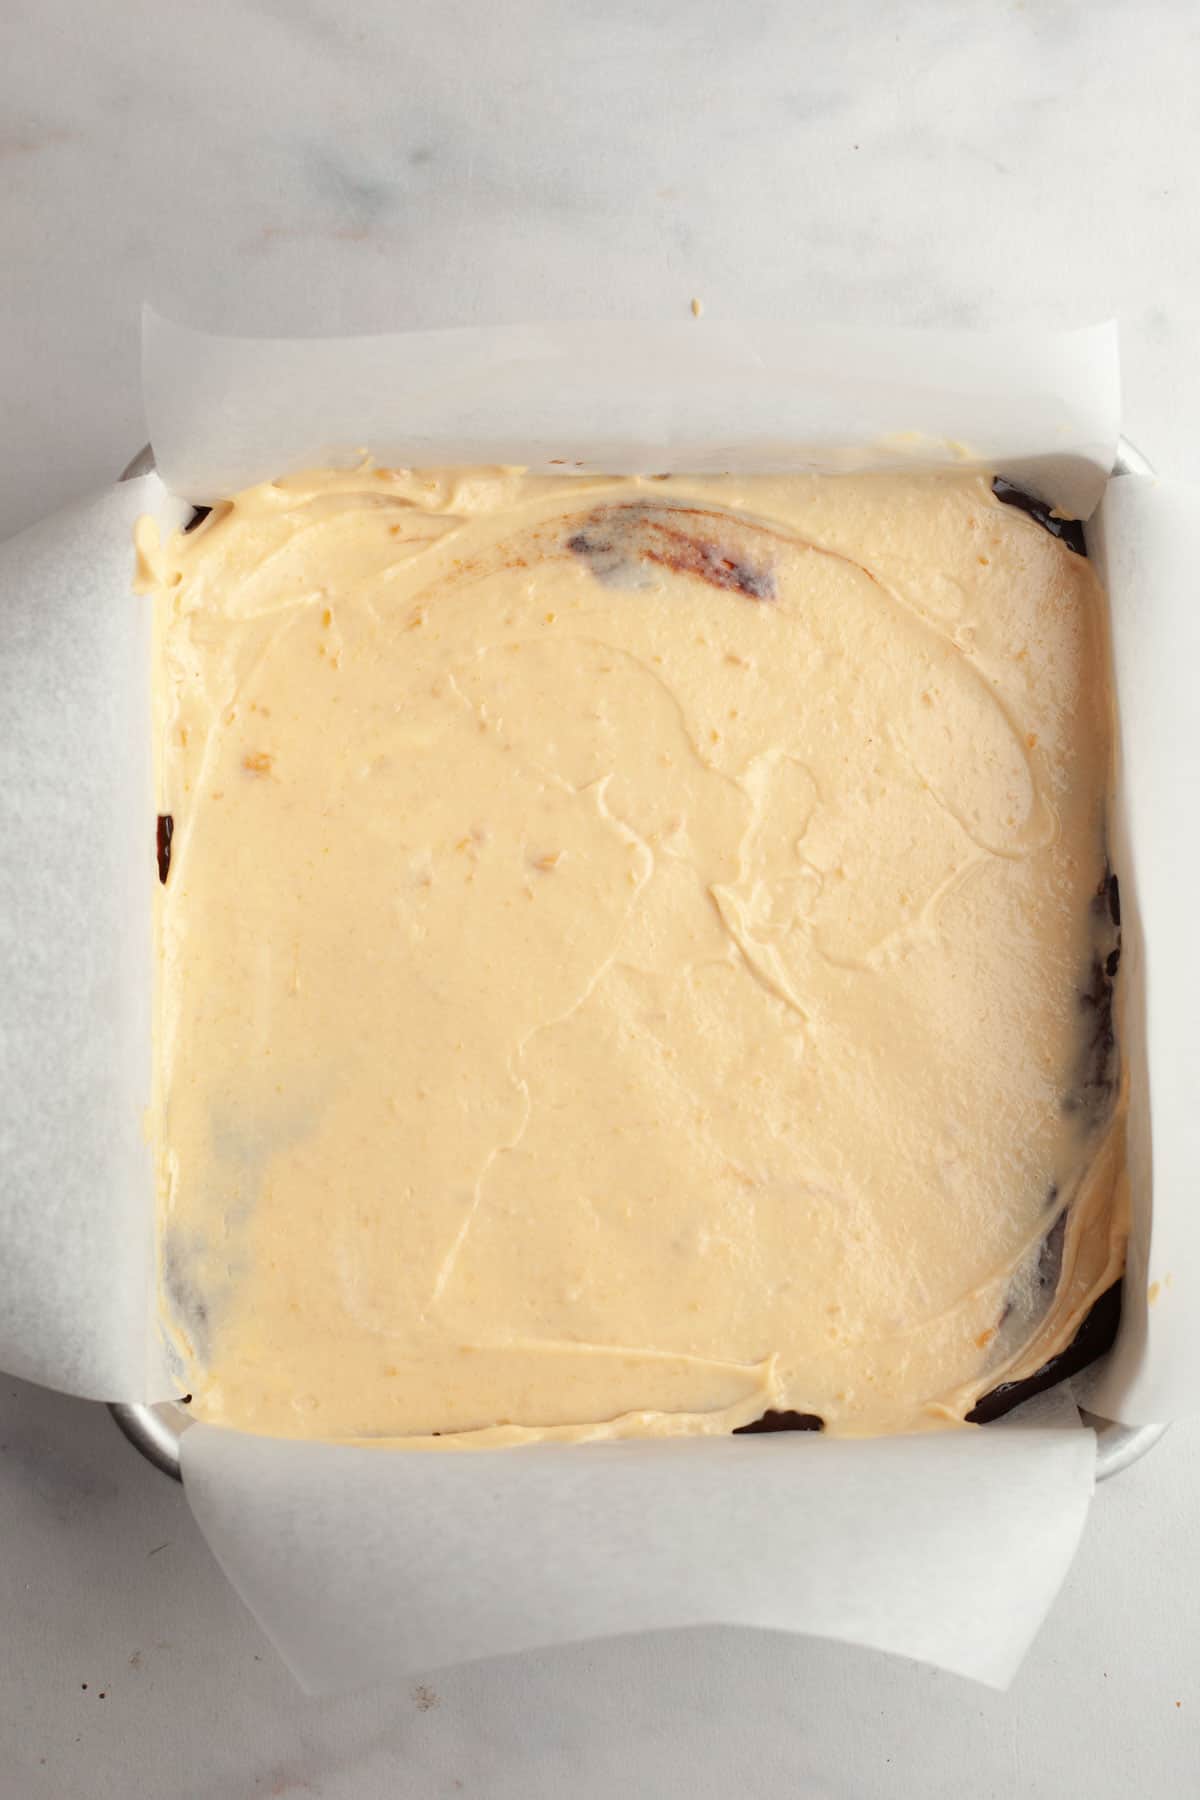
- Step 6: Pour most of the brownie batter into the prepared pan, and save a little less than a quarter of the batter. Spoon the cheesecake batter on top and use a small offset spatula to spread it on top.
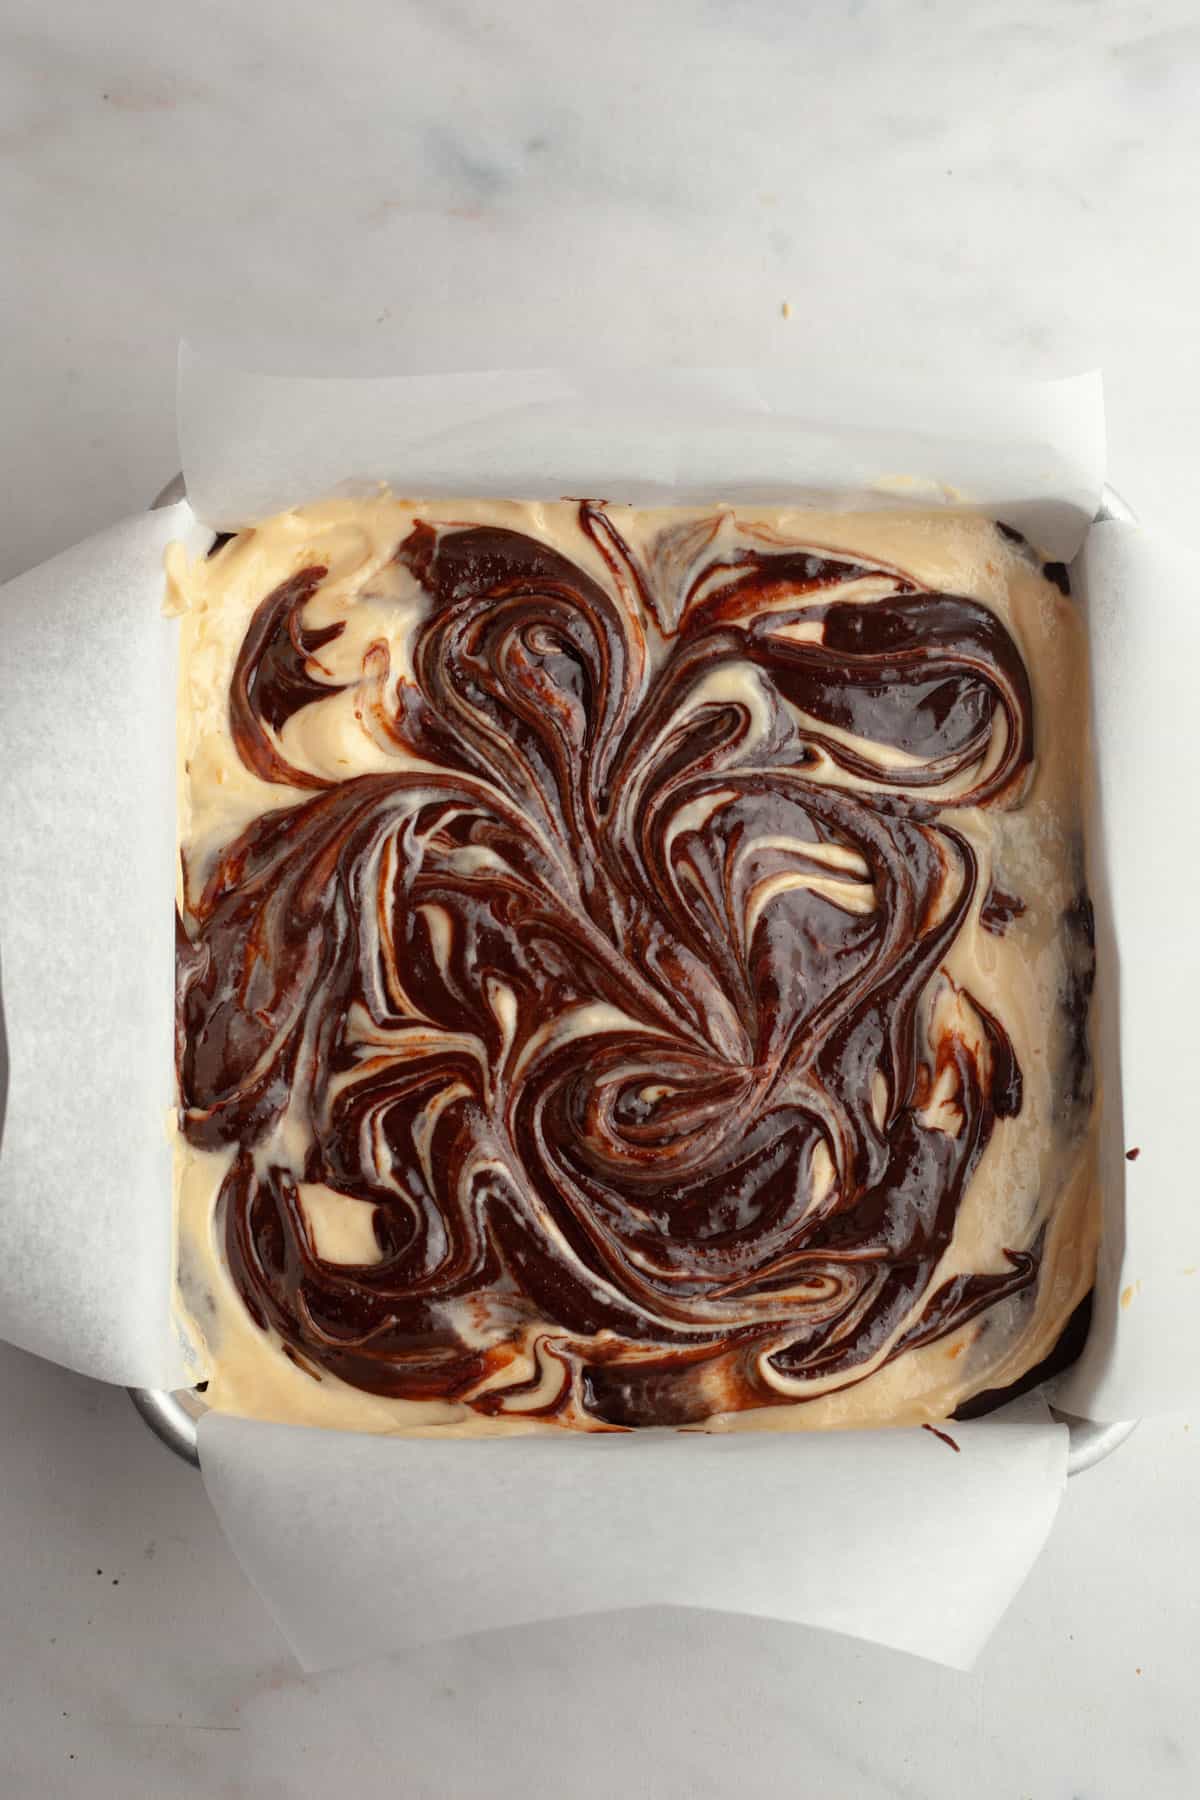
- Step 5: Dollop the remaining brownie batter on top of the cheesecake mixture. Use a knife or a toothpick to swirl the two together.
- Step 6: Bake in the oven for 33-40 minutes. Let cool completely in the pan before slicing up. For extra fudgy brownies, place in the fridge for a few hours before enjoying!
Making Perfect Cheesecake Brownies
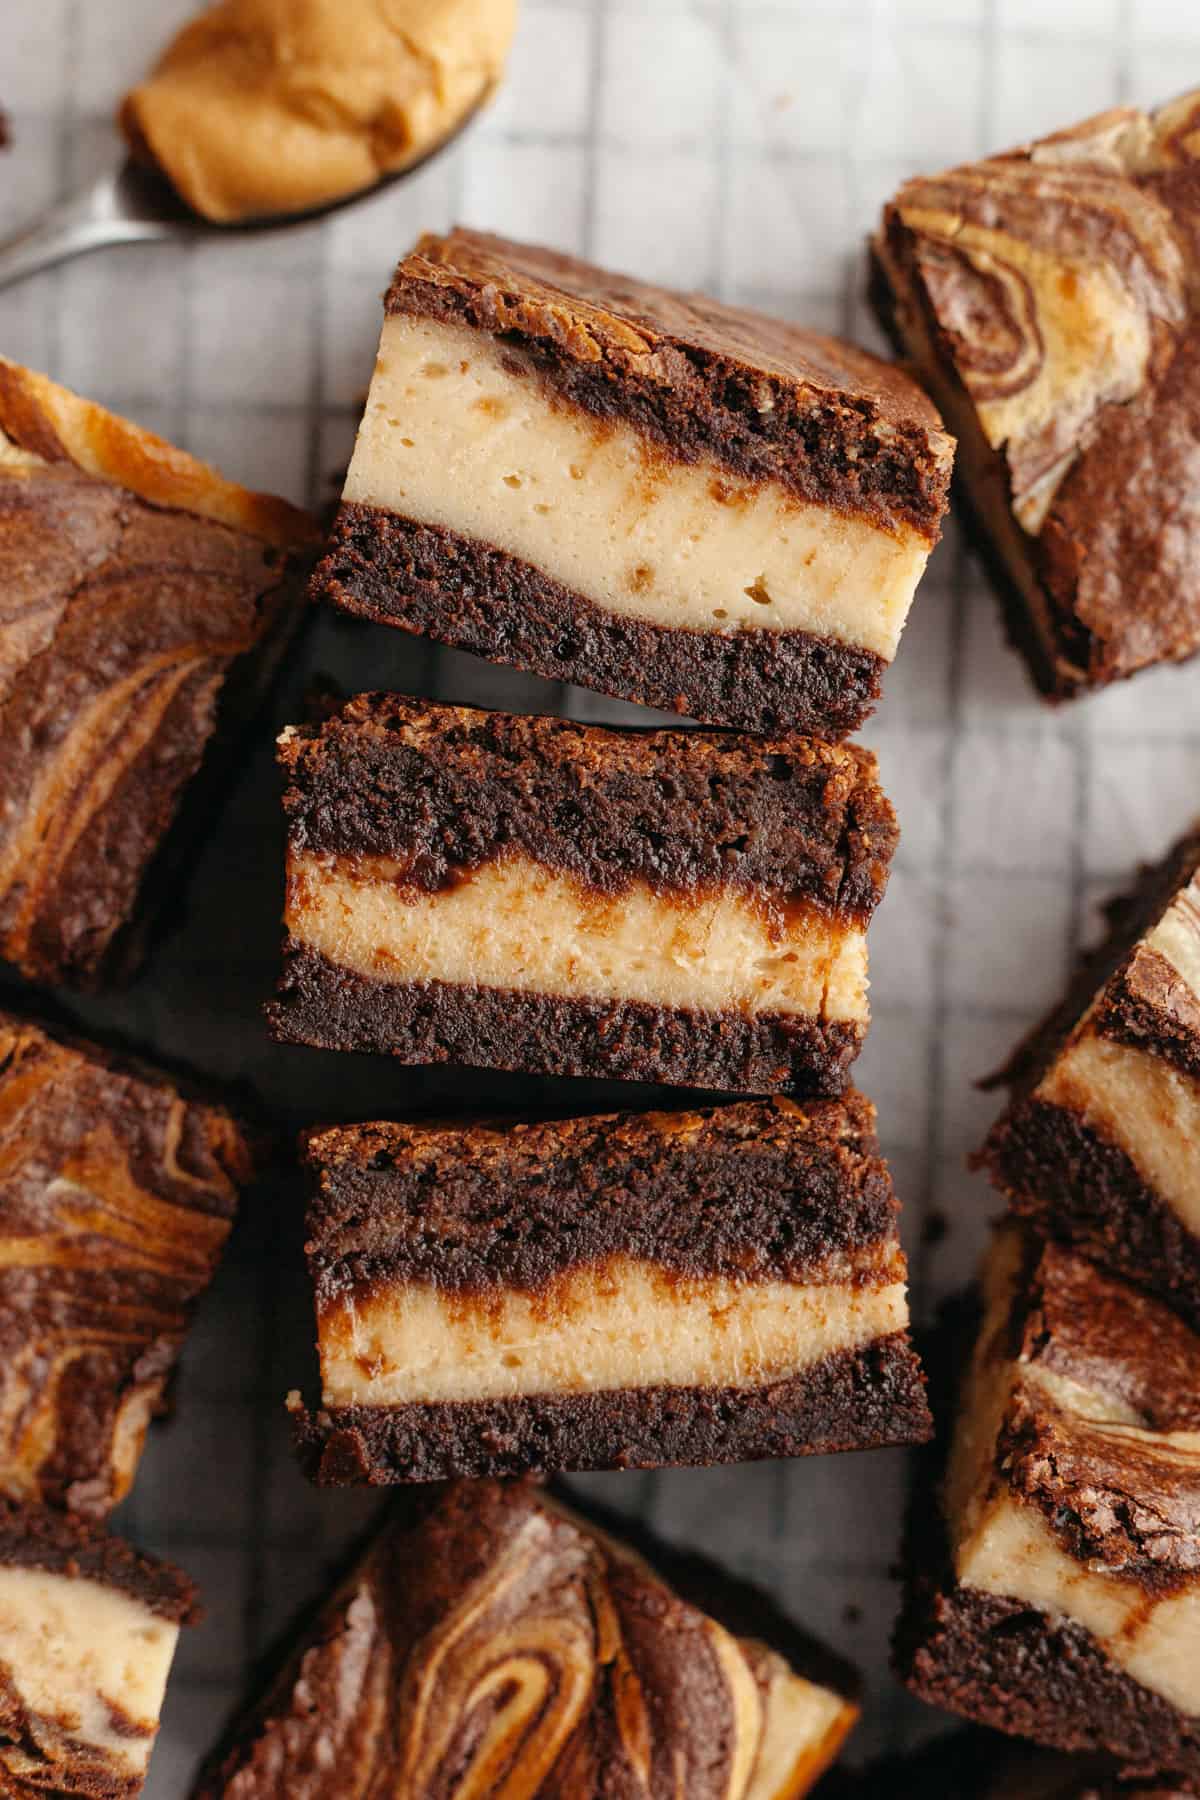
- Chilling: my secret to perfectly fudgy brownies? Chilling them! Once the brownies have cooled in the pan, place the pan in the fridge and chill for a few hours. This will make the brownies extra fudgy and gooey.
- Slicing: do you wanna know the secret to super clean brownie cuts that food bloggers do? It's cleaning the knife after every slice! For each slice, I run the knife under hot water in the sink, carefully dry it with a kitchen towel or paper towel, then make one slice. Repeat this for every slice and you will have the cleanest brownie slices ever!
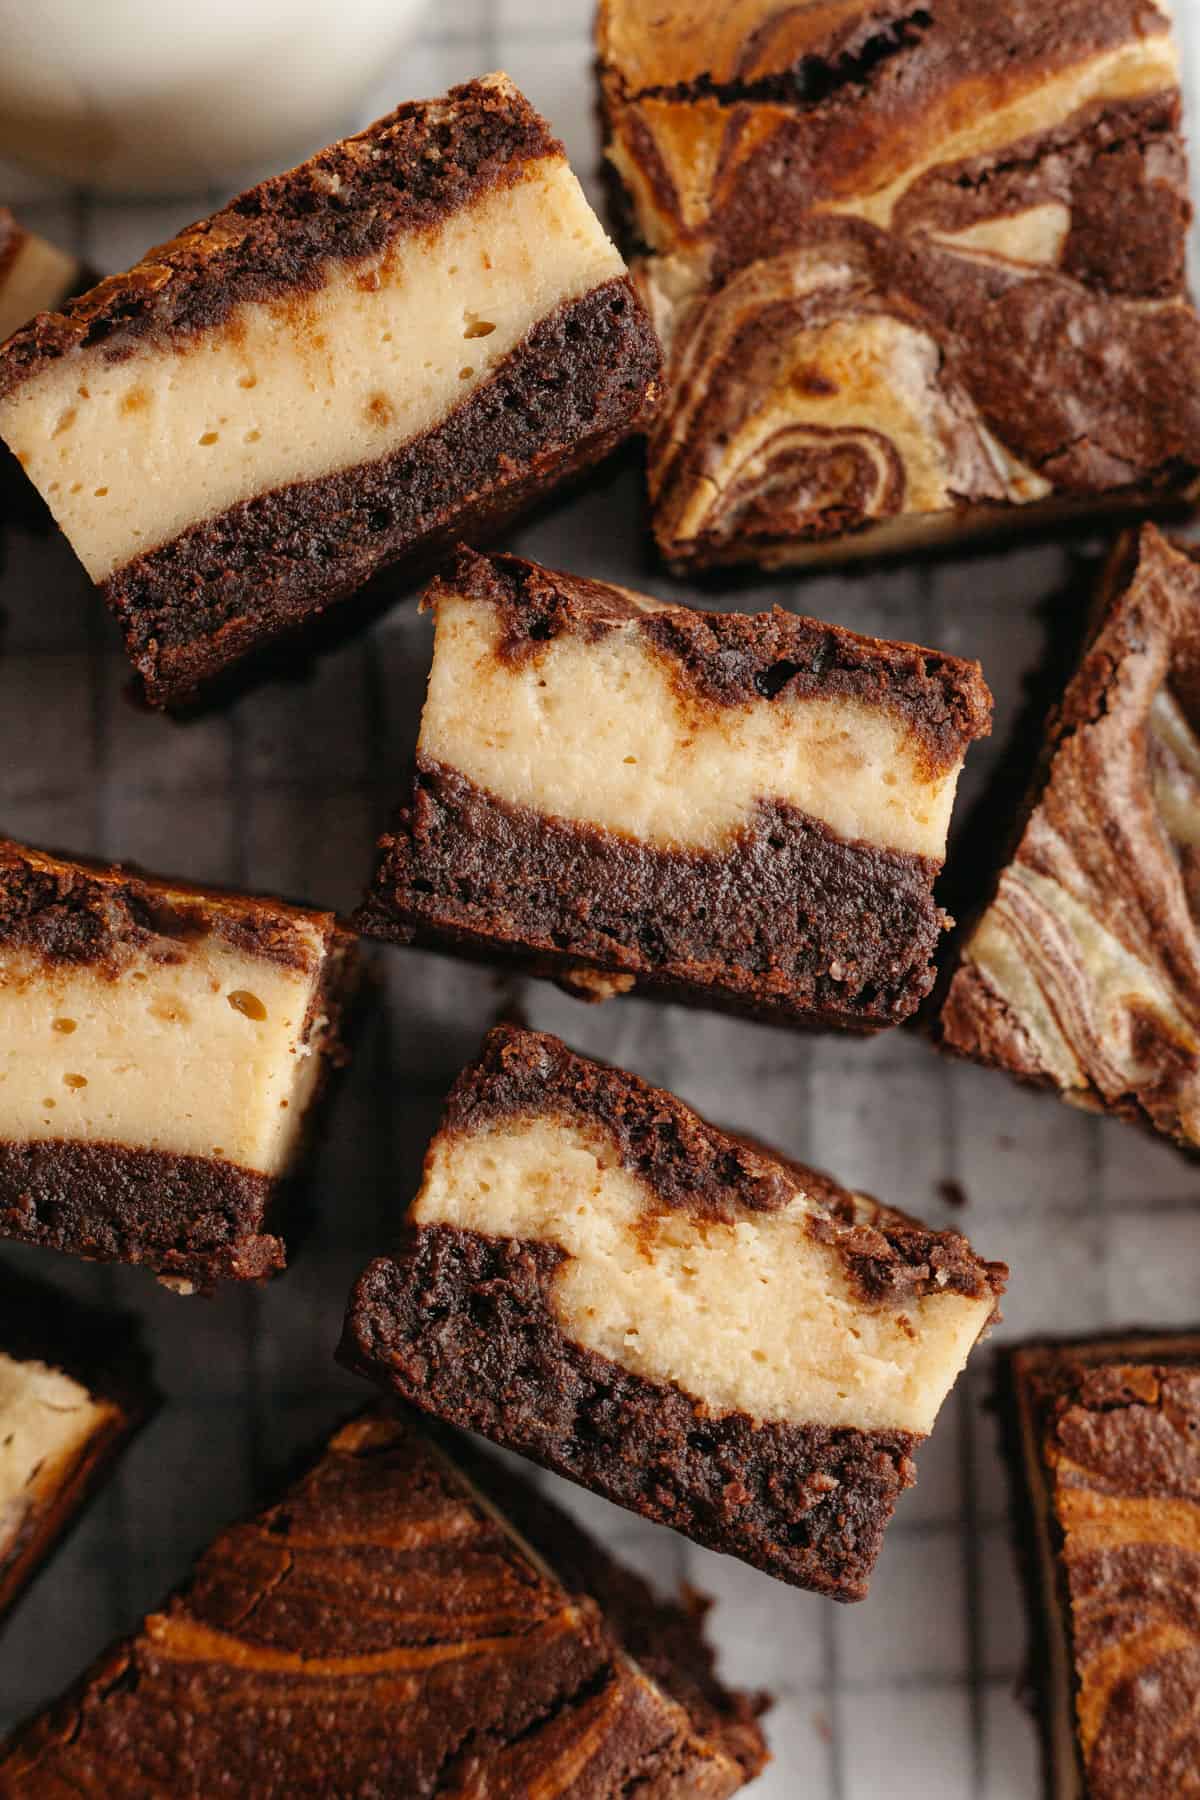
- Don't Overswirl: when you're swirling the peanut butter cheesecake batter and brownie batter together, don't get carried away with the swirling! Otherwise it'll look muddled up and not so cute.
Serving Suggestions
- With Ice Cream: if you served me these peanut butter cheesecake swirl brownies with a scoop of vanilla ice cream I would immediately become your best friend.
- Peanut Butter Cups: if you want to make these extra decadent, add chopped peanut butter cups on top of the brownie batter just before baking.
Storage & Freezing
Keep the sliced brownies in an airtight container in the fridge for up to 5 days. I like keeping my brownies in the fridge since it keeps them super fudgy, but because of the cheesecake filling it's best to store them in the fridge anyways.
To freeze, place in an airtight container or freezer bag in the freezer for up to 2 months. Let thaw in the fridge before enjoying.
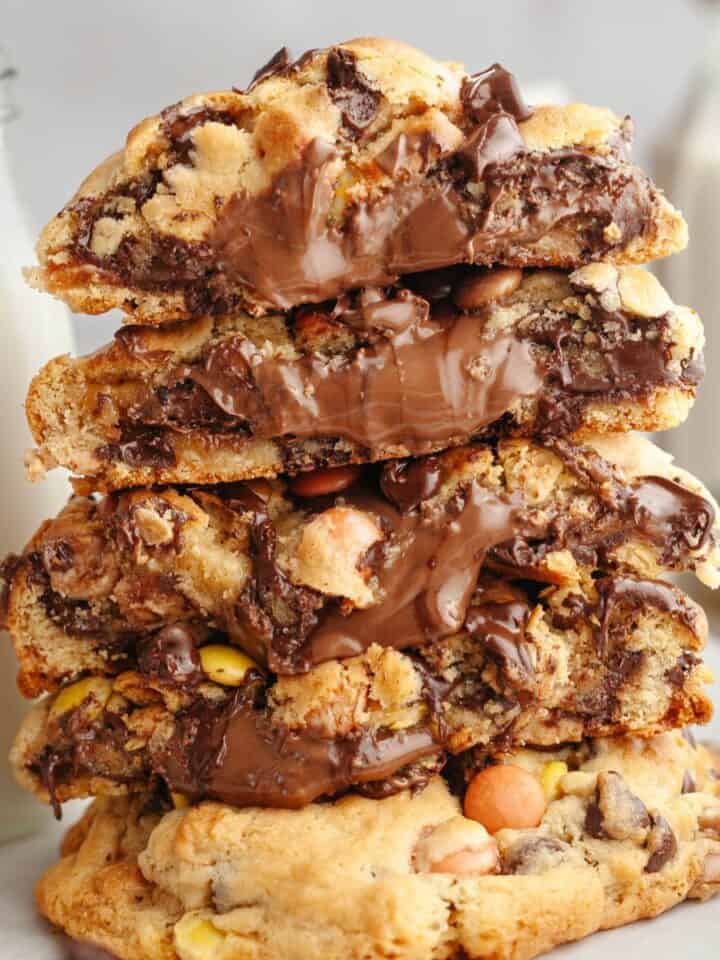
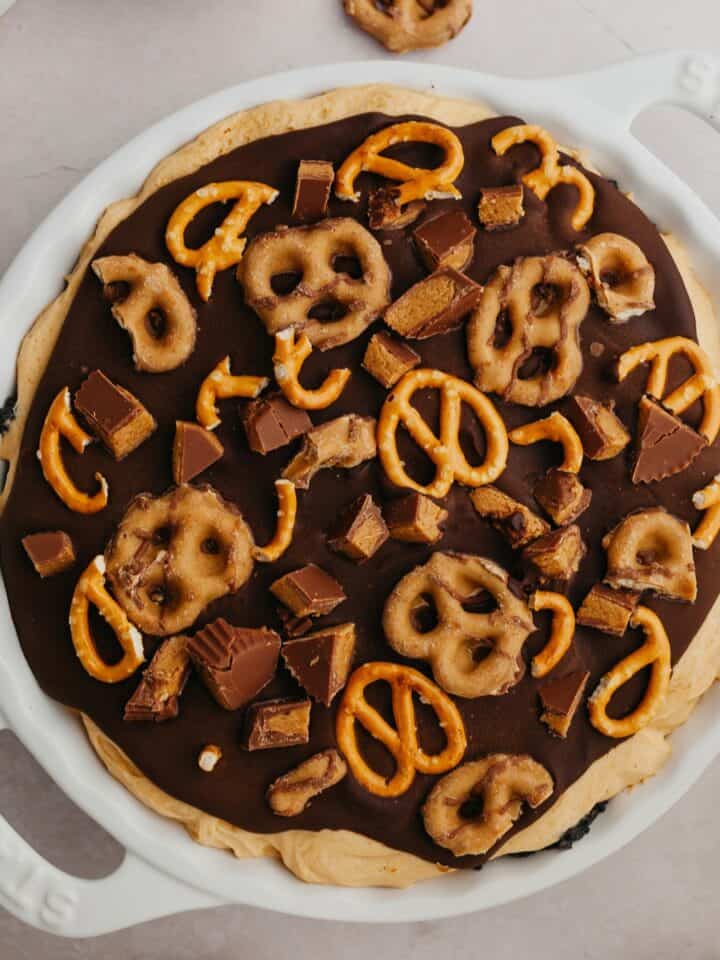
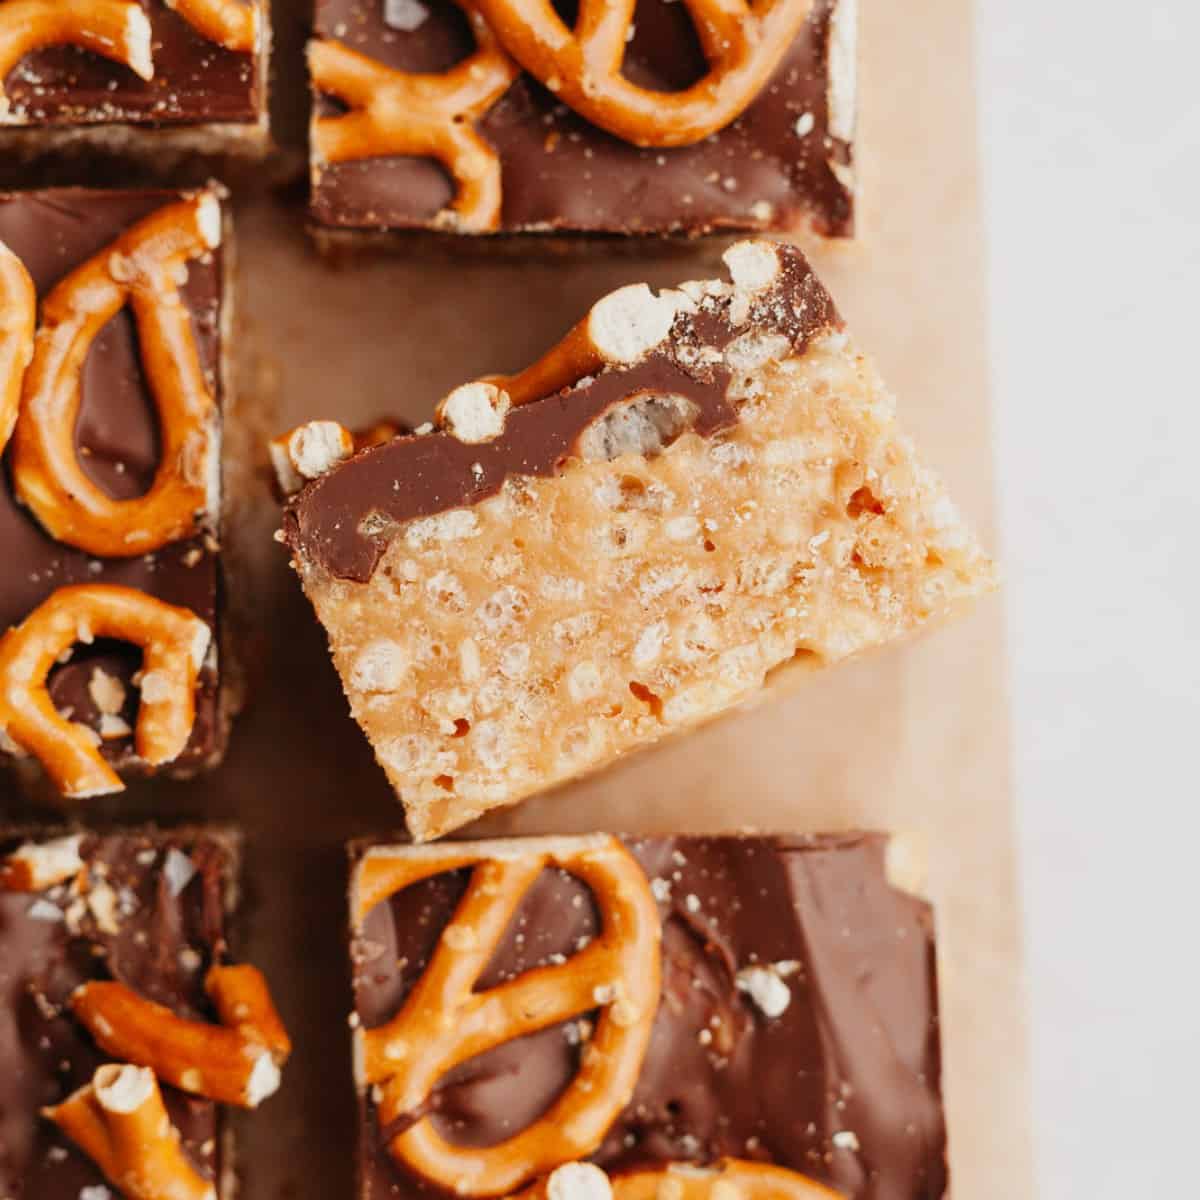
Crazy for peanut butter chocolate recipes?
Made This Recipe?
Make sure to leave a ⭐️ rating and review below! You can tag me on Instagram @alpineella or follow along on Pinterest, Facebook and TikTok!
Thank you!
Ella
Recipe
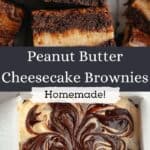
Peanut Butter Cream Cheese Brownies
Equipment
- 8x8 baking pan
- Bowls
- Measuring Spoons
- Whisk
- Rubber Spatula
Ingredients
Chocolate Brownies
- ¾ cup (170 grams) unsalted butter
- ½ cup (45 grams) dutch process cocoa powder
- 4 oz (113 grams) dark chocolate chopped
- 3 large eggs
- 1 cup (200 grams) granulated sugar
- ½ cup (100 grams) light brown sugar
- 1 teaspoon vanilla extract
- ½ cup (60 grams) all purpose flour
- 1 teaspoon kosher salt
- 1 teaspoon espresso powder
Peanut Butter Cheesecake
- ½ cup (100 grams) granulated sugar
- 8 oz (226 grams) full-fat cream cheese
- 1 large egg room temperature
- 1 teaspoon vanilla extract
- 1 tablespoon all-purpose flour
- ¼ cup (67 grams) smooth peanut butter
Instructions
- Preheat the oven to 350℉/180℃ and line an 8x8 baking pan with foil or with parchment paper.
- In a medium bowl, whisk together all of the peanut butter cheesecake ingredients until smooth. Set aside.½ cup (100 grams) granulated sugar, 8 oz (226 grams) full-fat cream cheese, 1 large egg, 1 teaspoon vanilla extract, 1 tablespoon all-purpose flour, ¼ cup (67 grams) smooth peanut butter
- In a medium bowl, melt the butter in the microwave. It should be hot.¾ cup (170 grams) unsalted butter
- Add the cocoa powder to the hot butter and whisk until smooth. This is called blooming the cocoa powder and will make your brownies richer!½ cup (45 grams) dutch process cocoa powder
- Pour in the chopped chocolate and let sit for a minute or two. Whisk until smooth.4 oz (113 grams) dark chocolate
- In a separate bowl, whisk the eggs with the granulated sugar and light brown sugar. Whisk for 1:30-2 minutes. It should lighten in color, and when you stop whisking bubbles should form on the top.3 large eggs, 1 cup (200 grams) granulated sugar, ½ cup (100 grams) light brown sugar
- Once the melted chocolate mixture has cooled down slightly, pour in the sugar mixture. Whisk until smooth and add in the vanilla extract.1 teaspoon vanilla extract
- With a rubber spatula, fold in the flour, salt and espresso powder.½ cup (60 grams) all purpose flour, 1 teaspoon kosher salt, 1 teaspoon espresso powder
- Pour most of the brownie batter into the prepared pan, keeping ¼ of the batter to the side. Spread the cream cheese mixture on top until it covers the surface, then dollop over the remaining brownie batter. Use a butter knife or toothpick to create the swirls.
- Bake for 33-40 minutes, or until a toothpick inserted comes out with moist crumbs.
- Let the brownies cool completely in the pan. To have even fudgier brownies, place the cooled brownie pan in the fridge for a few hours.
Lydia says
So delicious! Recipe was really easy to follow and they turned out so well. Definitely adding to my collection 🙂