

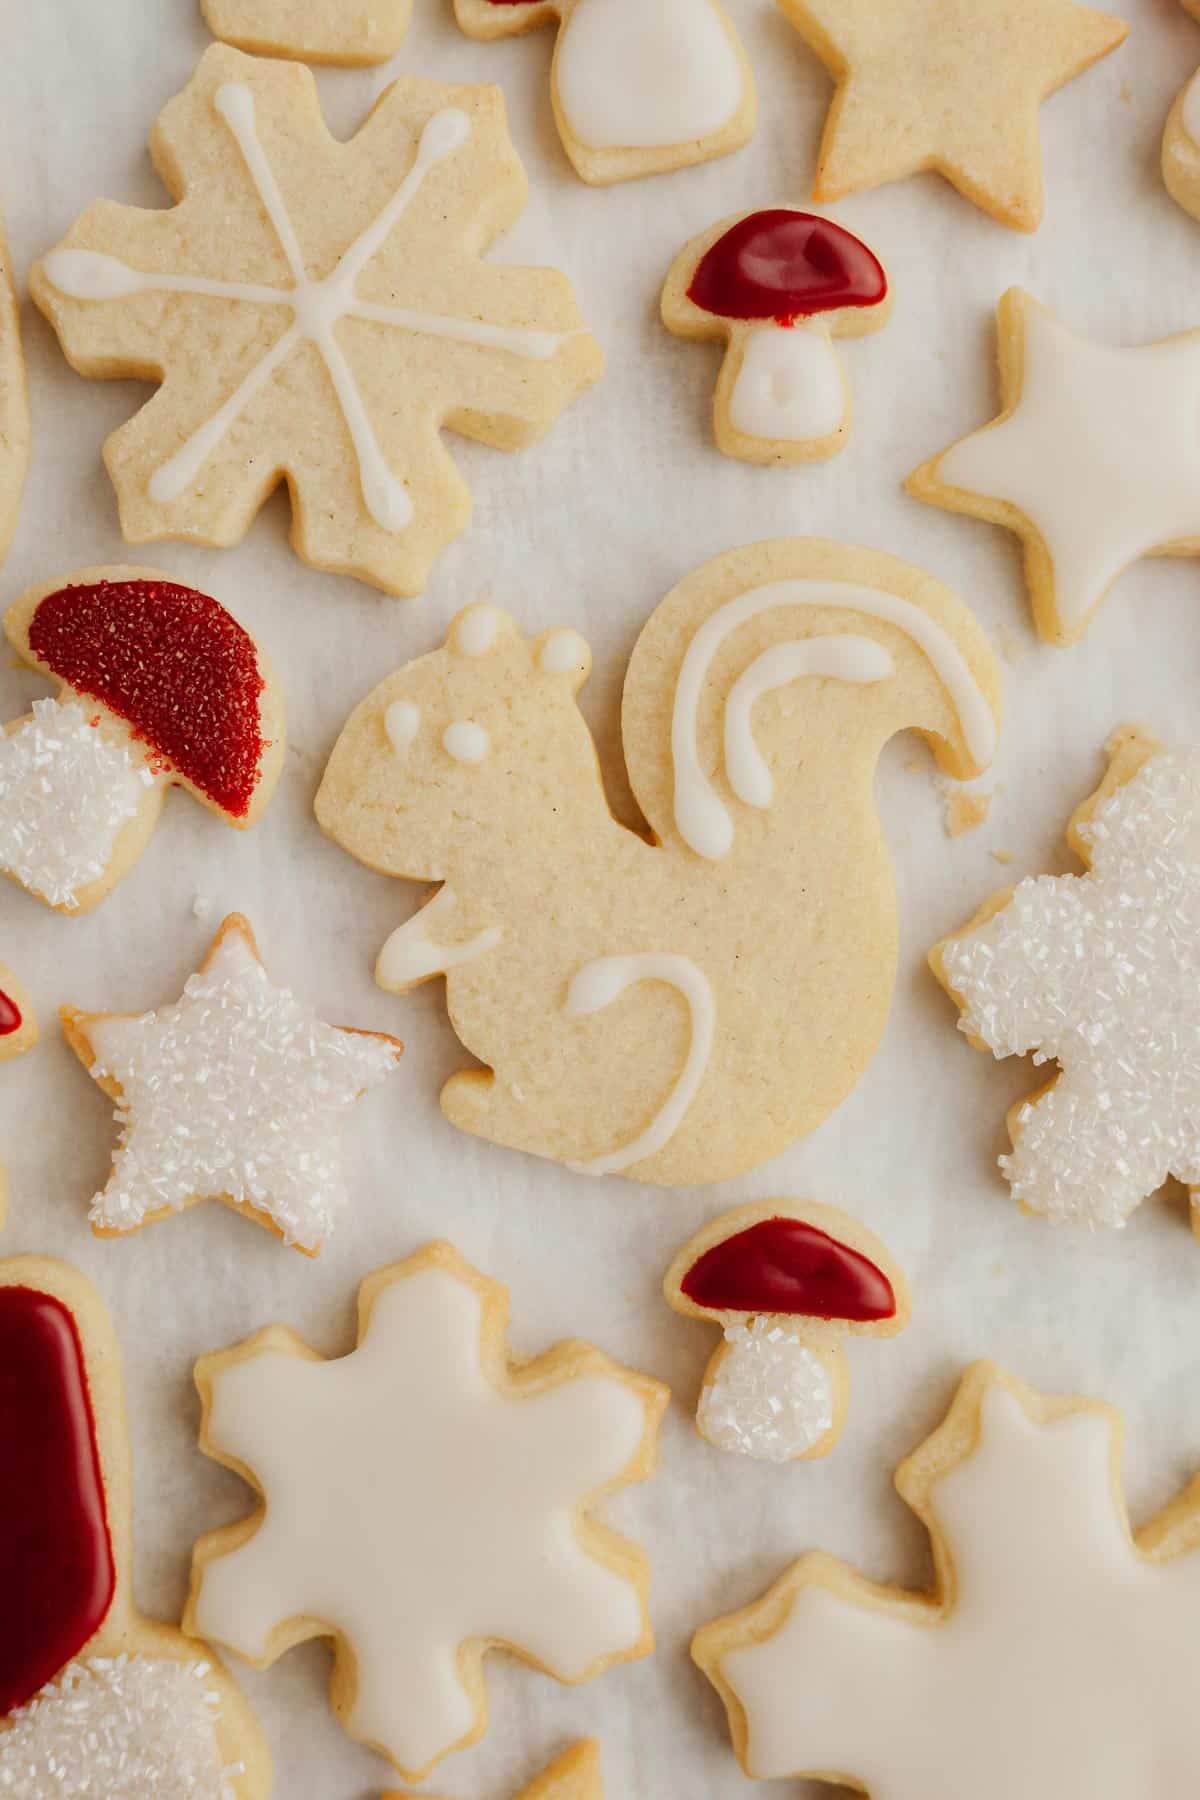
These no spread sugar cookies are thick, soft and so chewy! They are the perfect cut out cookies for decorating and hold their shape beautifully. They're made in one bowl and use simple pantry ingredients. Plus I have a super easy cookie icing recipe so you can decorate away!

There is nothing worse than spending hours making sugar cookies only for the shapes not to hold when you bake them - boooo!
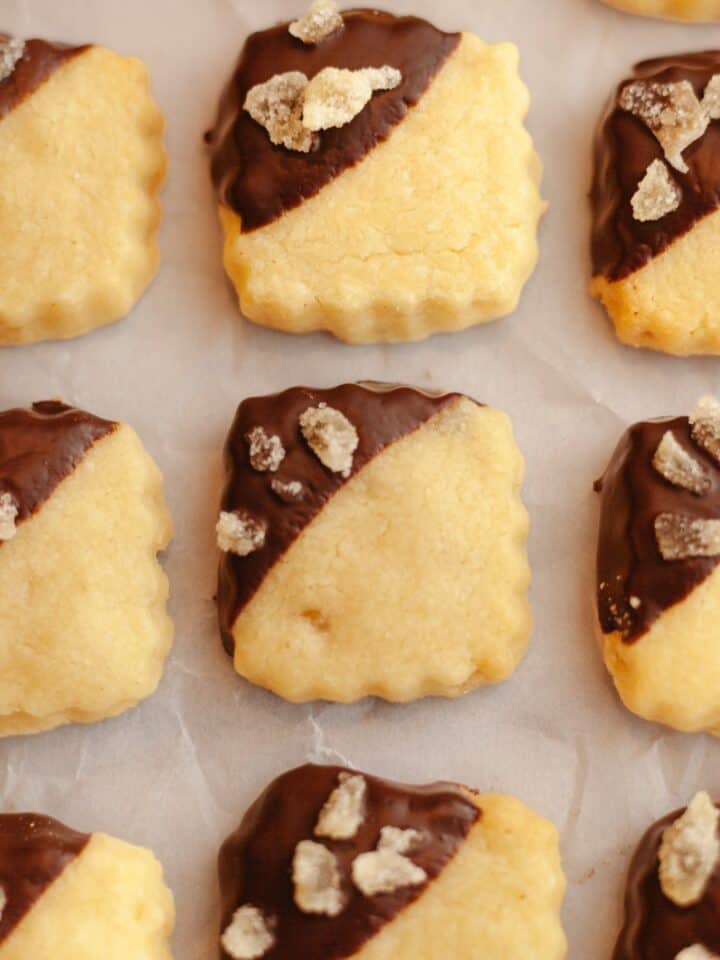
When I think about Christmas, my mind jumps straight to Christmas cookies! You can definitely make these no spread sugar cookies year round for all your celebrations but I had to try out some fun Christmas cookie cutters.
This sugar cookie recipe is foolproof, giving you extra sharp corners but a deliciously soft cookie. I did try testing this recipe with raising agents (a fancy way to say baking soda or baking powder), but it made the cookies puff up a bit and spread, so no raising agents here!
If you're looking for a classic Lofthouse style of sugar cookie with icing, check out my buttercream frosted cookies!
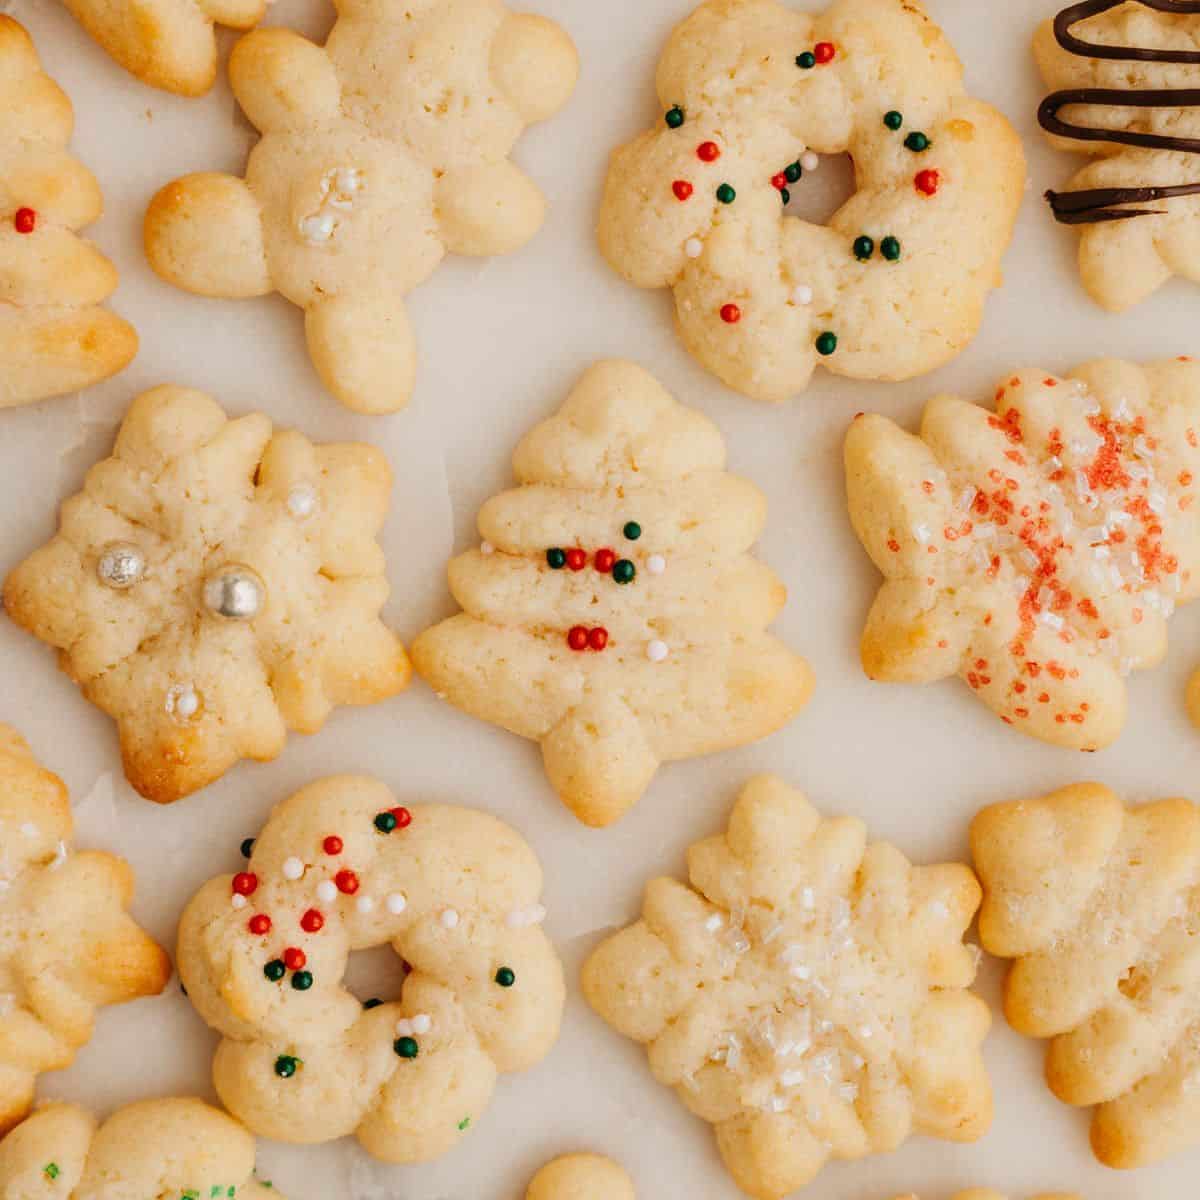
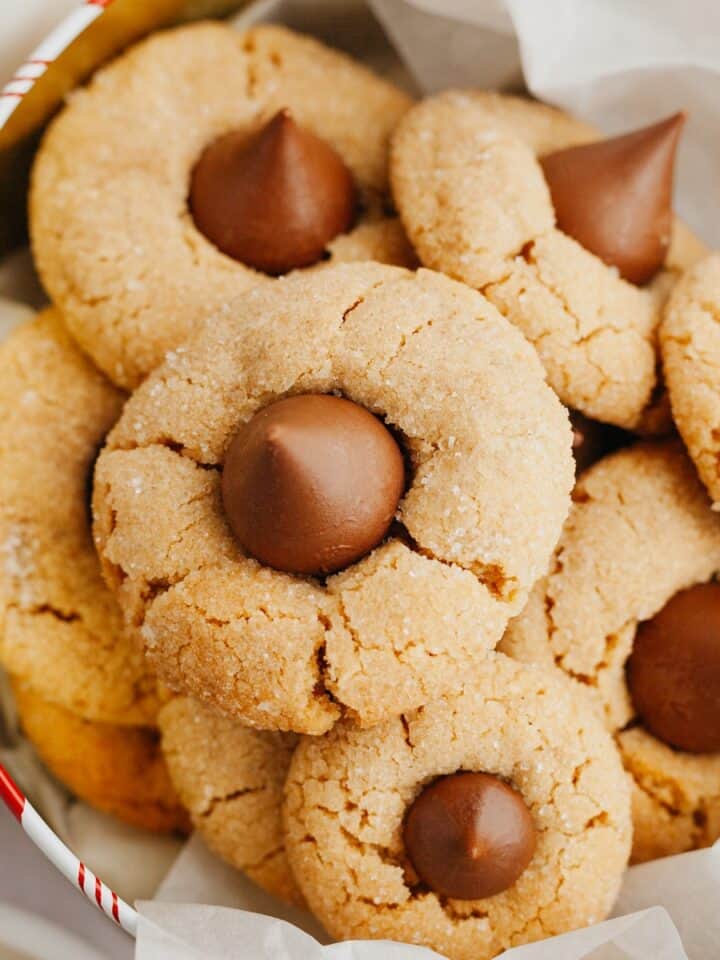
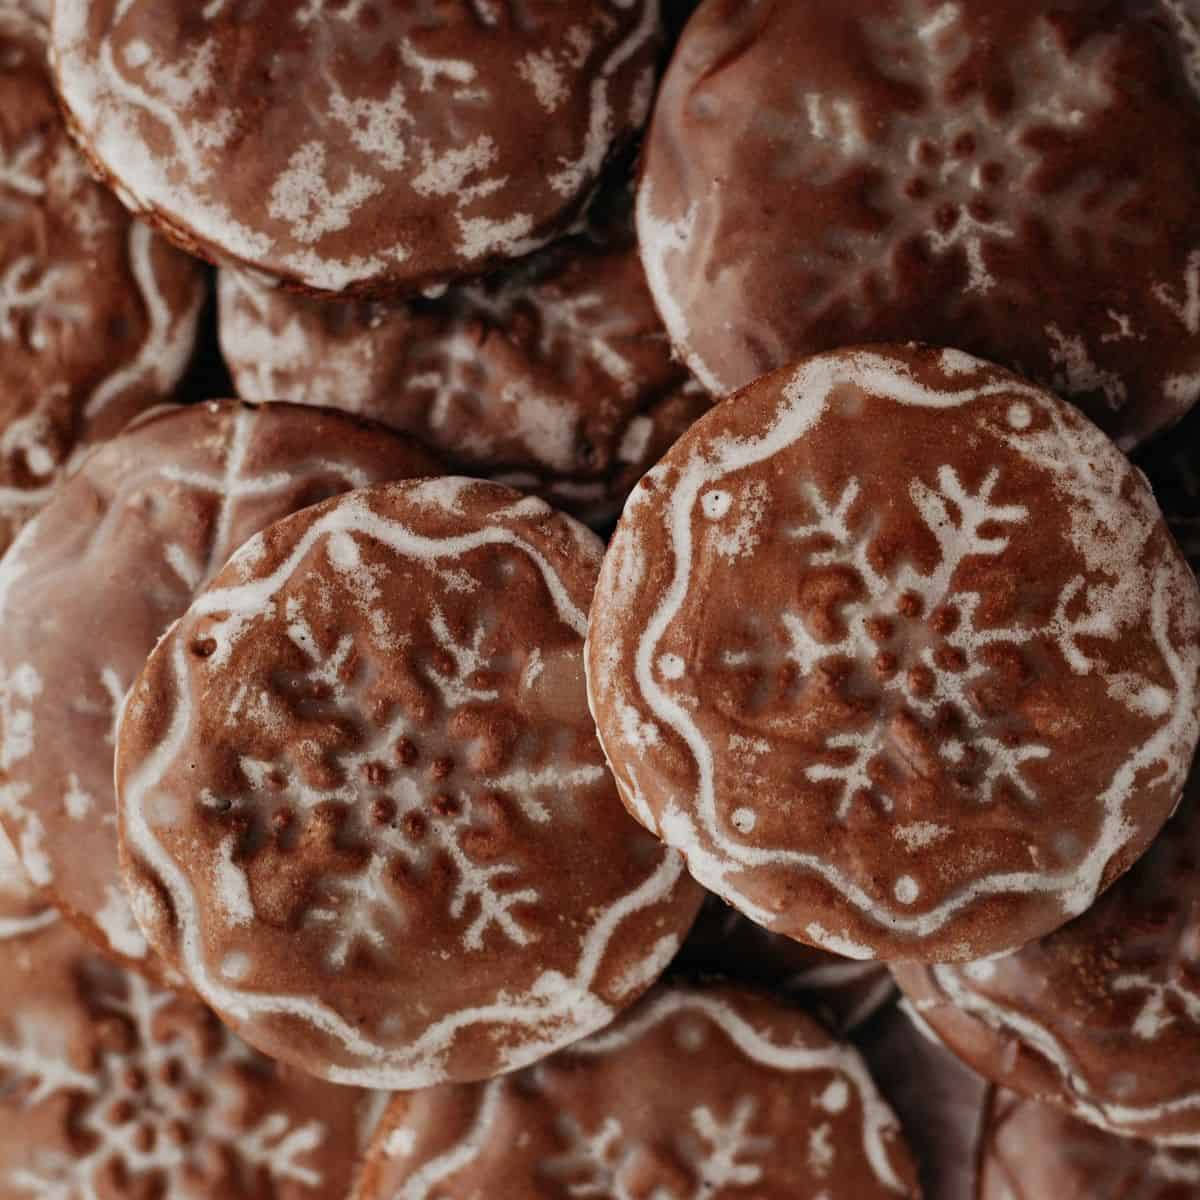
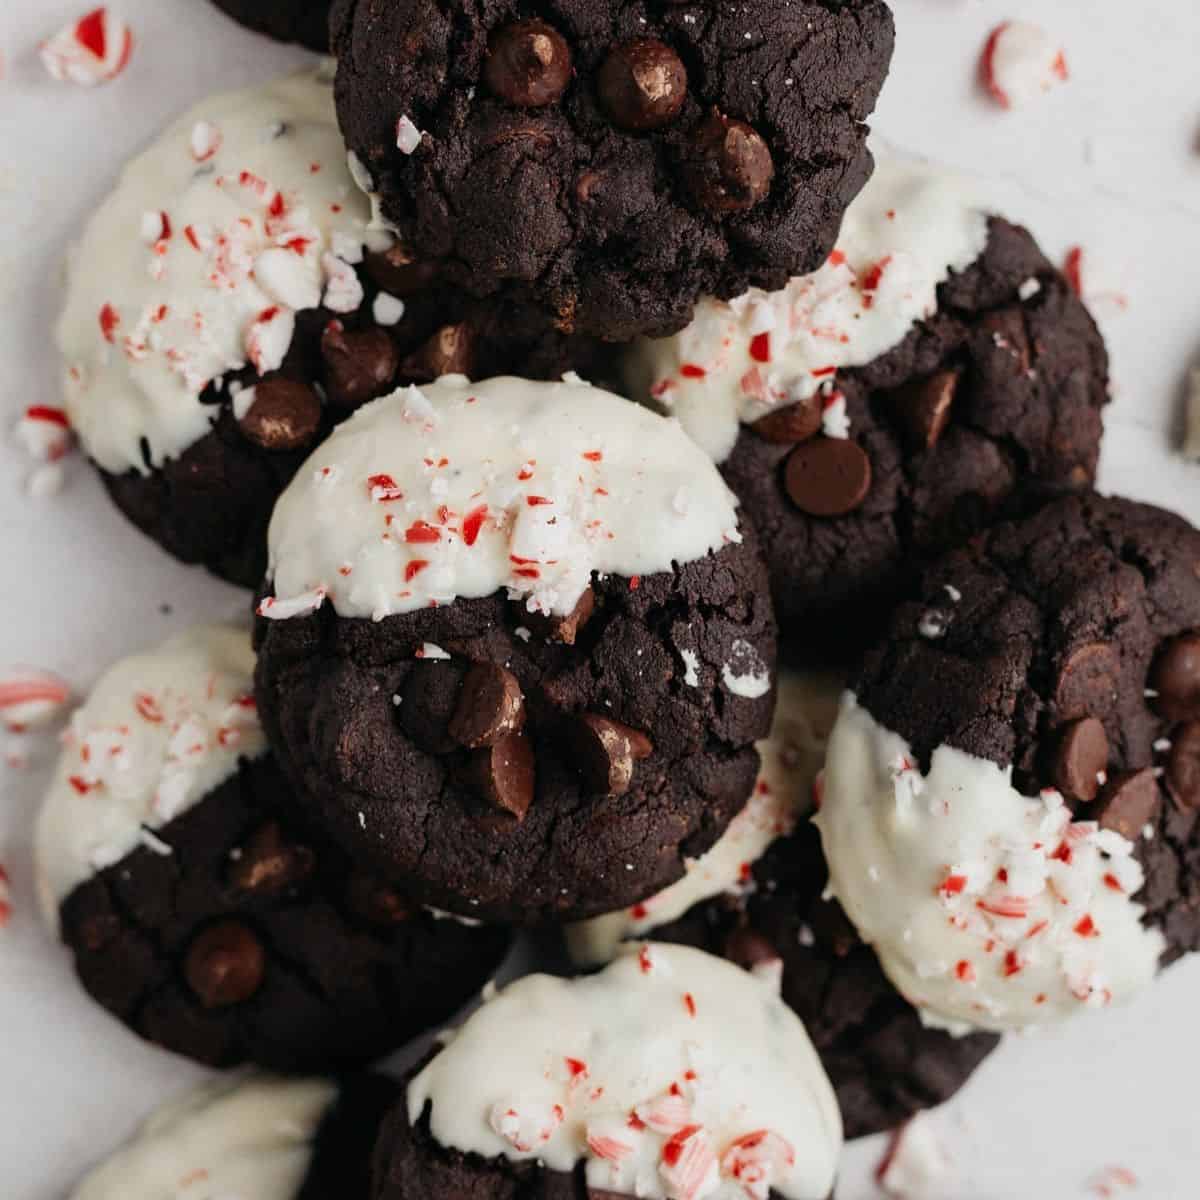
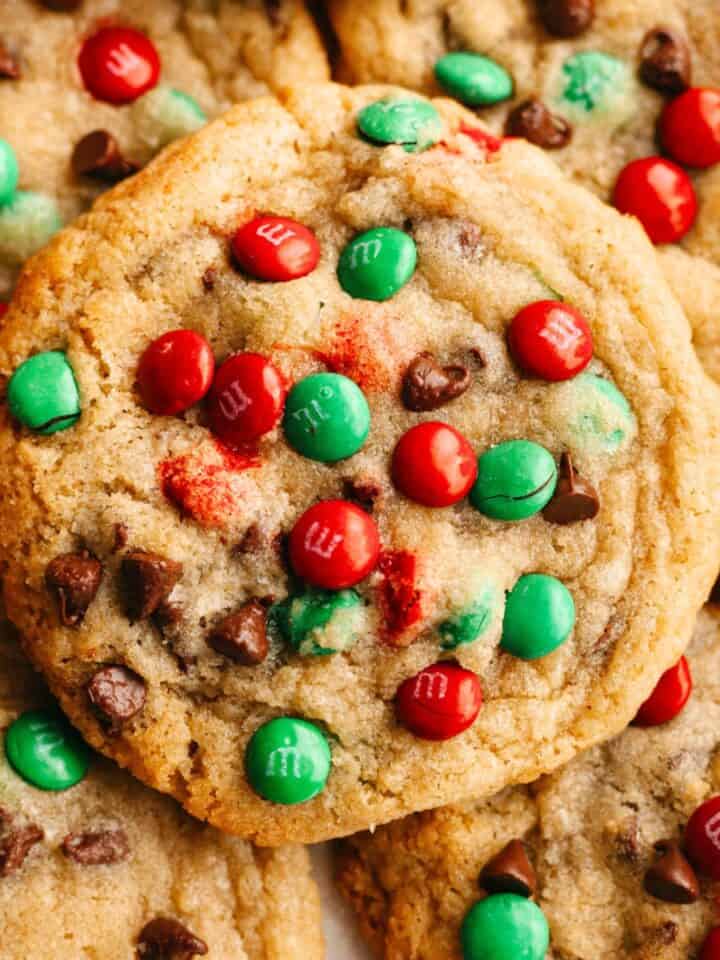
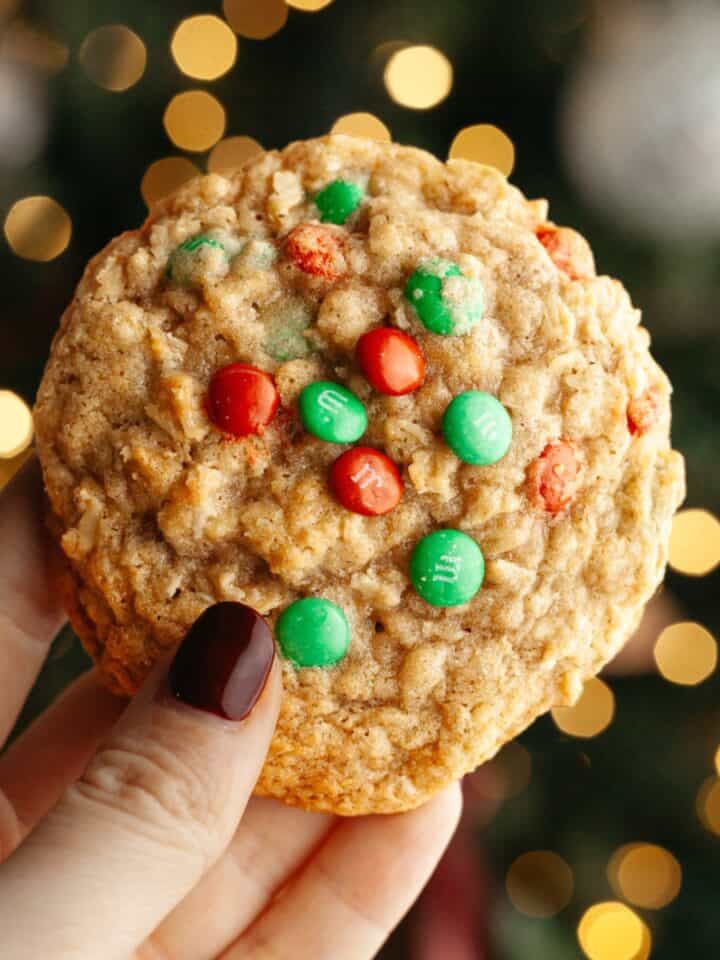
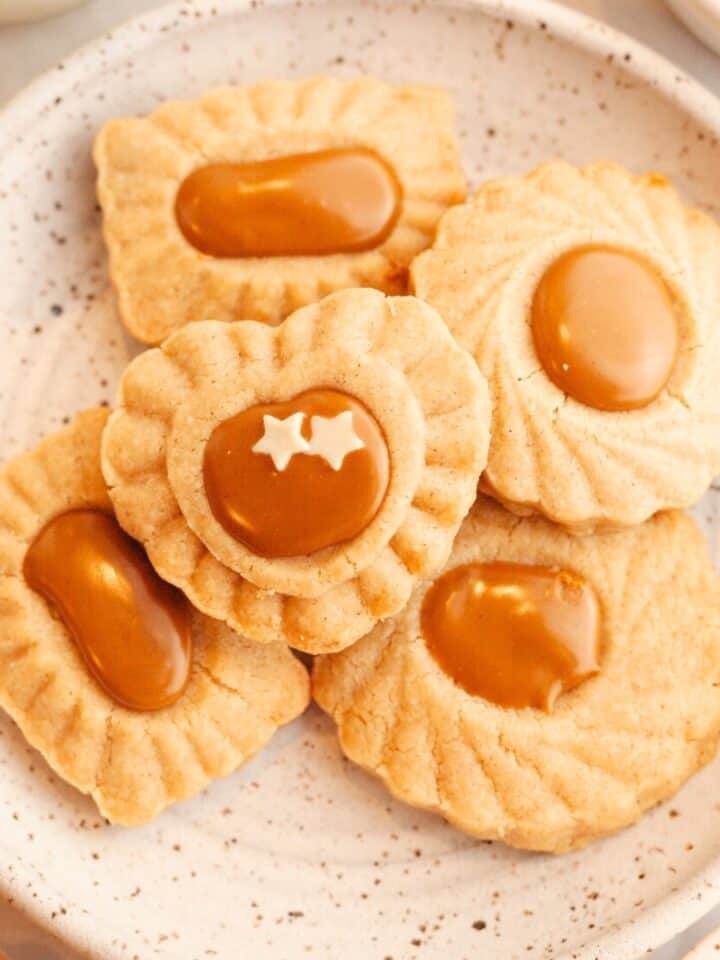
If you want even more Christmas cookies, check out these gingerbread cookies without molasses, Christmas sprinkle sugar cookies, cutout shortbread cookies, and cocoa blossom cookies! And if you're making all of these for a Christmas cookie exchange, please invite me!
This is my favorite Christmas cookie recipe!
- The cookies need just 7 ingredients, and you probably already have them in your pantry!
- I've used vanilla bean paste to give these sugar cookies a special touch, but you can use regular vanilla extract if you prefer.
- These sugar cookies don't use a leavener (like baking soda or baking powder), which means they don't puff up and instead keep their shape!
- I've made a super simple icing which only needs 1 bowl and takes just 5 minutes to make. This thick icing is shiny and delicious.
Ingredients Needed
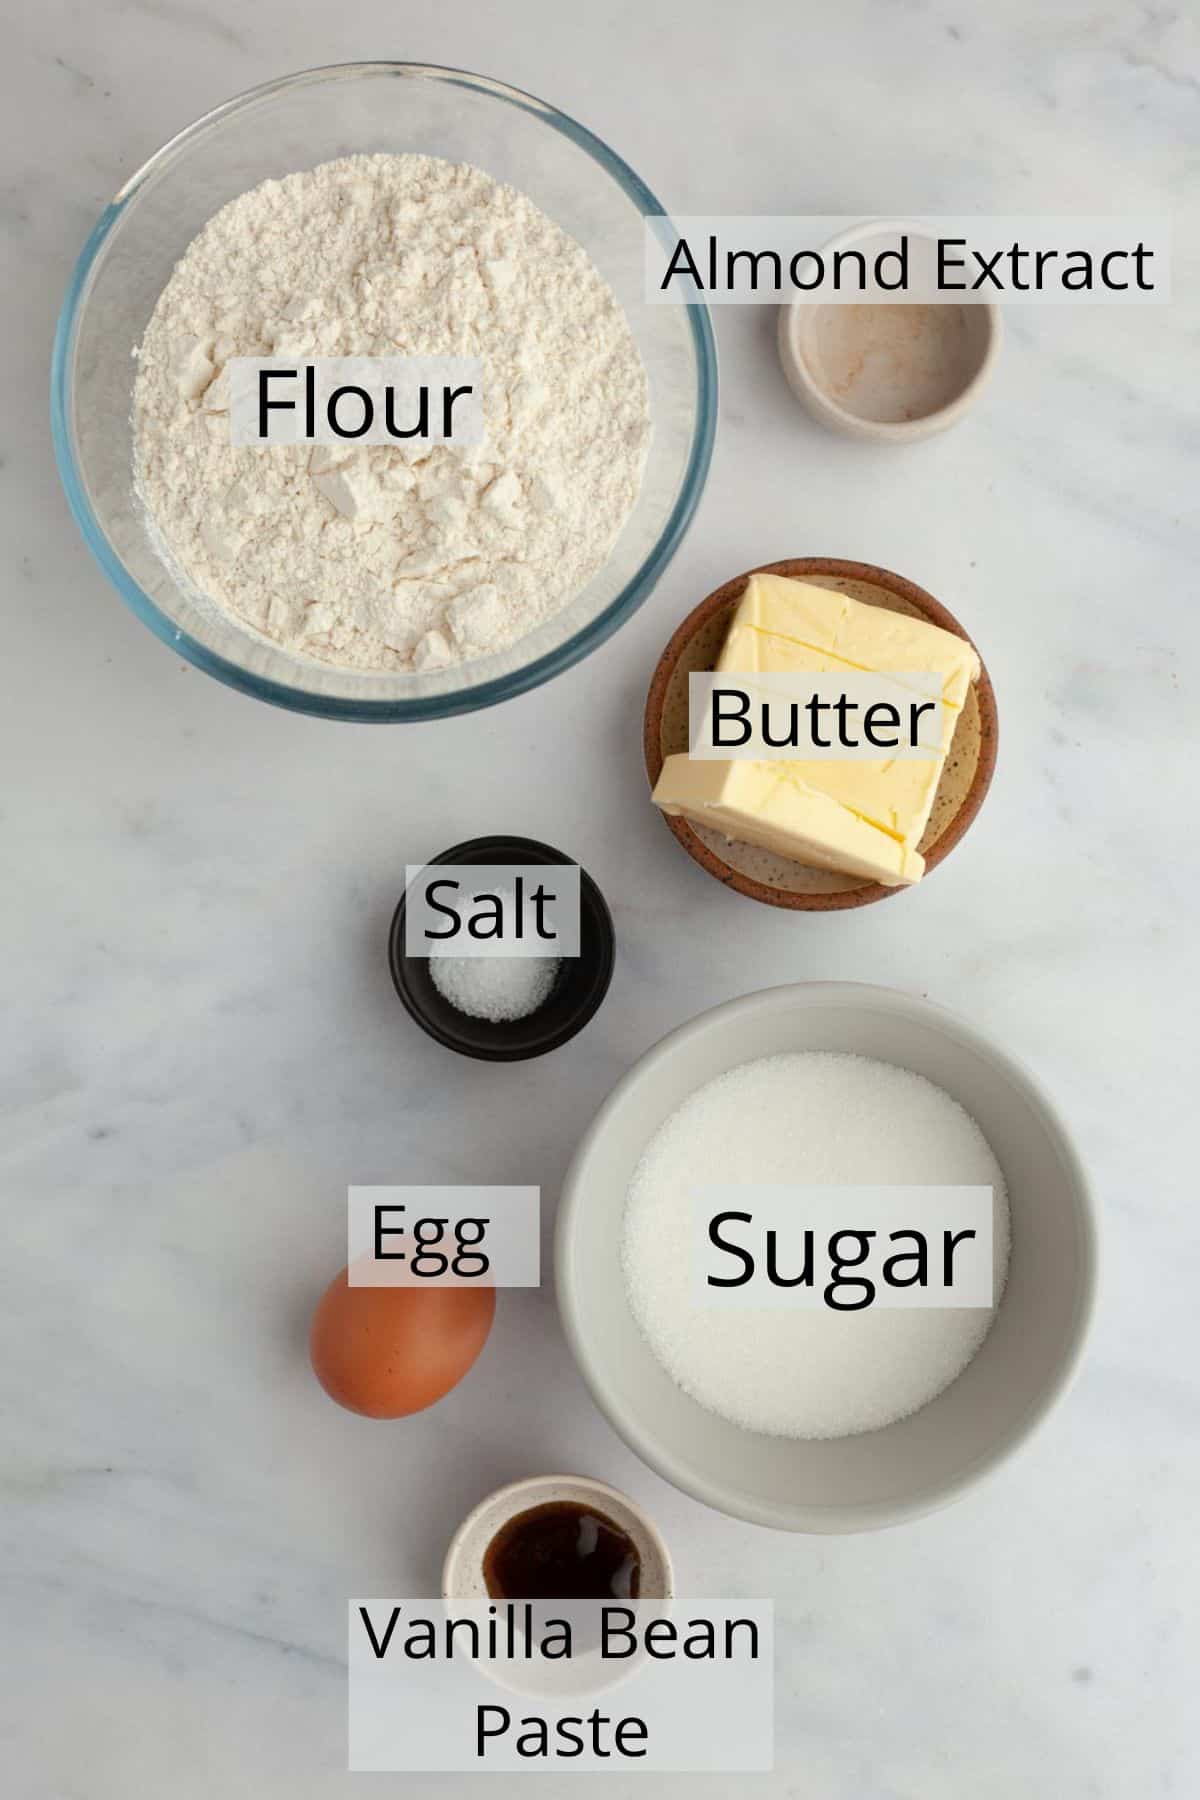
- Flour: I've only tested this recipe with all purpose flour. This is regular plain flour if you are in Europe!
- Almond Extract: This is totally optional but I think makes these cookies extra special! It doesn't make the cookies taste overly almond-y.
- Vanilla Bean Paste: You can use vanilla extract if you prefer. Because there aren't a ton of ingredients in this recipe, I think the vanilla bean paste gives a stronger flavor to the cookies.
- Light Corn Syrup: Not pictured but is used for the icing! This is going to make the icing shiny.
Step by Step Instructions
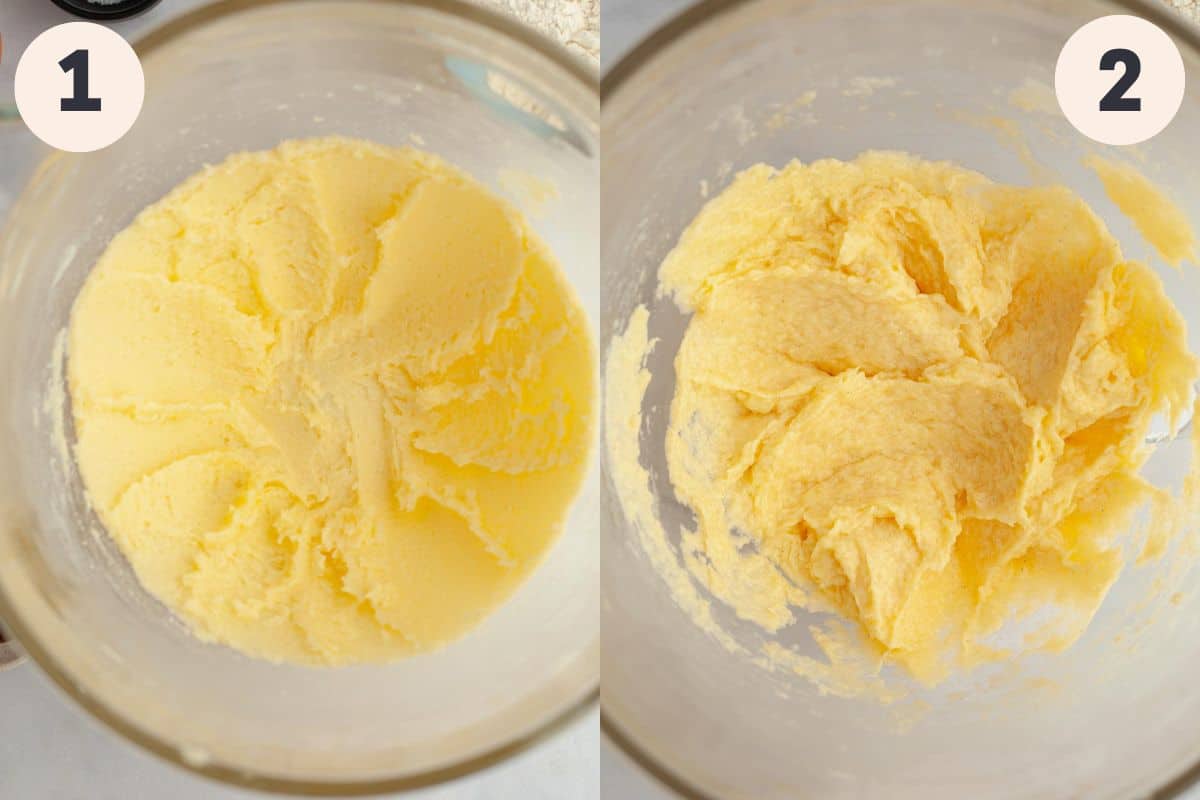
Step 1: In a stand mixer fitted with the paddle attachment, or in a large bowl with a handheld mixer, cream the butter and sugar together on medium-high speed for 2-3 minutes. The mixture should become a bit paler, light and fluffy.
Step 2: Add the egg, vanilla bean paste and almond extract. Mix briefly to combine.
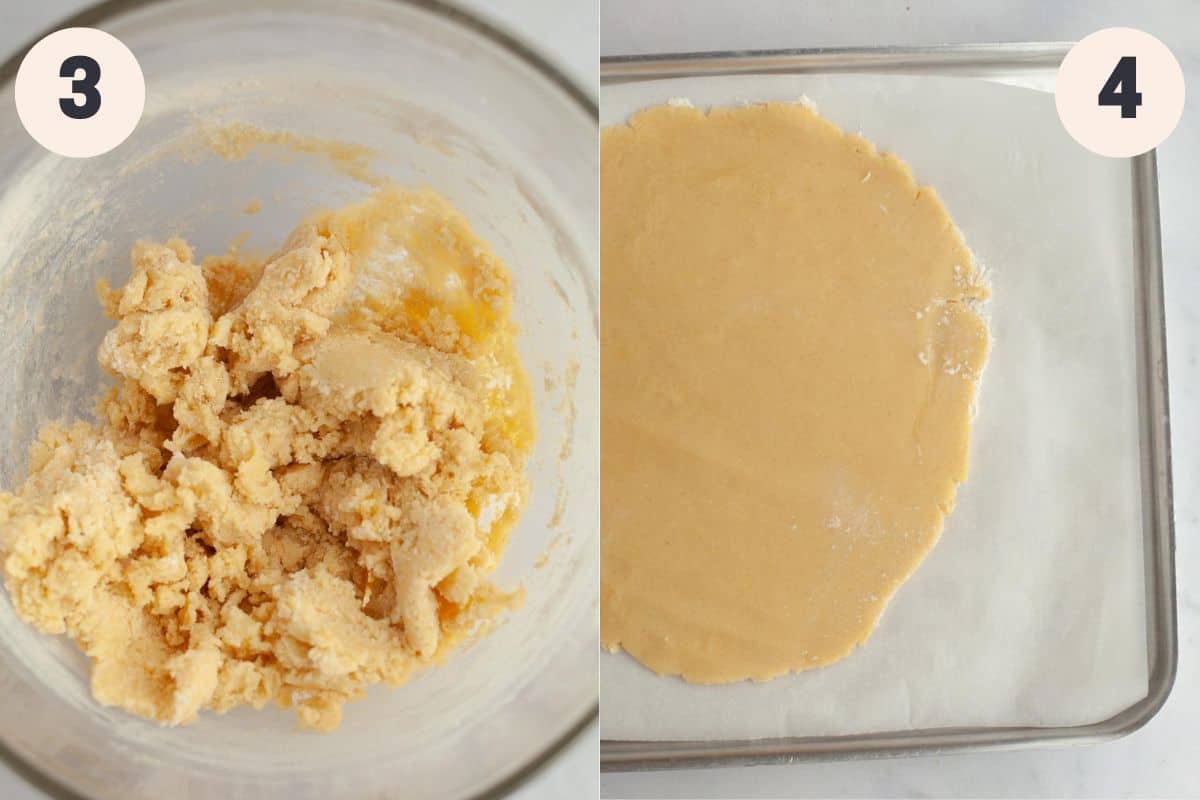
Step 3: Add the flour and salt and mix on your lowest speed. As soon as there are no more streaks of flour stop mixing!
Step 4: Place 2 pieces of parchment paper on your counter. Divide the dough in two, placing one on each piece of paper. Lightly dust each with flour, and use a lightly floured rolling pin to roll out until the piece is ¼ inch thick. If it starts to stick to the rolling pin then sprinkle over some more flour! Place one rolled out piece of dough on a baking sheet, then place the other one on top. Chill for 1 hour.
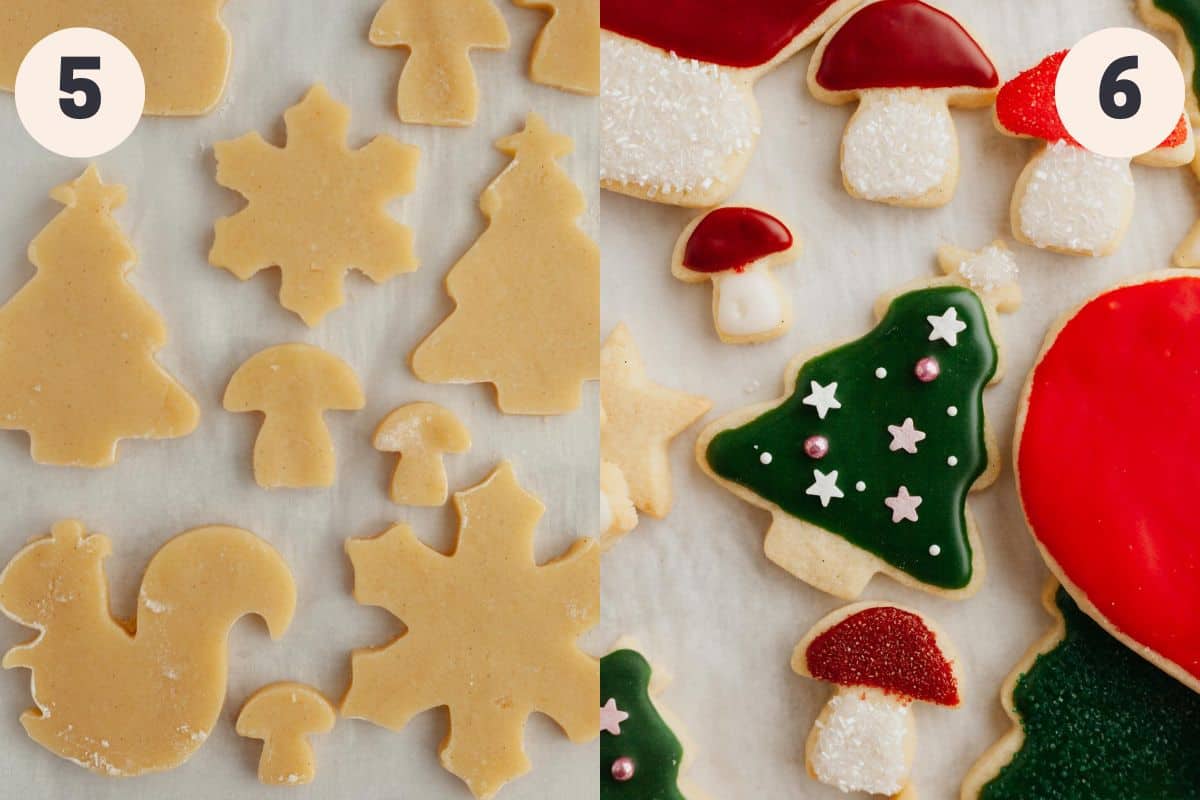
Step 5: Take the cookie sheet out with both pieces of dough. Remove the top sheet of dough and place on your counter. Lightly flour your cookie cutters and cut out your shapes. Reroll any scraps of dough to cut out more shapes! Place these cookies back on the parchment paper, making sure they are evenly spaced. Repeat with the other sheet of cookie dough, then place in the fridge for another 30-60 minutes. Preheat the oven to 350°Fahrenheit/175°Celsius.
Step 6: Bake the cookies one sheet at a time for 8-12 minutes. Depending on the size of your cookie, like the large mittens pictured, they might need 12 minutes. Smaller cookies like the snowflakes and toadstools would only need 8 minutes. They should be pale in color with light golden brown edges.
To make the icing, whisk together all of the icing ingredients in a large bowl. It will be very thick and paste like. You'll know it's ready when you hold the whisk above the bowl and the ribbons dripping down hold their shape for 5 seconds before melting back with the rest of the icing.

How to Decorate Sugar Cookies
Here are my top tips to decorate no spread sugar cookies!
- First tip is to make sure your icing is the right consistency. It should be very thick and keep its shape.
- If you want to dye the icing, then separate it into a few small bowls. Use a few drops of food gel, then whisk until the icing is all one color.
- Wilton Tip 4 is the best piping tip to use to decorate these cookies.
- Outline the cookie first, then fill it in with random squiggles. Use a toothpick to gentle nudge the icing into place.
- Use nonpareils, sprinkles and sanding sugar to decorate! If you want to completely cover a cookie or a section of a cookie with sanding sugar, fill a shallow bowl with the sanding sugar and gently dip the cookie in.
- If you want to only use sanding sugar in certain sections of a cookie (like the mitten cuff above!), ice that section first. So for the mitten, I used the regular white icing to outline and fill the cuff, then dipped that in sanding sugar. Then I iced the rest of the mitten with the red icing.
My Top Cookie Tips
- Measuring - I highly recommend using a weighing scale and measuring out your ingredients the metric way. It makes a huge difference to your baking and is the most accurate way to bake! It's important to have the right amount of flour in this recipe as we don't want dry cookies.
- Chilling - the chill time is super important to get these cookies to keep their shape, so don't skip it!
- Food Coloring - if you want to tint the dough my favorite food gel is Americolor! You only need to use a little bit to get vibrant colors. I used the shades laurel, maroon and tulip red.
- Let the Icing Set - Keep the cookies spaced out on a baking tray for at least a few hours. I found that within 6 hours they were set, but you might want to wait up to 24 hours just in case!
- Make Ahead of Time - You can make the cookies ahead of time, either make them a few days before and store them in an airtight container until you're ready to decorate, or freeze them and then thaw completely when you're ready to decorate and enjoy!

Try these Christmas cookies next!

Made This Recipe?
Make sure to leave a ⭐️ rating and review below! You can tag me on Instagram @alpineella or follow along on Pinterest, Facebook and TikTok!
Thank you!
Ella
Recipe

No Spread Sugar Cookies
Ingredients
No Spread Sugar Cookies
- 1 ½ sticks (170 grams) unsalted butter room temperature
- ¾ cup (150 grams) granulated sugar
- 1 large egg room temperature
- ½ tablespoon vanilla bean paste can use extract instead
- ¼ teaspoon almond extract optional
- ½ teaspoon kosher salt
- 2 ½ cups (300 grams) all purpose flour
Cookie Icing
- 2 cups (227 grams) confectioners' sugar sifted
- 1 teaspoon vanilla extract
- 2 tablespoons corn syrup
- 2 ½ tablespoons water
Instructions
Make Cookies
- In a stand mixer fitted with the paddle attachment, or in a large bowl with a hand mixer, beat the sugar and butter together on medium high speed for 2-3 minutes. It should go slightly pale in color and be light and fluffy.1 ½ sticks (170 grams) unsalted butter, ¾ cup (150 grams) granulated sugar
- Add the egg, vanilla bean paste/extract, and almond extract. Beat to combine.1 large egg, ½ tablespoon vanilla bean paste, ¼ teaspoon almond extract
- Pour in the flour and salt and mix on low. Stop as soon as there are no more streaks of flour. Divide the dough into two.2 ½ cups (300 grams) all purpose flour, ½ teaspoon kosher salt
- Place 2 pieces of parchment paper down on the counter. Place one piece of dough in the middle of 1 piece of parchment paper and lightly sprinkle over some extra flour. Use a lightly floured rolling pin to roll out the dough on the paper until it is ¼ inch thick. If the dough starts to stick to the rolling pan, sprinkle over some more flour. Repeat with the other piece of dough and parchment paper.
- Place one parchment paper covered in dough on a baking sheet, then place the other piece on top. Place in the fridge for 1 hour to chill.
- Take the cookie sheet out of the fridge. Take off the top rolled out piece of dough (still attached to the parchment paper!) and use lightly floured cookie cutter to cut out your shapes. You can reroll any dough that is leftover to cut out more cookies. Repeat with the other rolled out piece of dough.
- Place the cookies on the parchment paper, making sure they are evenly spaced out and not touching. Stack the two pieces of parchment paper with the cookies (carefully!) on the cookie sheet, or use a second cookie sheet if you have it. Chill the cut out cookies for another 30-60 minutes.
- While the cookies chill, preheat your oven to 350°Fahrenheit/175°Celsius.
- Bake the cookies 1 sheet at a time for 8-12 minutes. Depending on the size of your cookies they might need 12 minutes, small cookies will need less time! They should be still quite pale with light golden brown edges. Take the cookies out and let them cool for 10 minutes on the baking sheet before placing on a cooling rack to cool completely.
Make Cookie Icing
- In a large bowl whisk together the confectioners' sugar, vanilla extract, corn syrup and water. It's really important that your confectioners' sugar is sifted or it will be lumpy!2 cups (227 grams) confectioners' sugar, 1 teaspoon vanilla extract, 2 tablespoons corn syrup, 2 ½ tablespoons water
- Whisk until it is completely smooth. It will start off quite thick and paste like, you will have to use some elbow grease! It will start to loosen up slightly. You'll know it is ready to use when you lift the whisk up and let ribbons of icing drip back into the bowl, those ribbons should hold their shape for at least 5 seconds before melting back in with the rest of the icing. If your icing is still too firm, you can add 1 teaspoon of water.
- If using food gel coloring, separate the icing into smaller bowls and use a few drops of food coloring.
- Take the cooled cookies and place the icing into icing bags. I used the Wilton tip 4 and 5 to ice my cookies. I recommend outlining the cookies and then filling them in, using a toothpick to nudge the icing where you want it to go. Add sprinkles once you've done the icing! To add sanding sugar to specific parts of a cookie (like with the red mittens and the white cuff!), ice the section that will have sanding sugar on first, then dip in sugar. Then you can ice the rest of the cookie.
- Place the cookies back on a parchment lined cookie sheet to set. I found within 6 hours they were set but you might want to wait longer just to make sure!
Victoria says
Hello! These look great! Can I double the recipe? I need a lot!!
Ella says
I haven't tested it but you probably could!
Teresa says
if i am making stained glass cookies or shaker cookies should the dough be thicker than a quarter of an inch?
Ella says
Hi Teresa, I haven't tested this recipe to make stained glass cookies so I'm not too sure, sorry!
Barb says
Unfortunately, they do spread.
Ella Gilbert says
Hi Barb, I'm so sorry to hear that the cookies spread for you! Did you use metric measurements and chill the cookies before baking? It would also be good to know if you used parchment paper on your baking sheet or silicone baking sheet? I have found in the past that silicone baking sheets make all my cookies spread! Let me know as I would love to help.
Barb says
I’m going to try your recipe later today. Should I add merengue powder to the icing? In the past it’s always been in my Royal icing recipes. Im looking forward to trying this so my cookies hold their shape! Thank you 😊
Ella says
Hi there! This isn't a traditional royal icing recipe so I don't add meringue powder to it! It won't harden as quickly as royal icing so please keep that in mind!
April says
These cookies truly are no spread! They are delicious! I used this recipe in my holiday boxes this year and they were the favorites so far.
4 stars because my first batch of icing was too runny and fell off the cookie so I had to redo with just a tiny bit less water than recommended. They were perfect after that tiny adjustment. Thank you for this recipe and your work behind it
Ella Gilbert says
Thanks so much for your review, April! And thanks for your feedback, I'll need to retest the cookies (perhaps try a batch with different cookie cutters for some fun new photos!) and the icing. Once that's done I can edit the recipe card 🙂
Laura says
How much is a stick of butter in weight or cup measurement
Ella says
Hi there! You'll need 1.5 sticks of butter which is 170grams. If you click on 'metric' above the ingredients in the recipe card you can see all the metric measurements!