


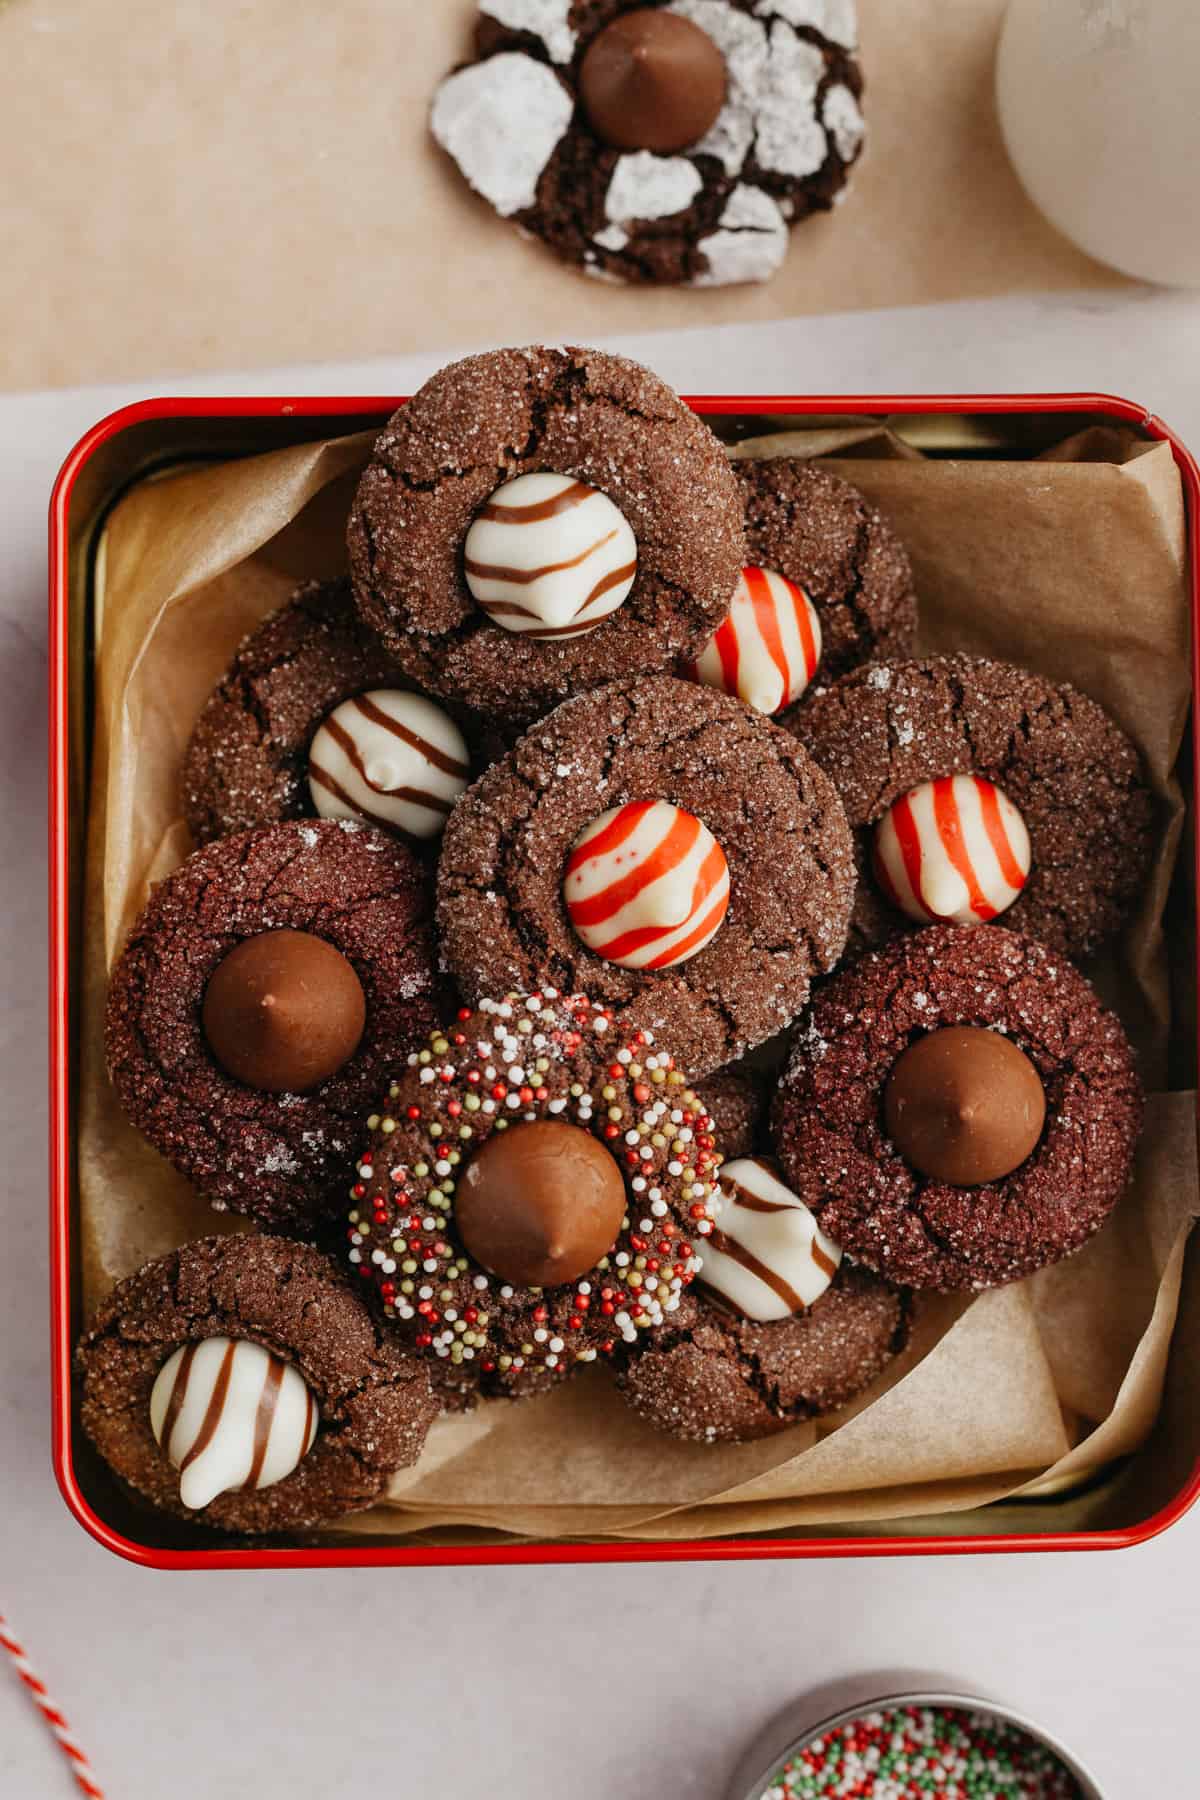
Get ready for the holidays with these festive cocoa blossom cookies! With 4 different variations, you can make chocolate peppermint, mocha, red velvet or chocolate gingerbread kiss cookies! Plus, this is a super simple recipe.

This recipe was originally published in December 2022. It has since been updated with new images and variations.
Aren't these merry little cookies the cutest? These cocoa blossom cookies are a chocolate version of my peanut butter blossoms!
I originally had this as a peppermint chocolate blossom cookie, but decided to revamp the recipe so you could have 4 different flavor combos to try out.
This is such a fun cookie to have for a Christmas get together, holiday party or cookie exchange. Plus, I love that you need simple pantry ingredients to make them. The cookies are super fudgy in the middle with a crisp exterior, perfect!
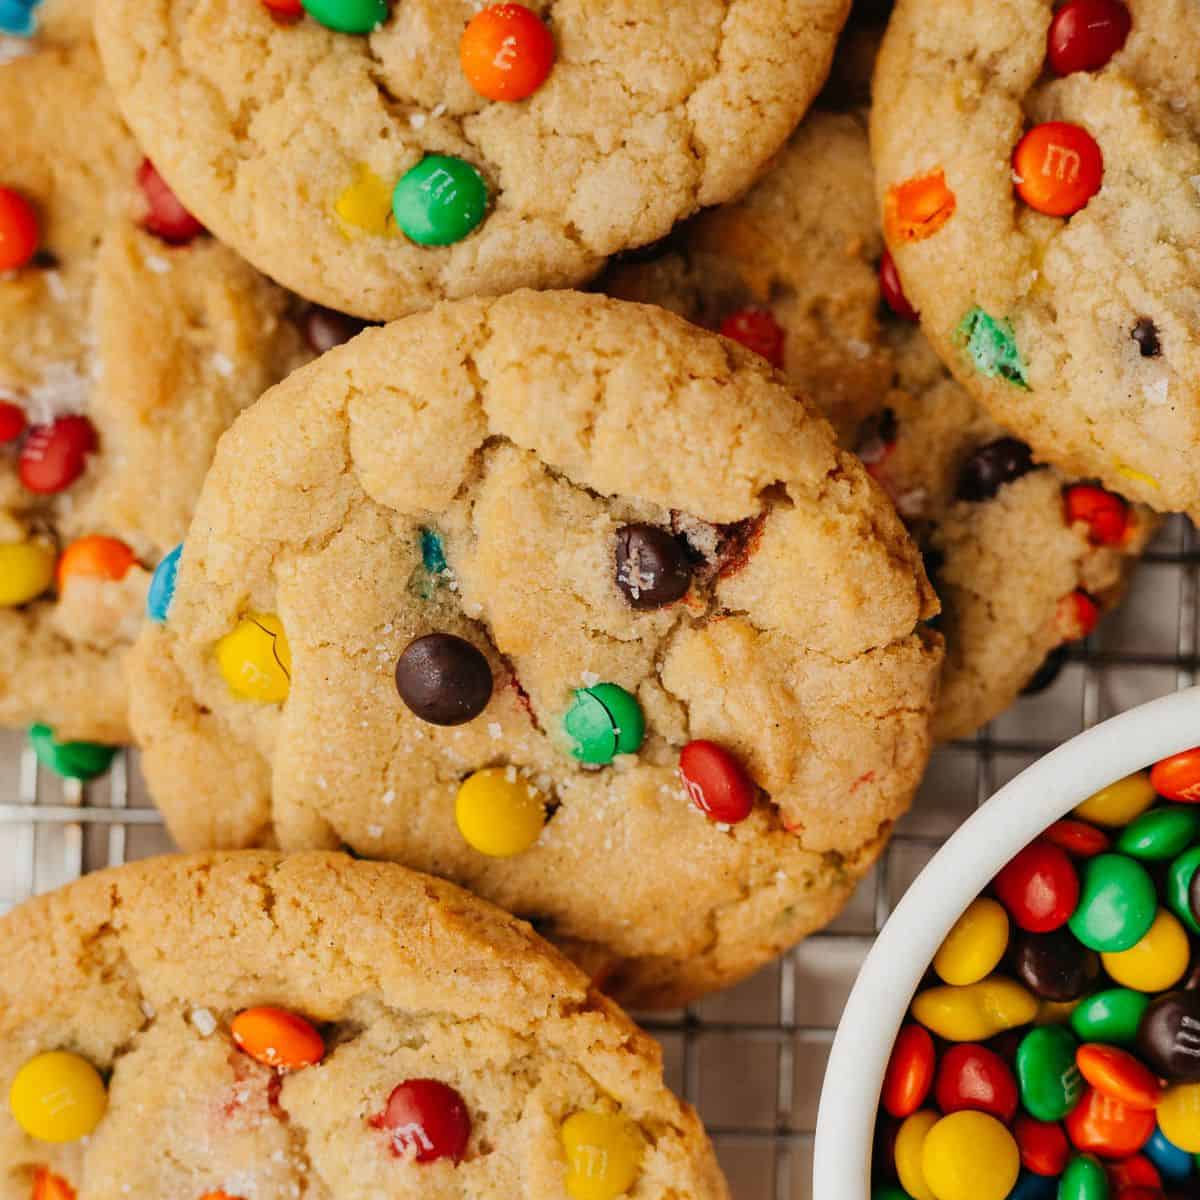
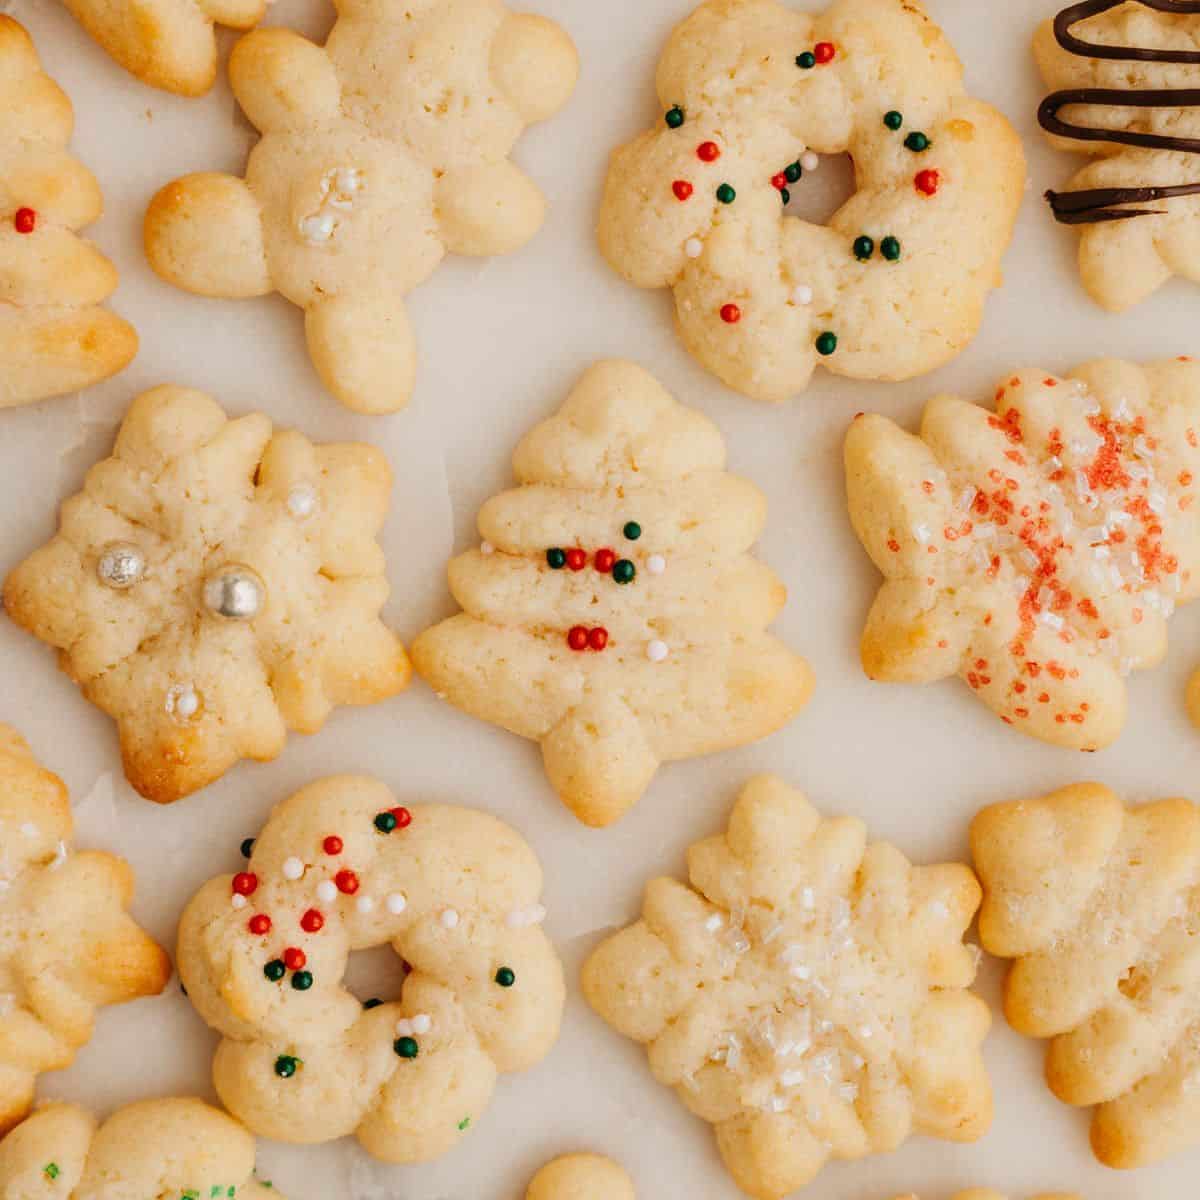
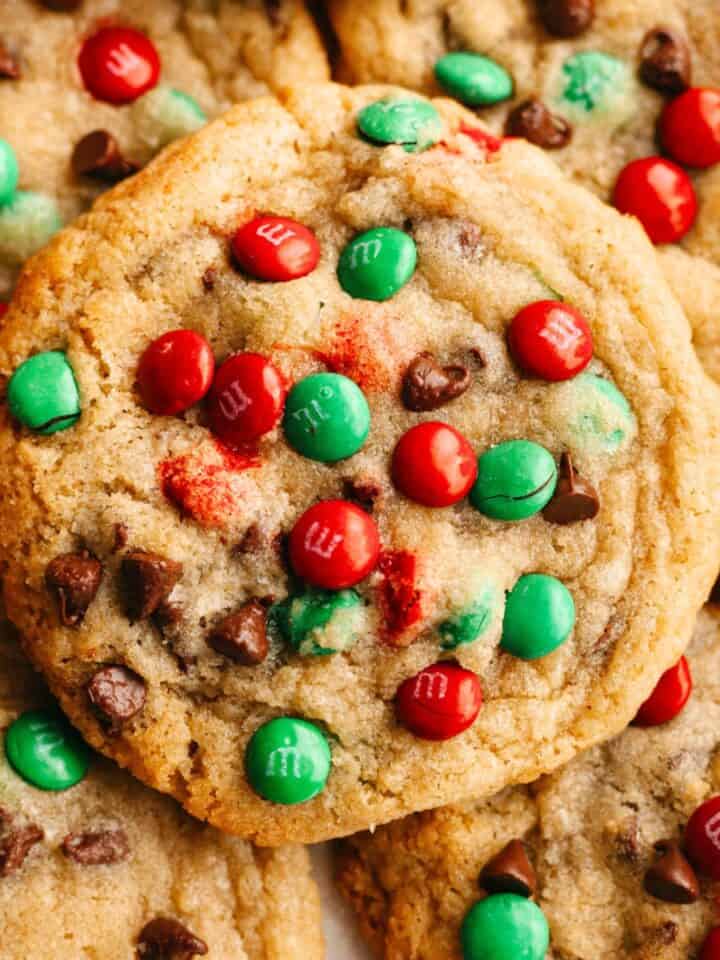
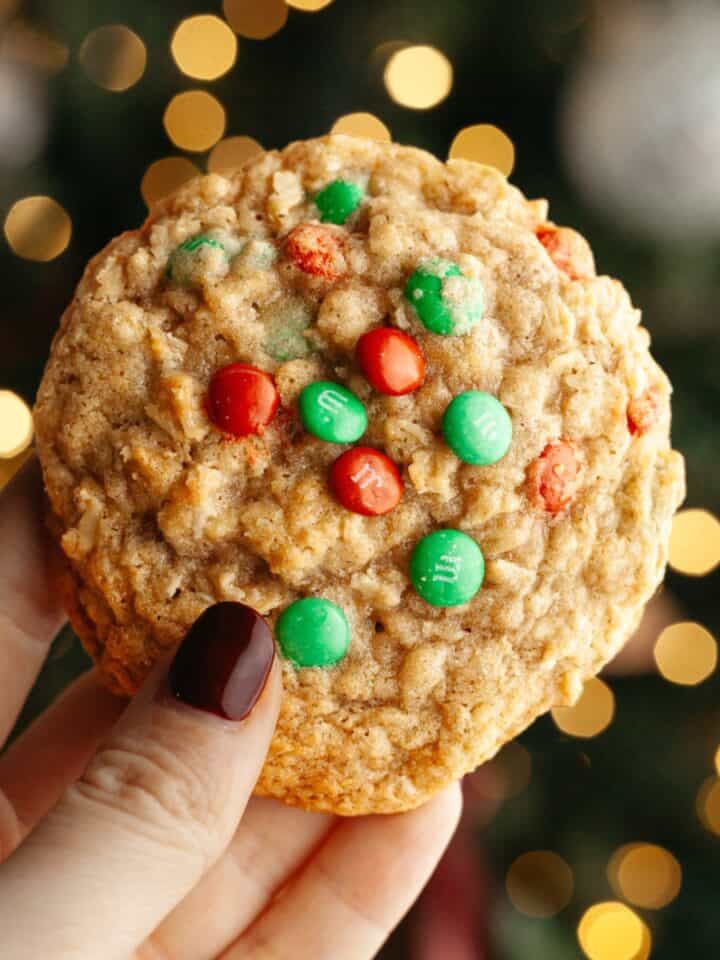
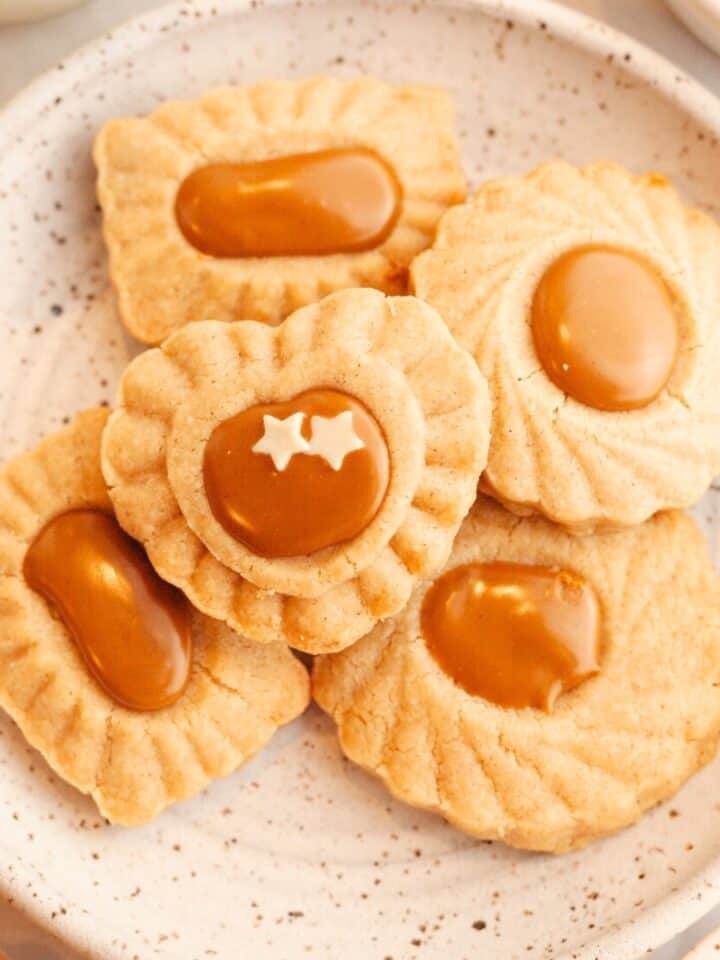
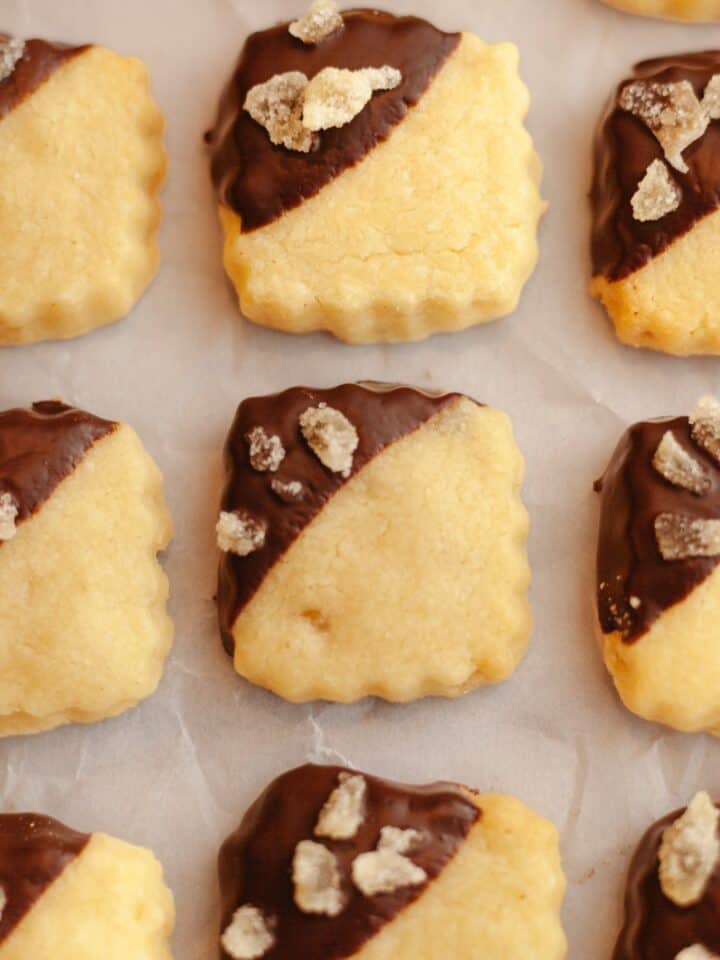
If you're looking for more fun holiday cookies for a cookie exchange, you should make these alongside my sugar cut-out cookies, chocolate dipped butter cookies, and browned butter snickerdoodles!
Why I love these kiss cookies!
- They use simple pantry ingredients that you probably already have at home.
- You can make 4 different variations from 1 dough!
- The cookie dough is really easy to make, but you will need to let the dough chill for 1 hour.
- You can roll them in white sugar, sprinkles or powdered sugar depending on the look you want!
- You can easily freeze the cookie dough so you have these chocolate thumbprint cookies on hand at all times!
Grab Your Ingredients!

- Flour: I have only tested this recipe with all-purpose flour.
- Unsalted Butter: I always use European-style butter in my recipes as it is much richer and creamier!
- Cocoa Powder: make sure you are using unsweetened cocoa powder and not dutch process cocoa powder.
- Milk: use a splash of whole milk to help bring the dough together.
- Sugar: I'm using a combination of white sugar and light brown sugar.
Time for Variations!
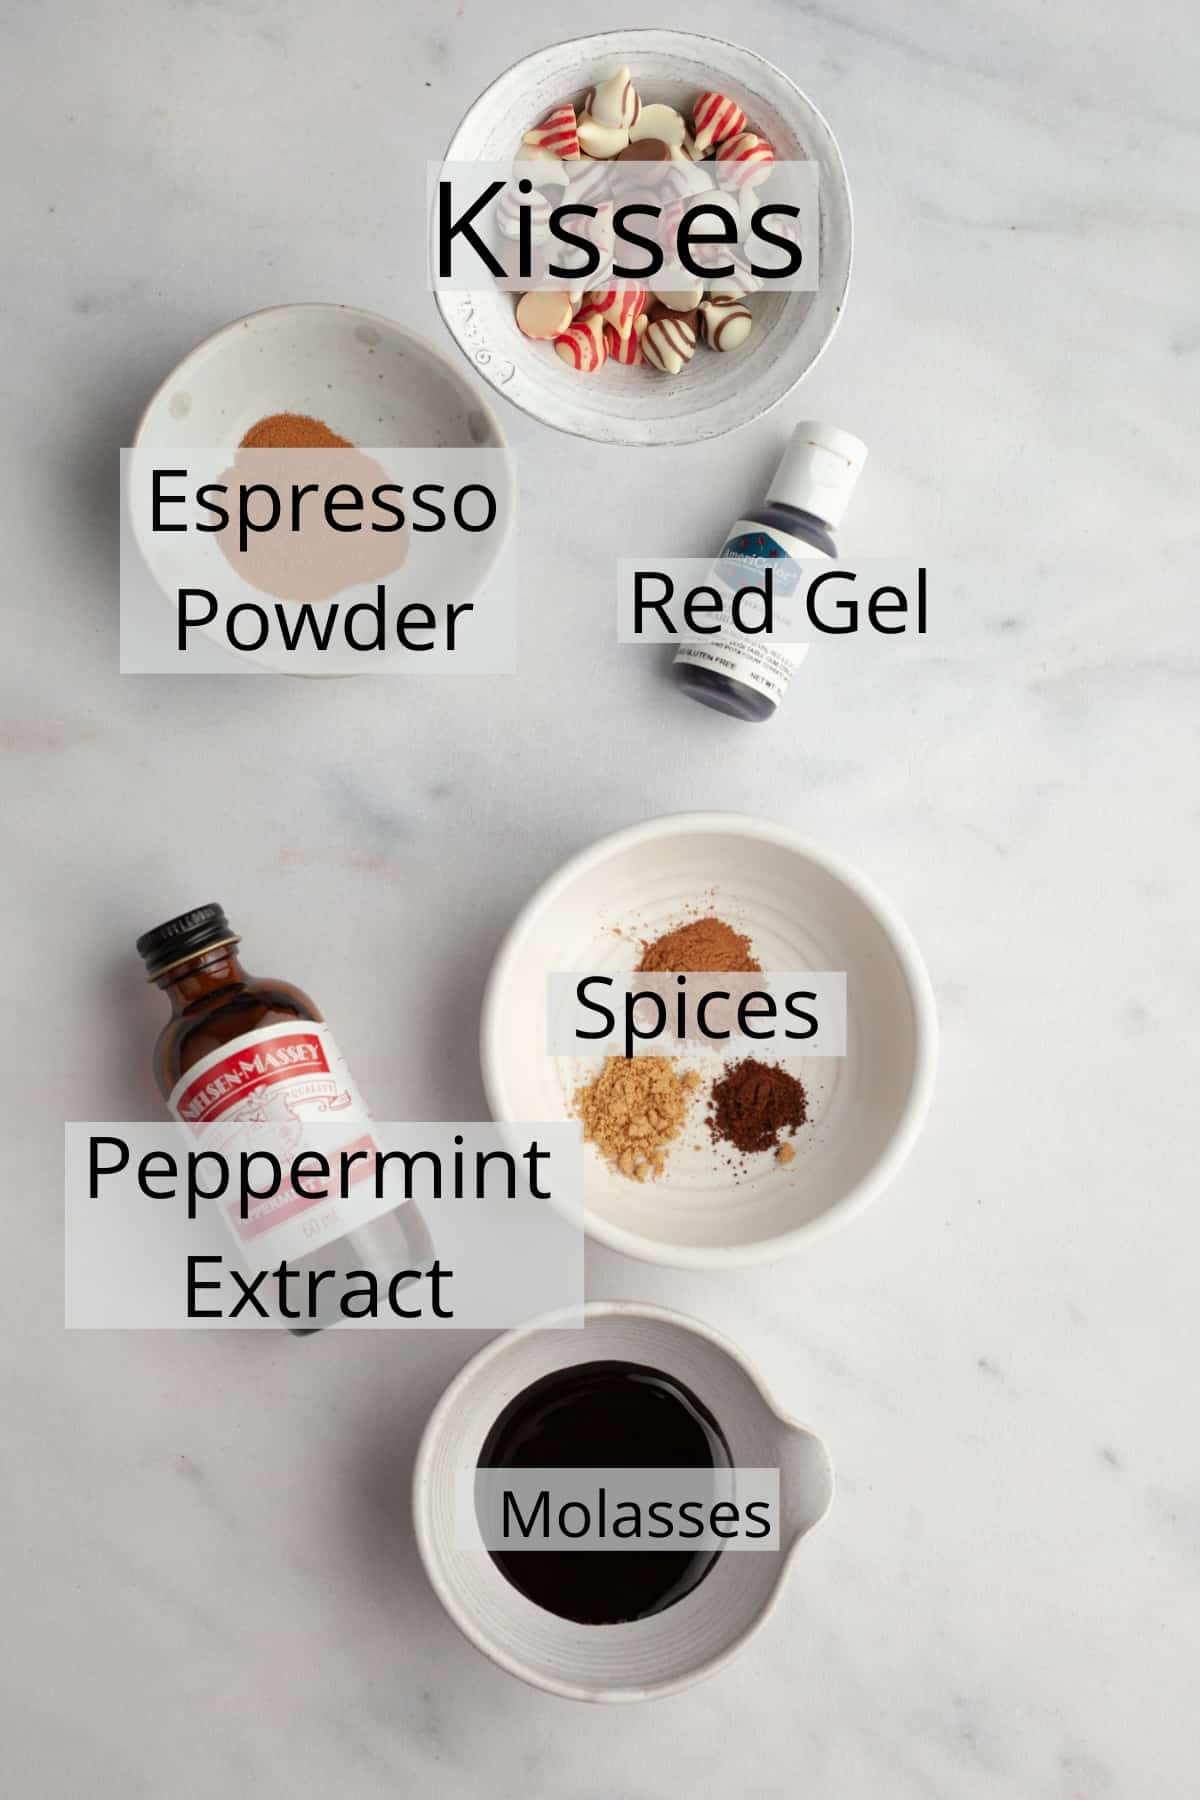
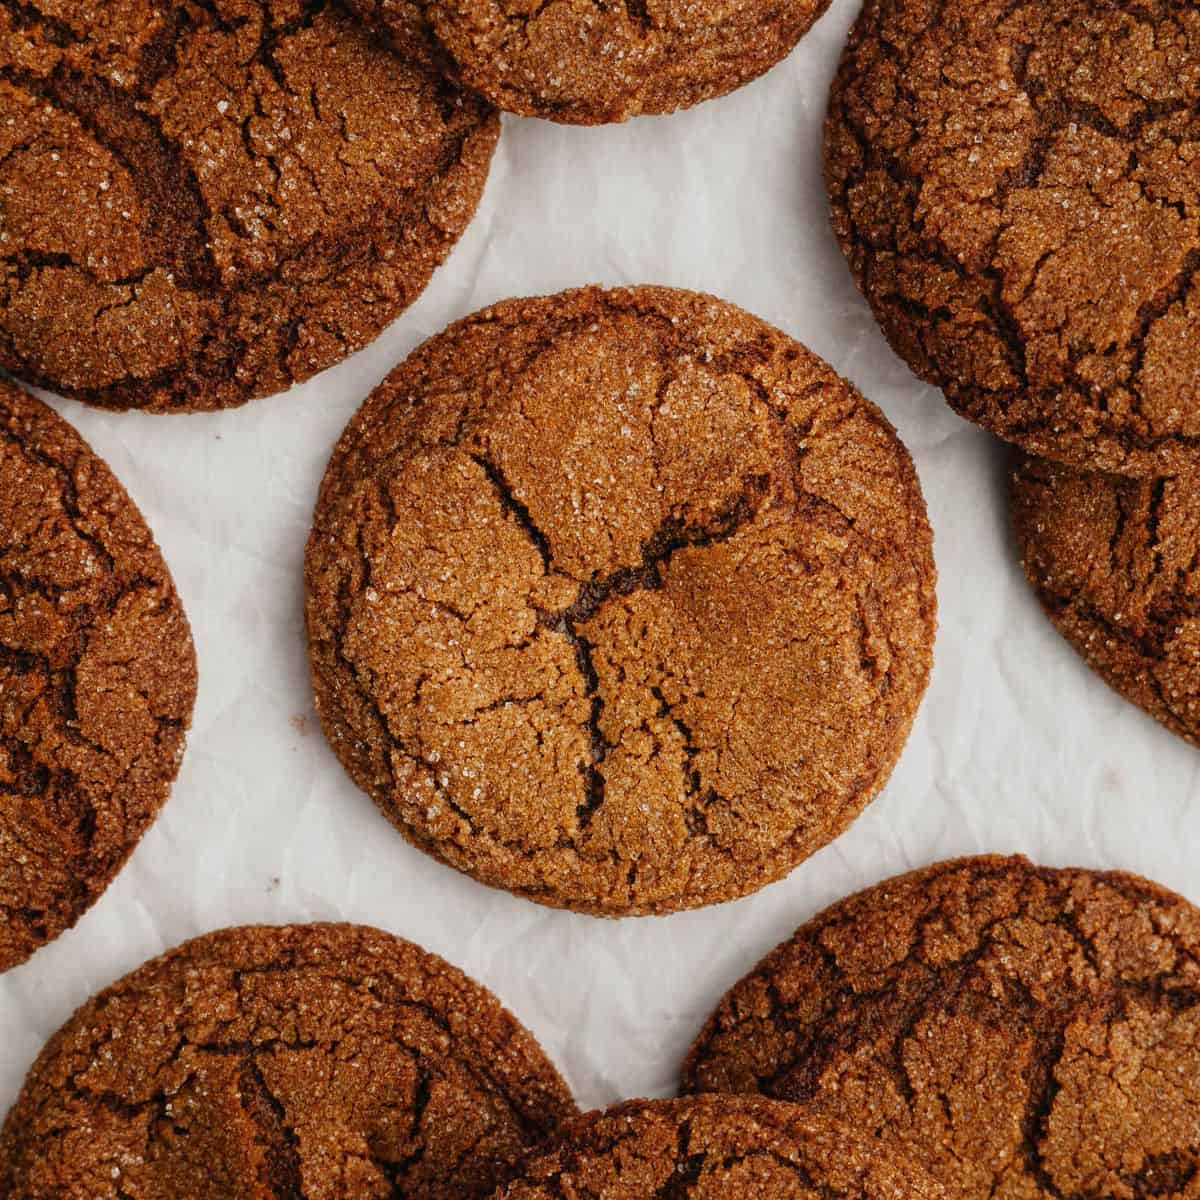
- Gingerbread: add molasses and spices to the cookie dough to get chocolate gingerbread cookies.
- Peppermint Blossoms: get a peppermint candy cane kick by adding a bit of peppermint extract.
- Red Velvet: add a few drops of red food gel to get red velvet-style of blossom cookies.
- Mocha: by adding some instant espresso powder, you'll get a delicious chocolate mocha cookie!
- Kisses & Hugs: switch up the type of kisses you use. I love using the striped hugs for the gingerbread blossom cookies and mocha cookies, the sugar cookie kisses for red velvet, candy cane kisses for the chocolate peppermint blossom cookies!
Let's Make Some Holiday Cookies
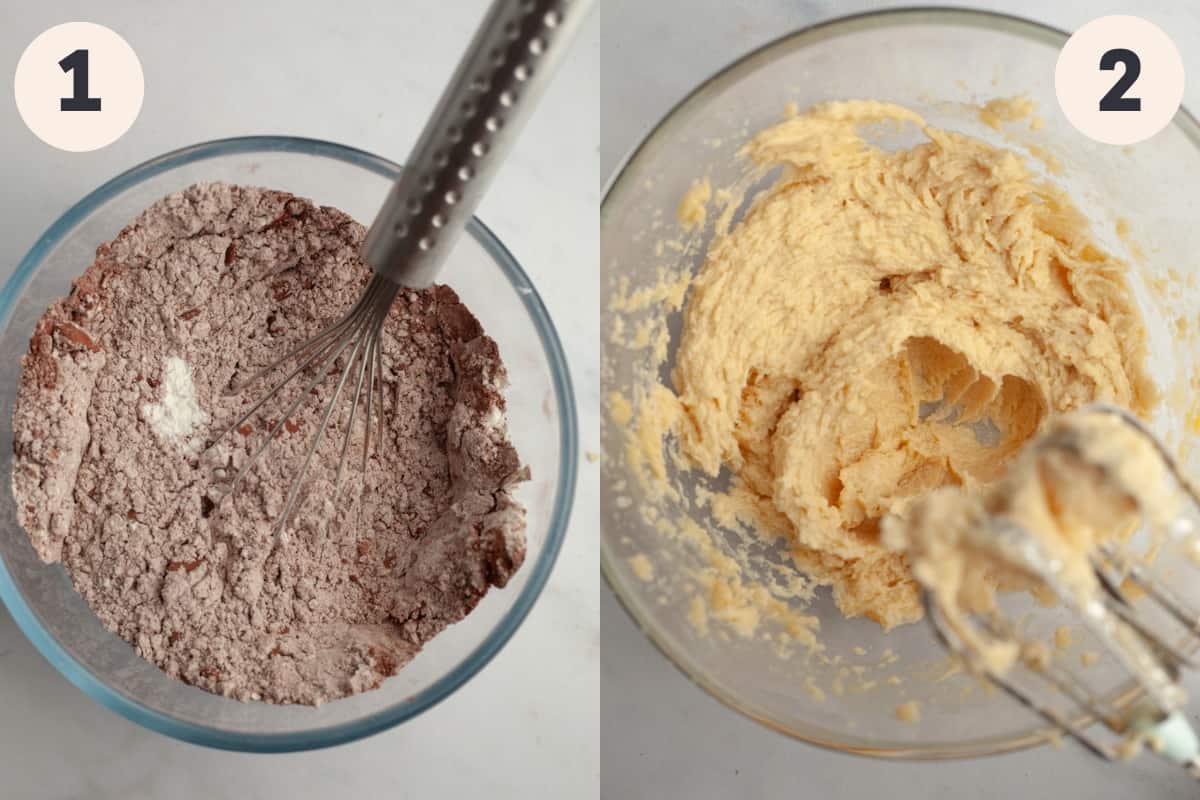
Step 1: In a large bowl, whisk together the flour, cocoa powder, salt and baking soda.
Step 2: In the bowl of a stand mixer fitted with the paddle attachment, or in a large bowl with a handheld electric mixer, cream together the butter, light brown sugar and granulated sugar. Beat on medium-high speed for 2-3 minutes until light and fluffy. Add the egg and vanilla extract.
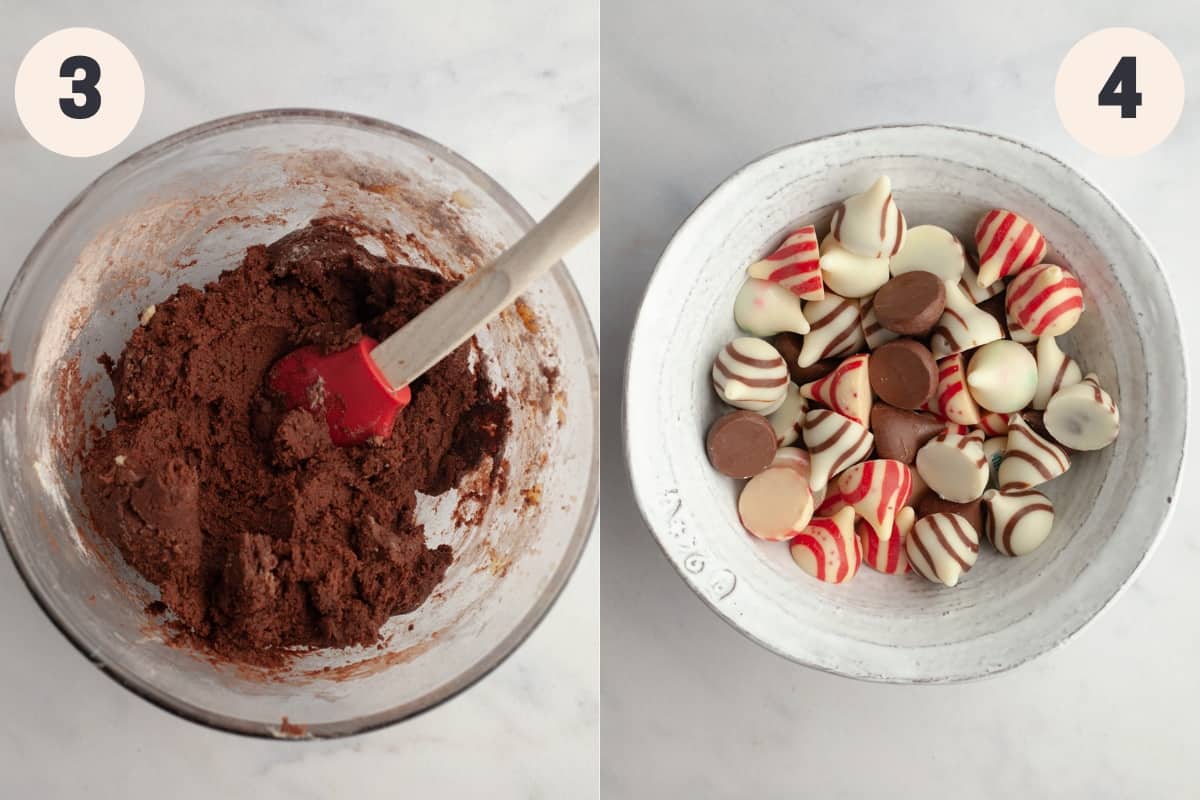
Step 3: Add the dry ingredients to the wet ingredients and mix on low speed until just combined. Add the milk and once again beat on low speed. Stop the mixer as soon as the dough is uniform. If you don't want them to be regular cocoa blossom cookies and want to use one of the variations, add those ingredients now.
Step 4: Unwrap your kisses and place them in a Ziploc bag in the freezer. This is going to help the kisses not melt when you place them on the hot cookies!
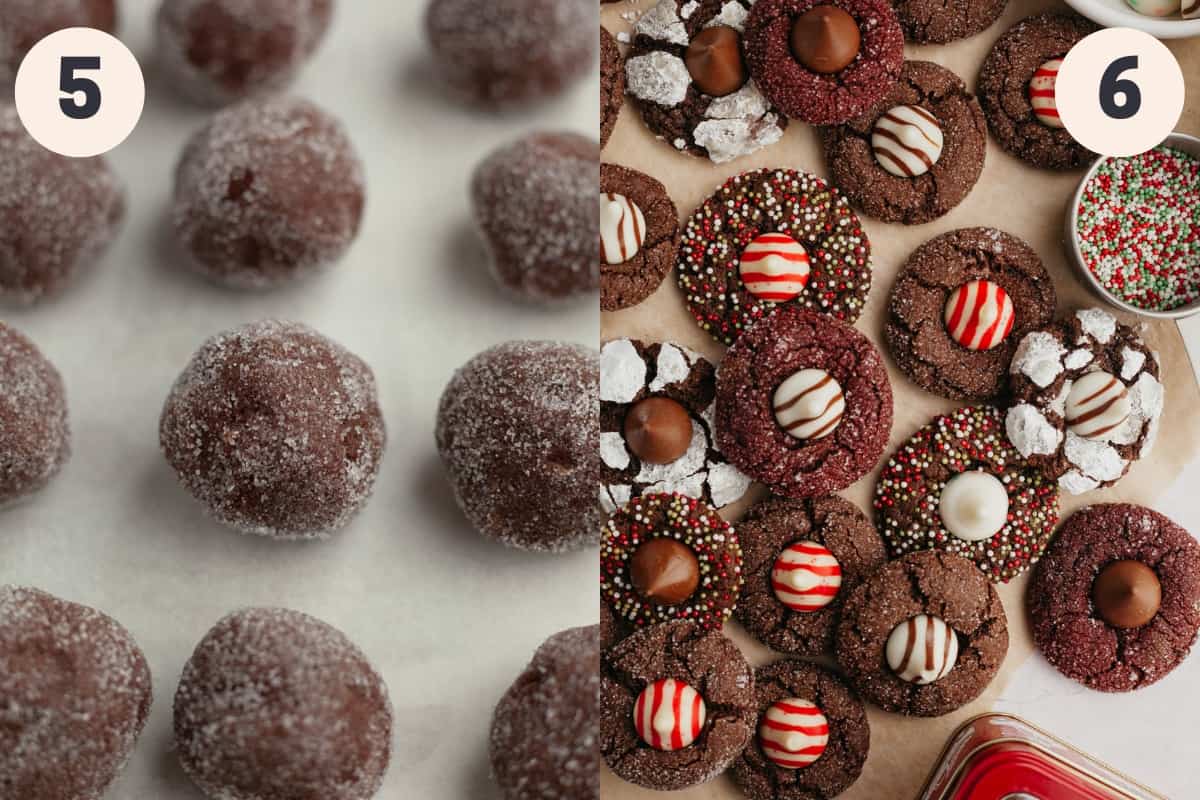
Step 5: Scoop out 1 tablespoon of dough using a spoon or cookie scoop, and roll between your hands to form a ball. Roll in the extra granulated sugar. Place on a parchment-lined baking sheet or plate and repeat with all of the cookie dough. Place the dough in the fridge to chill for 1 hour.
Step 6: Preheat the oven to 350°Fahrenheit and line 2 baking sheets with parchment paper. Place the cookies a few inches apart on the baking sheets (they should fit on two!). Bake on the middle rack one sheet at a time for 11-13 minutes. While those are baking, take out the cold kisses from the freezer. Take the chocolate cookies out of the oven and gently press a kiss in the center of each cookie. Allow the cookies to cool for 10-15 minutes on the cookie sheet, then place on a wire cooling rack to cool completely.

My Baking Tips!
- Chilling: The chill time is super important to get these cookies to keep their shape, so don't skip it!
- No Melting Kisses: One issue you can run into with kiss cookies is that the kiss melts once you place it on the cookie. To stop this from happening, I recommend freezing your kisses for 1 hour while the dough is chilling.
- Powdered Sugar: If you want the powdered sugar on the cookies instead of granulated sugar, I recommend rolling the cookie dough into balls and letting them chill for 1 hour. Then, roll them lightly in white granulated sugar and then heavily in powdered sugar.
- Sprinkles: Skip out on rolling the cookie dough balls in sugar and roll them in sprinkles or sanding sugar instead.
Try these cookie recipes next!


Made This Recipe?
Make sure to leave a ⭐️ rating and review below! You can tag me on Instagram @alpineella or follow along on Pinterest, Facebook and TikTok!
Thank you!
Ella
Recipe

Cocoa Blossom Cookies
Ingredients
- 2 cups (240 grams) all purpose flour
- ½ cup (42 grams) cocoa powder
- 1 teaspoon baking soda
- ½ teaspoon kosher salt
- ½ cup (113 grams) unsalted butter room temperature
- ½ cup (104 grams) light brown sugar
- ½ cup (100 grams) granulated sugar
- 1 large egg room temperature
- 2 teaspoons vanilla extract
- 1 tablespoon whole milk
- ¼ cup granulated sugar for rolling
- 35 kisses
Gingerbread
- ½ tablespoon molasses
- ½ teaspoon ground ginger
- ½ teaspoon ground cinnamon
- pinch ground cloves
Mocha
- 2 teaspoons instant espresso powder
Red Velvet
- red food gel
Peppermint
- ¼ teaspoon peppermint extract
Instructions
- In a small bowl, whisk together the flour, cocoa powder, baking soda and kosher salt. Set aside.2 cups (240 grams) all purpose flour, ½ cup (42 grams) cocoa powder, 1 teaspoon baking soda, ½ teaspoon kosher salt
- In a stand mixer fitted with the paddle attachment, or in a large bowl with a handheld mixer, combine the butter and both sugars. Cream on medium-high speed for 2 minutes until light and fluffy.½ cup (113 grams) unsalted butter, ½ cup (104 grams) light brown sugar, ½ cup (100 grams) granulated sugar
- Stop the mixer and scrape down the sides and bottom of the bowl with a rubber spatula. Add the egg and vanilla extract. Beat on medium-high speed for 1 minute.1 large egg, 2 teaspoons vanilla extract
- Stop the mixer and add the dry ingredients. Mix on low speed, then add the tablespoon of milk. Stop the mixer once everything is combined, you don't want to over-mix it!1 tablespoon whole milk
- At this point, you can change the flavor from regular cocoa blossom cookies to peppermint, mocha, gingerbread or red velvet.
- Scoop out 1 tablespoon of cookie dough and roll between your hands to form a ball. Roll the cookie dough ball in the extra granulated sugar, then place on a parchment lined baking sheet or plate. Repeat with all of the dough, you should get 35 cookies.¼ cup granulated sugar
- Chill the cookies in the fridge for 1 hour. While those are chilling, unwrap the kisses. Place them in a freezer safe container and place in the freezer while the cookie dough is chilling. This will help them not melt!35 kisses
- After 1 hour, preheat the oven to 350°Fahrenheit/175°Celsius and line 2 baking sheets with parchment paper. Place the cookies on the sheet, leaving a few inches of space between each cookie. Bake 1 sheet at a time for 11-13 minutes in the middle of the oven. While baking, take the kisses out of the freezer.
- Take the cookies out of the oven, they should look set with some cracks. Immediately press a kiss in the center of each cookie, pressing down gently so it sticks. Bake the other sheet of cookie dough and repeat.
- Allow the cookies to cool on the baking sheet for 10 minutes before removing to a wire rack to cool completely.
Janet says
Do you have to use whole milk? I hate to buy whole milk for such a small amount needed.
Thank you!
Ella says
Hi Janet! I haven't tested it, but it's such a small amount that I think you'll be ok with using a different milk.
Andrea says
I tried these out for a cookie swap for Christmas today and they were a hit!
Ella says
Thanks for your review Andrea!