

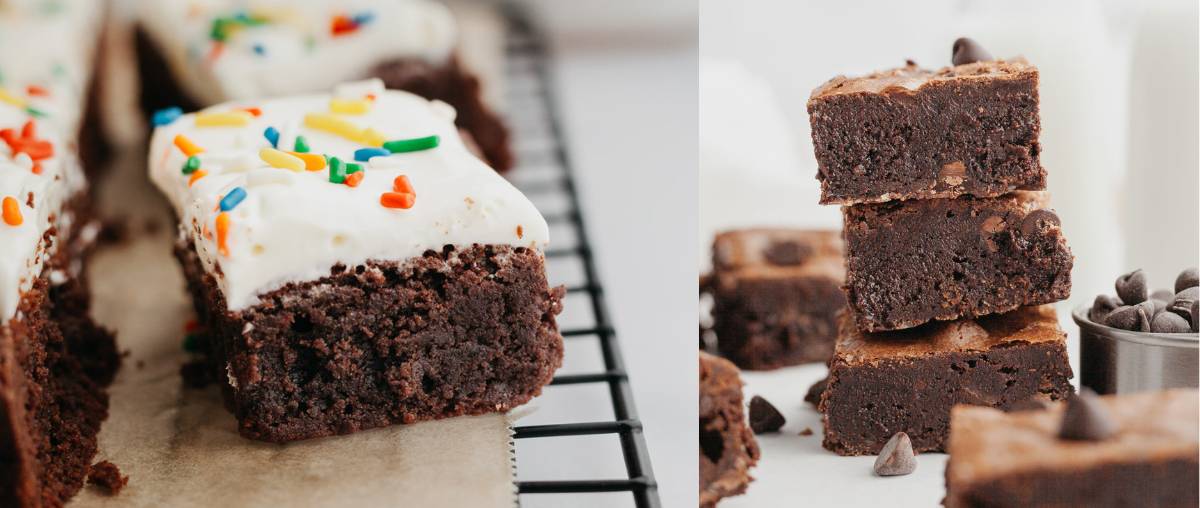
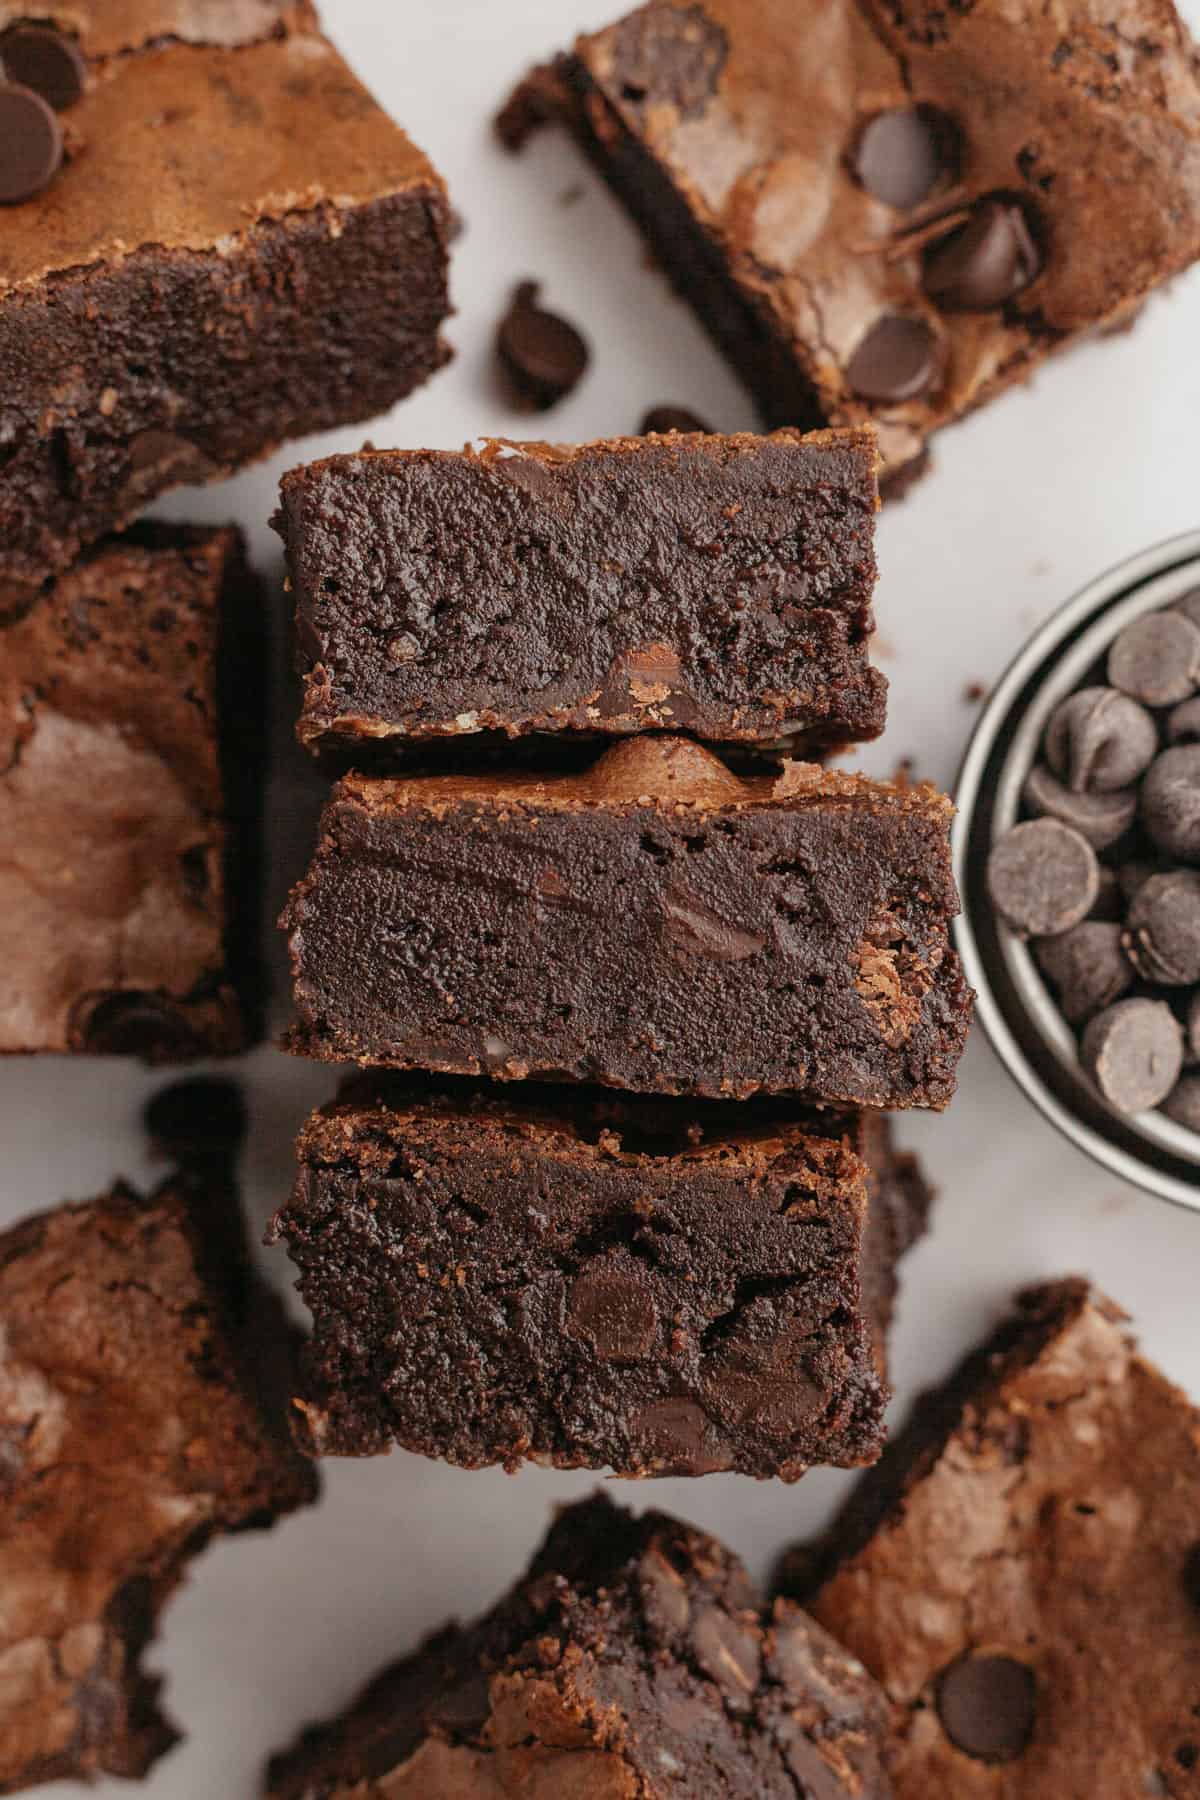
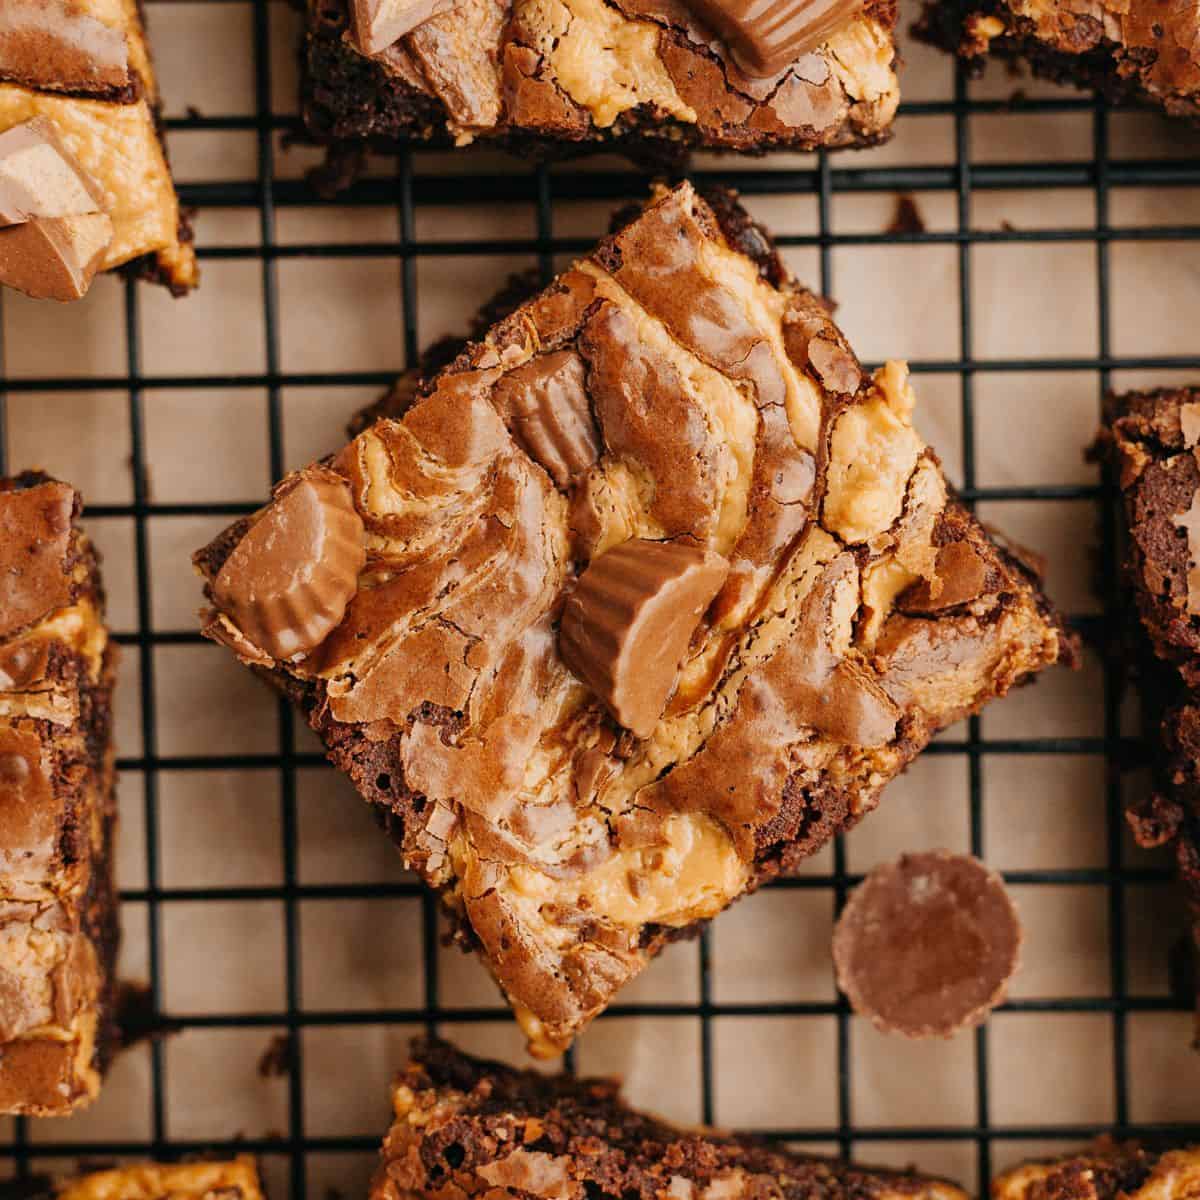
These are the best triple chocolate brownies! They're made with cocoa powder, melted chocolate, and chocolate chips. You only need 11 simple ingredients and you don't need a mixer to make these brownies! This is perfect for chocolate lovers.
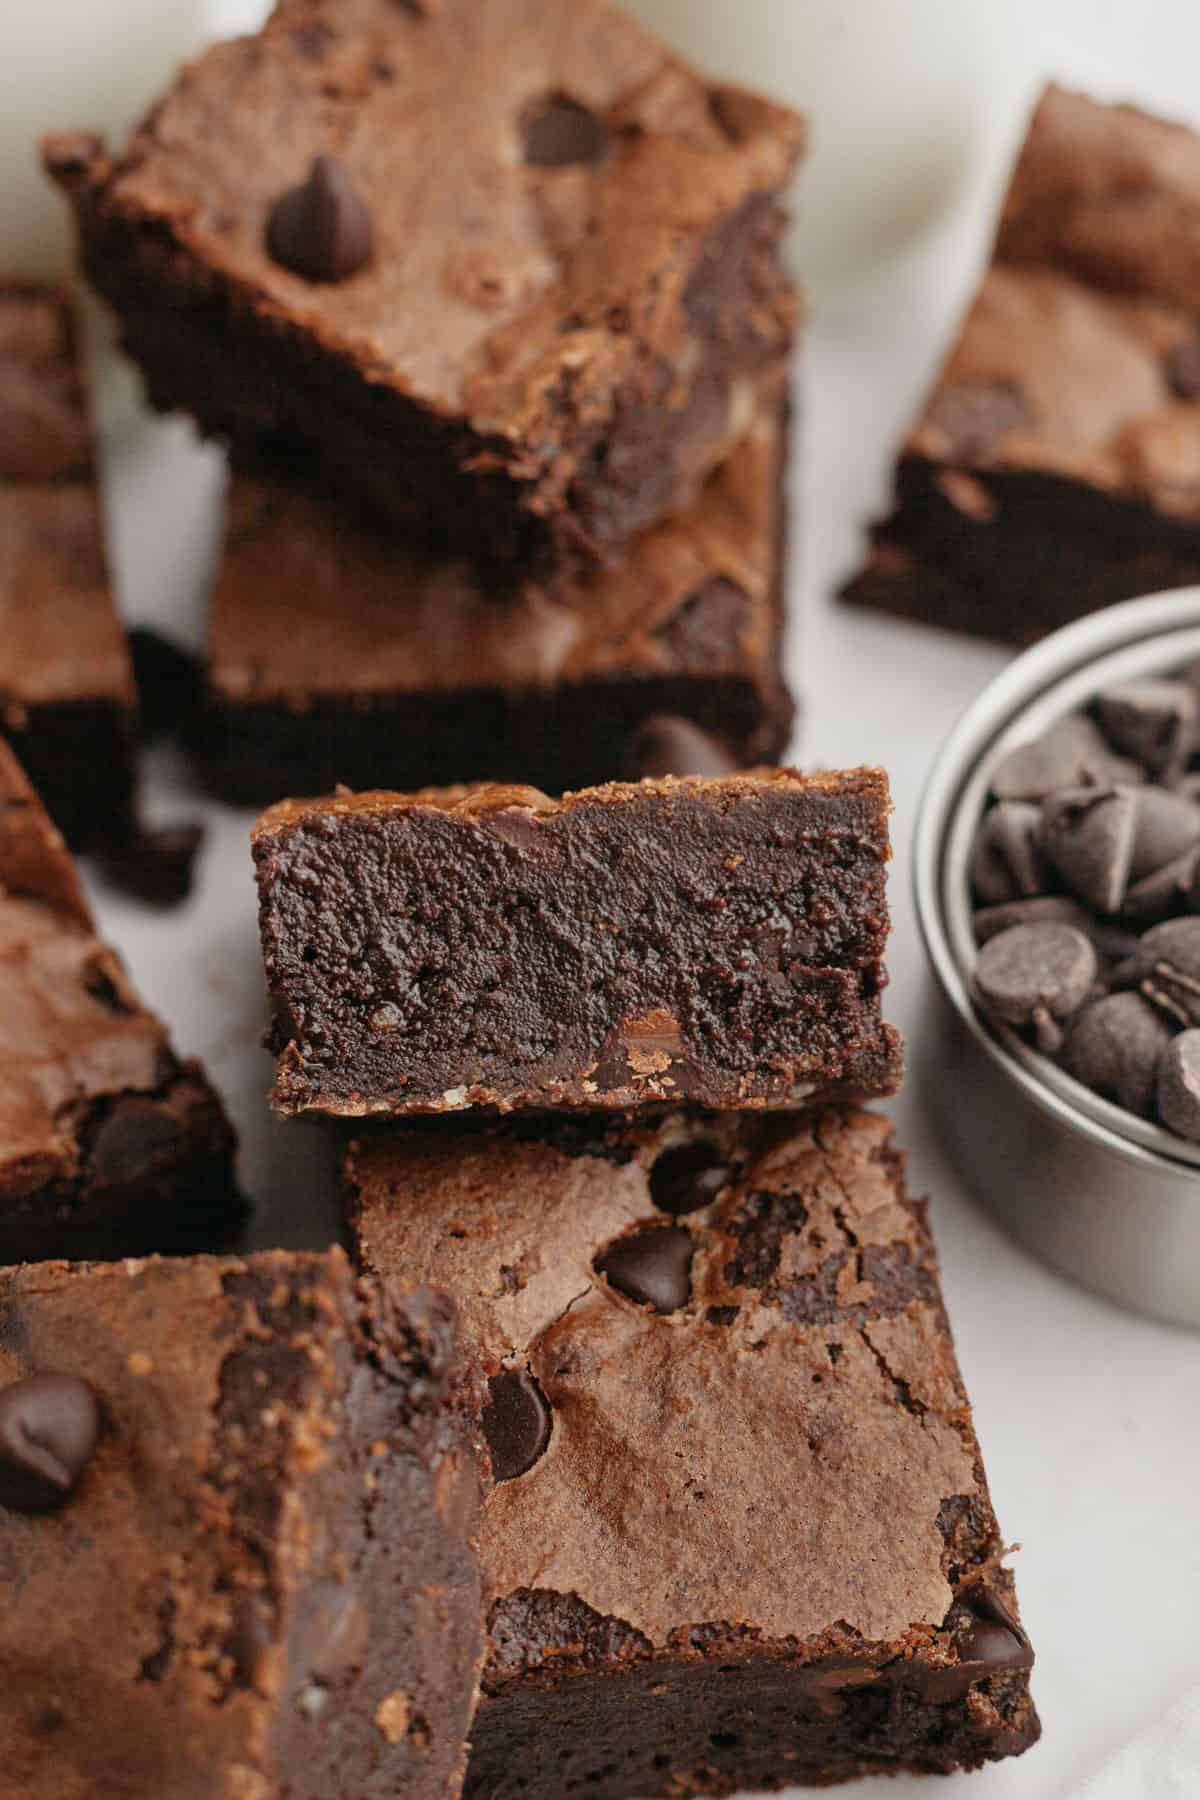
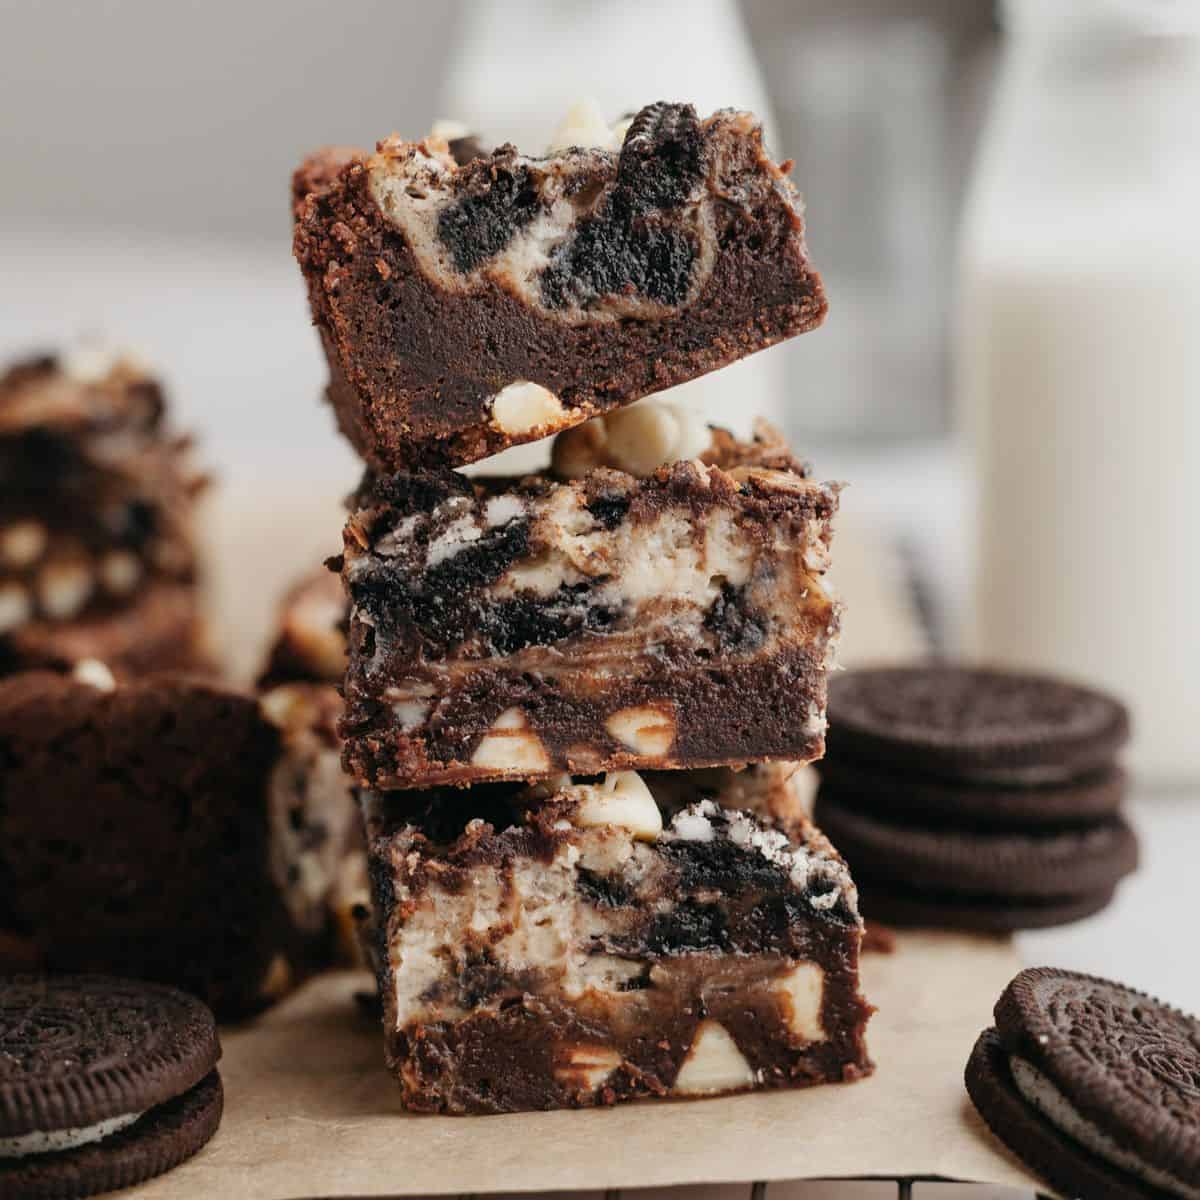
These triple chocolate brownies are so fudgy, you won't believe it! I spent so long testing this brownie recipe, making sure it was easy to make, you didn't need a mixer, you had a super fudgy texture and a crackle top. This is the same base recipe that I use for my mini egg brownies, brownies with chocolate ganache and birthday cake brownies!
Brownies get their crackly top by mixing sugar and eggs, it almost forms a meringue layer that floats to the top of the brownies when baking.
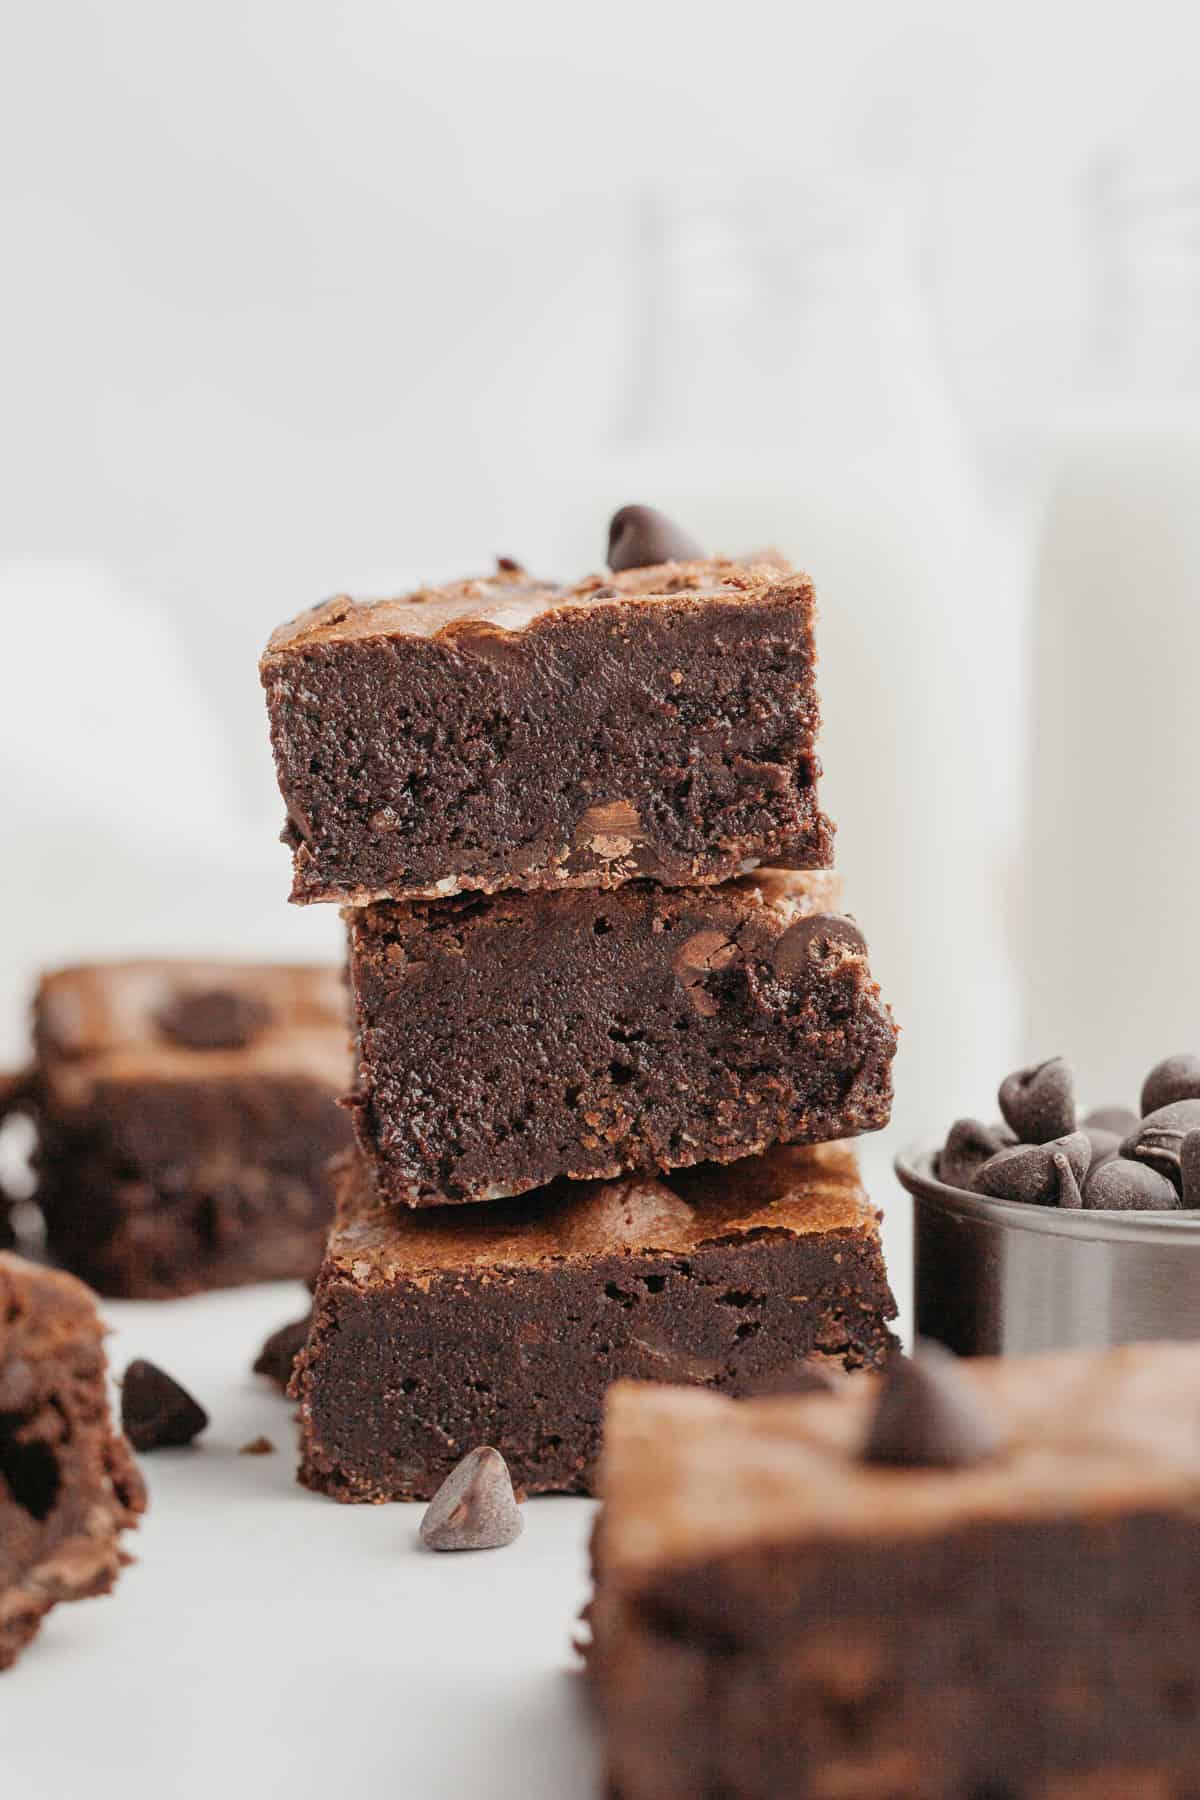
These chocolate fudge brownies are so fudgy thanks to a combination of cocoa powder and melted chocolate. Using a mixture of both means they aren't too cakey. They're then so rich and chocolatey because the cocoa powder 'blooms' thanks to hot melted butter!
Why you'll love this recipe!
- Easy Recipe: these triple chocolate brownies are so easy to whip up. You just need a couple of bowls, a whisk and a rubber spatula. You don't even need a stand mixer or handheld mixer!
- Super Chocolatey: these brownies have 3 types of chocolate, cocoa powder, melted chocolate and chocolate chips.
- Rich Brownies: By blooming the cocoa powder with hot melted butter, you're making these brownies even richer! Then by adding a bit of espresso powder, it helps make these brownies even more chocolatey and indulgent.
- Crackle Top: you get a crackle top on these chocolate fudge brownies by whisking the sugars with the eggs.
Ingredients Needed
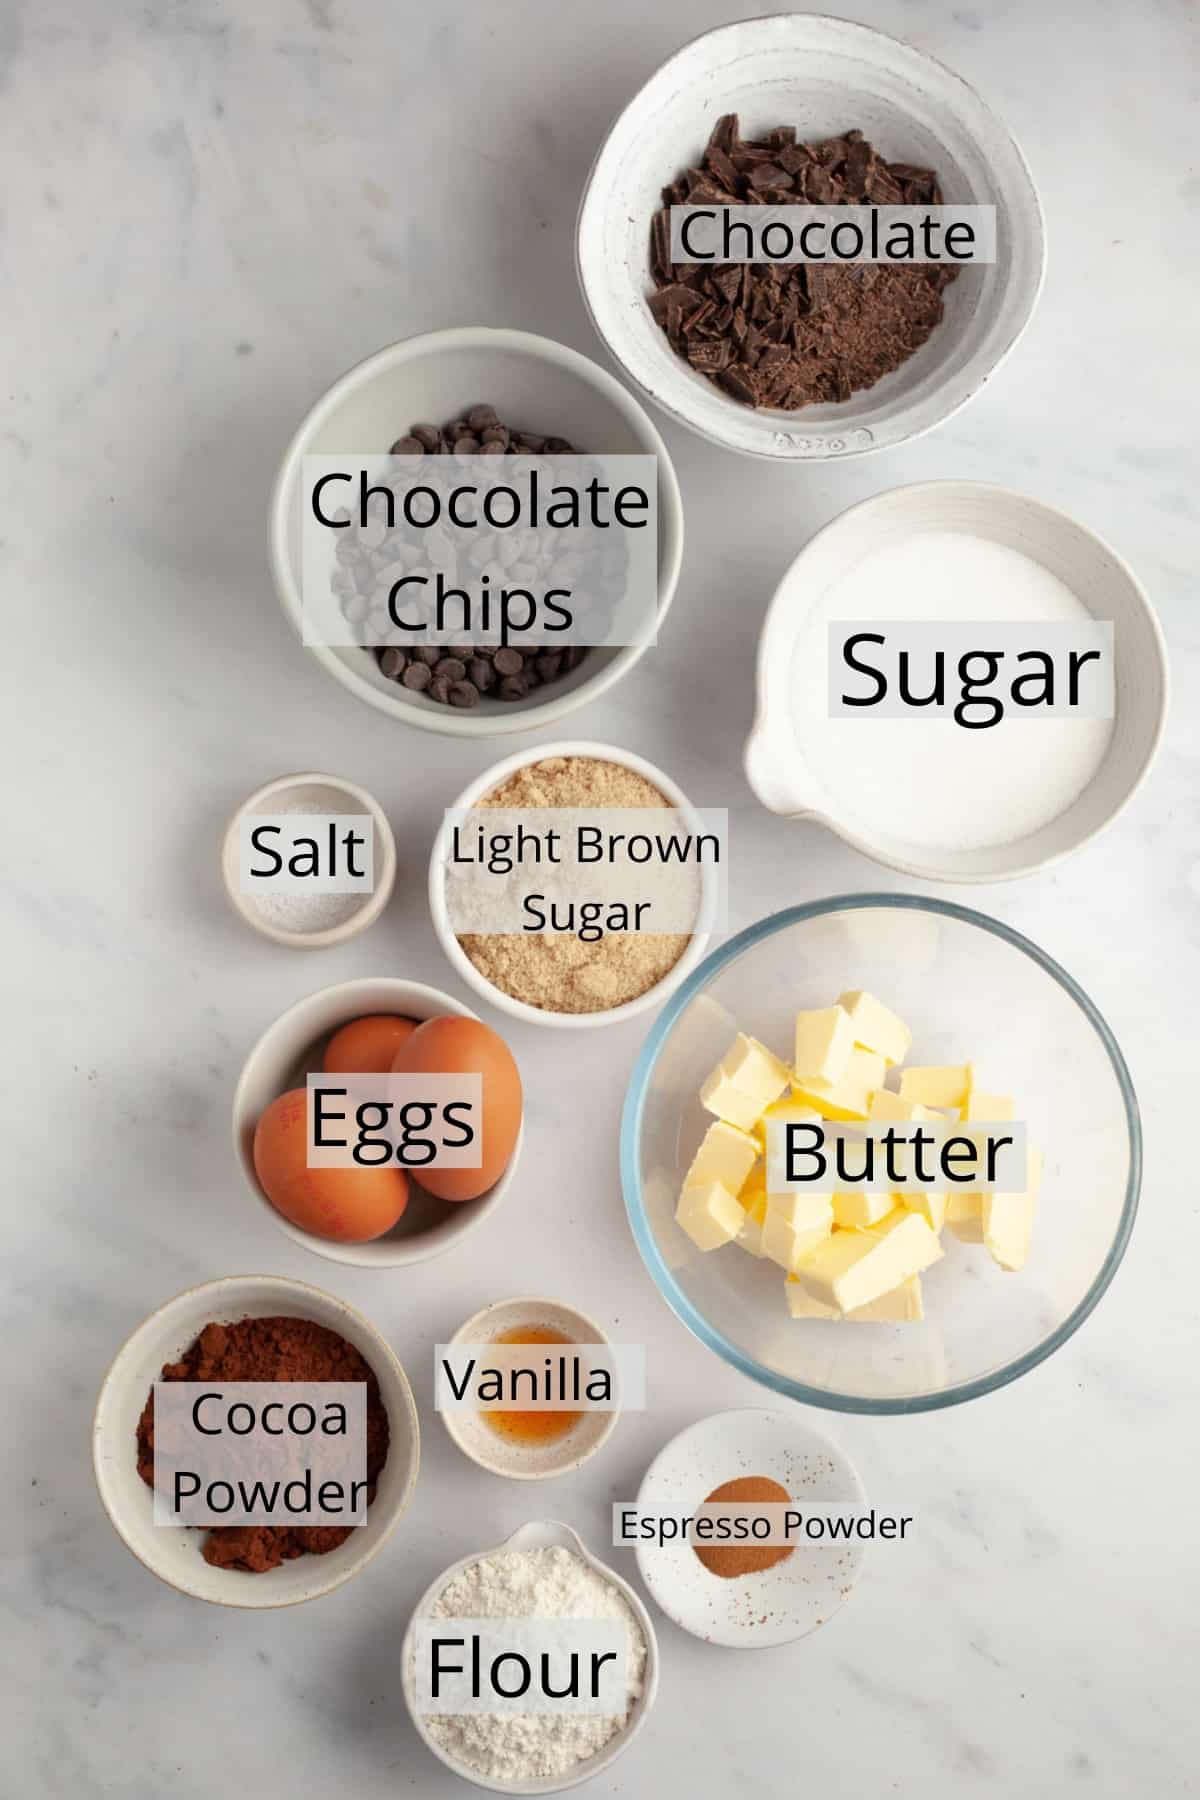
- Cocoa Powder: I've used dutch processed cocoa powder here, but you can use unsweetened natural cocoa powder if that's all you have. Just note that if you swap out cocoa powders it might not be as rich.
- Espresso Powder: this is optional, but adding a touch of espresso powder is going to enhance the chocolate flavor. It doesn't make these brownies taste like coffee!
- Chocolate: I recommend using dark chocolate bars. Make sure you chop them finely enough so they easily melt with the hot butter.
- Chocolate Chips: I'm using semi-sweet chocolate chips here but feel free to swap them out for your favorite baking chips.
Recipe Testing
I did a lot of testing to make a super fudgy brownie recipe with a crackly top that didn't need a mixer. I might be a baking blogger but I will always go for a recipe that doesn't require me to get my mixer out!
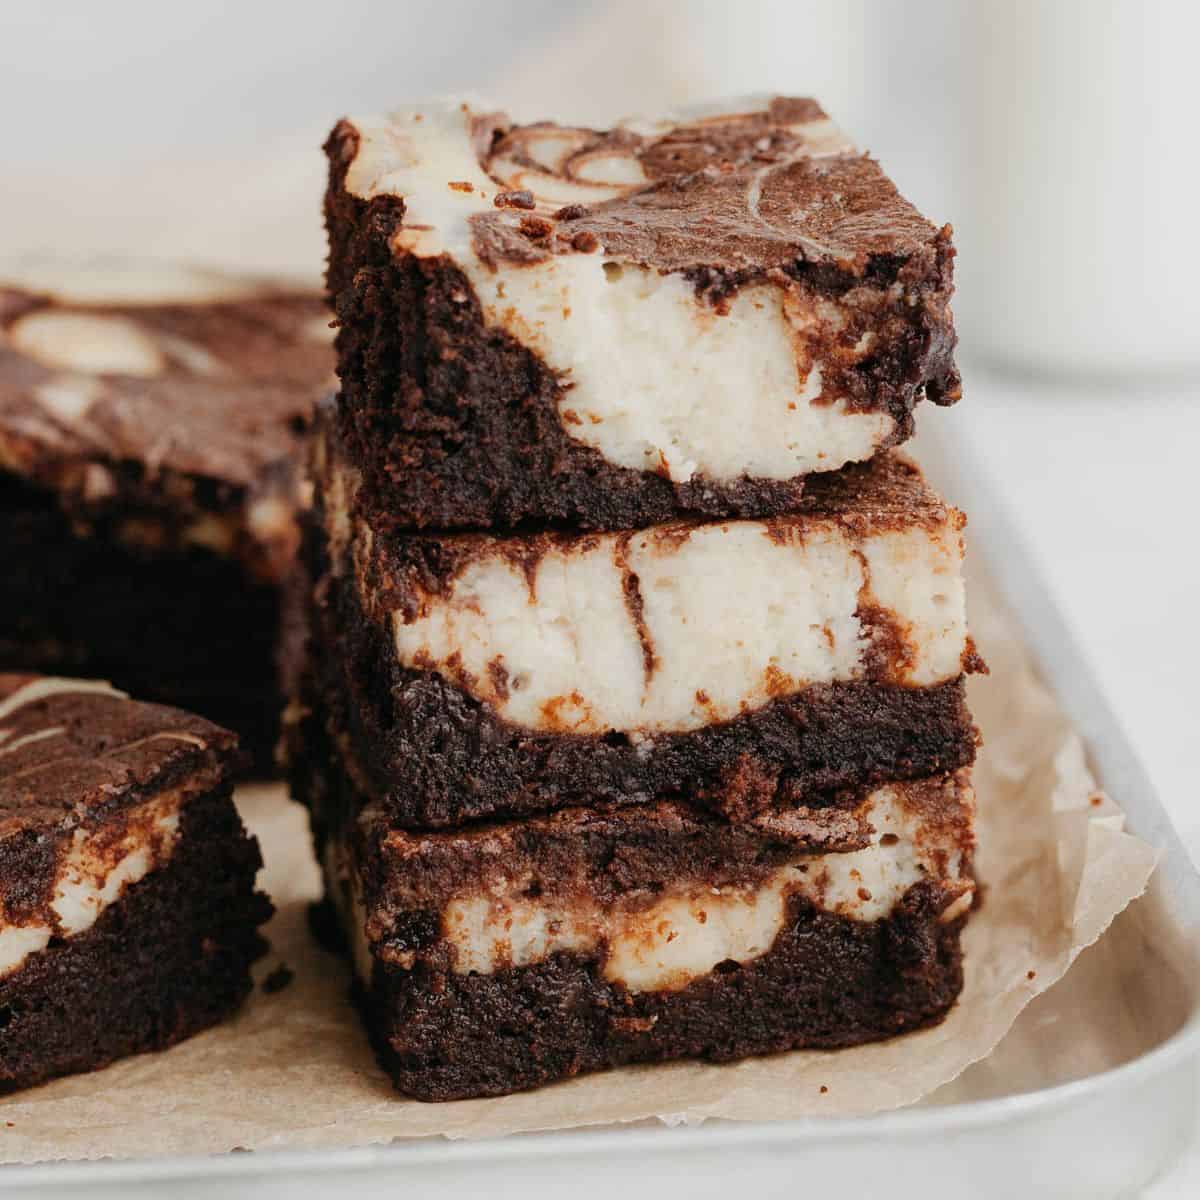
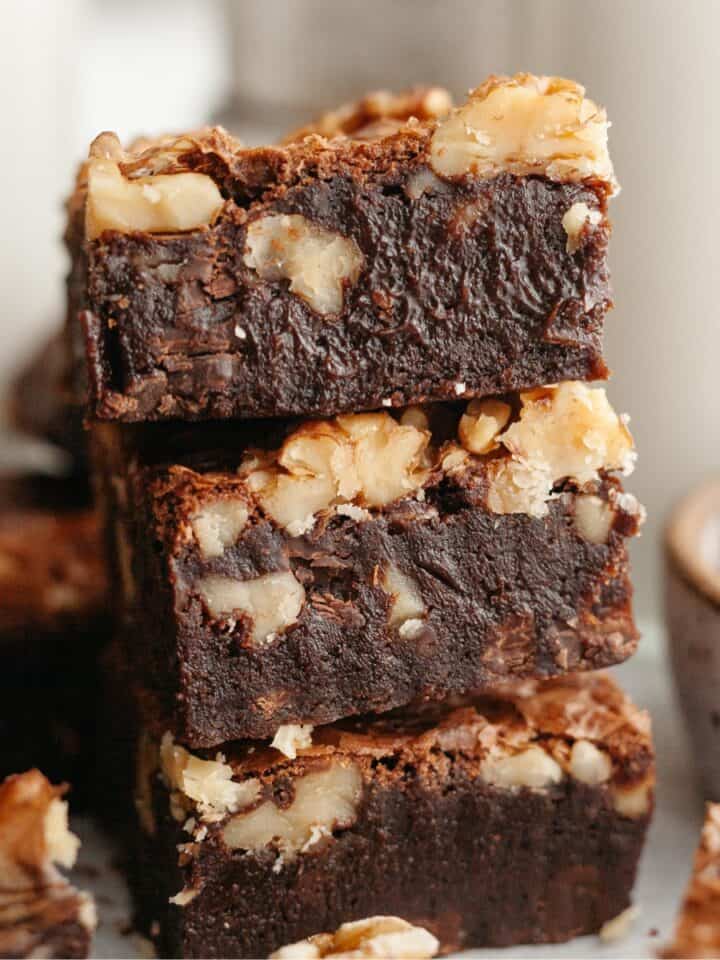
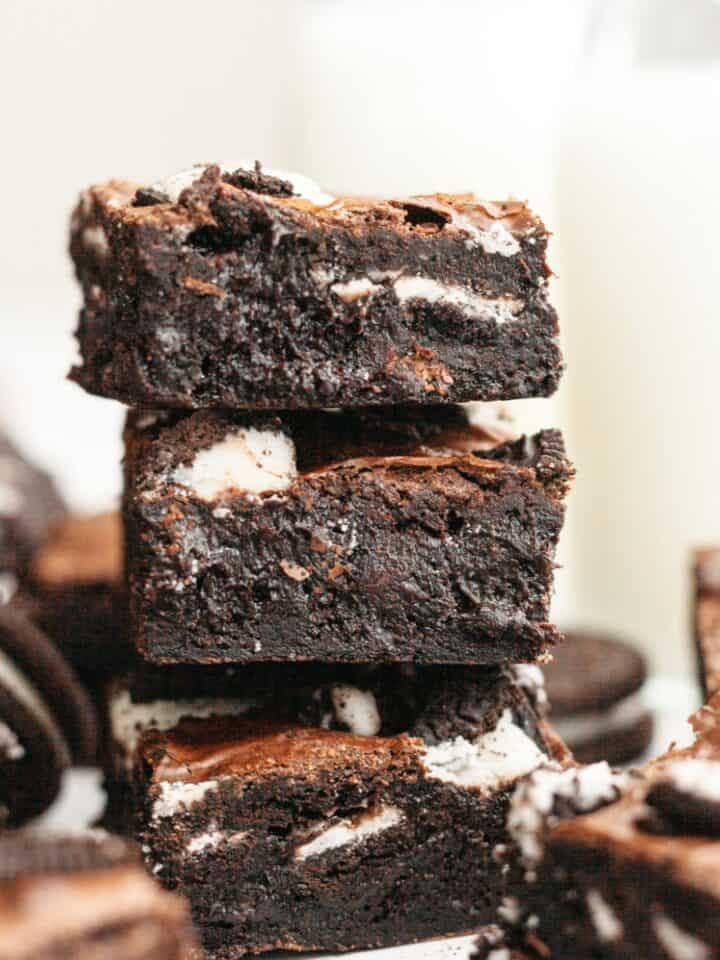
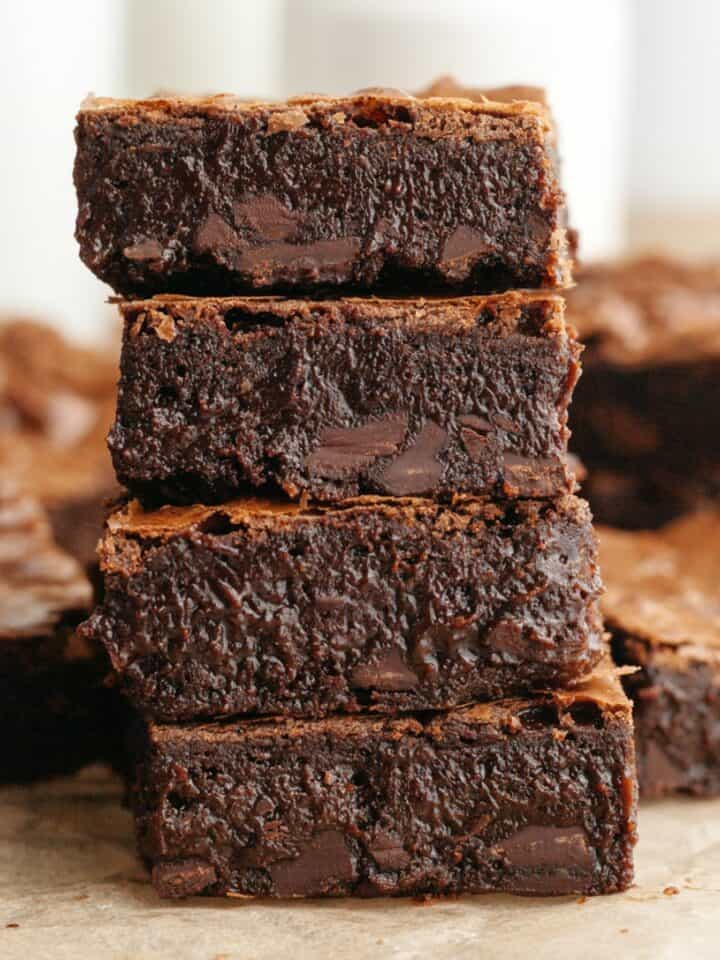
While I love my original brownie base recipe - which you can find in my brownies with cream cheese frosting recipe - I tested a new base recipe which increased the cocoa powder and granulated sugar and removed the oil. I did test this recipe with powdered sugar and granulated sugar, as powdered sugar dissolves faster. I did not find that it changed much of the texture though! I also changed the recipe to 3 eggs instead of 2 whole eggs and 1 egg yolk. I found this gave a much fudgier texture to the brownie, and you can see the difference below in texture:
I also tested chilling these brownies once they cooled as I had seen on Cloudy Kitchen's blog that that could impact the density and texture of the brownies, and she was right! I definitely recommend chilling your brownies to get them super fudgy.
How to Make Triple Chocolate Brownies
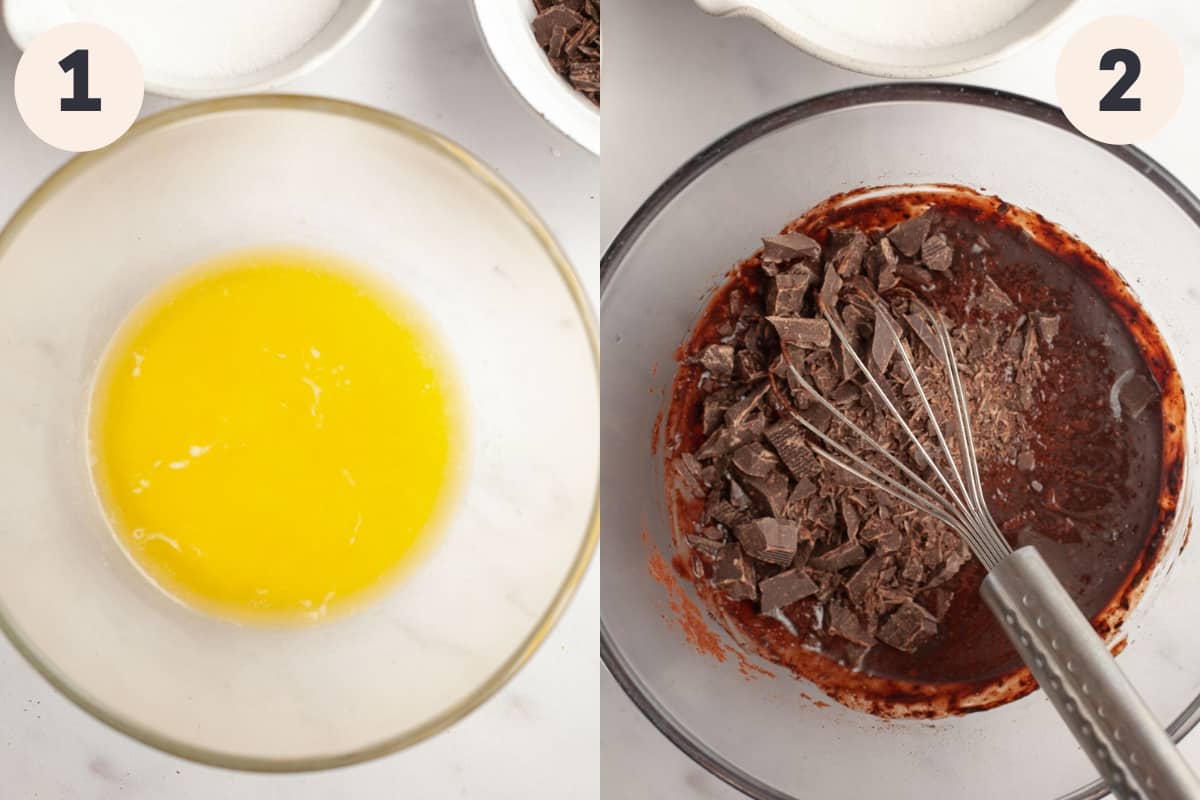
Step One: Preheat your oven to 350 Fahrenheit/180 Celsius and line an 8x8 baking pan with foil. Set aside. In a medium bowl, melt your butter in the microwave.
Step Two: Add the cocoa powder to the hot butter and whisk until smooth. Add the chopped chocolate and let sit for a minute or two, then whisk until smooth.
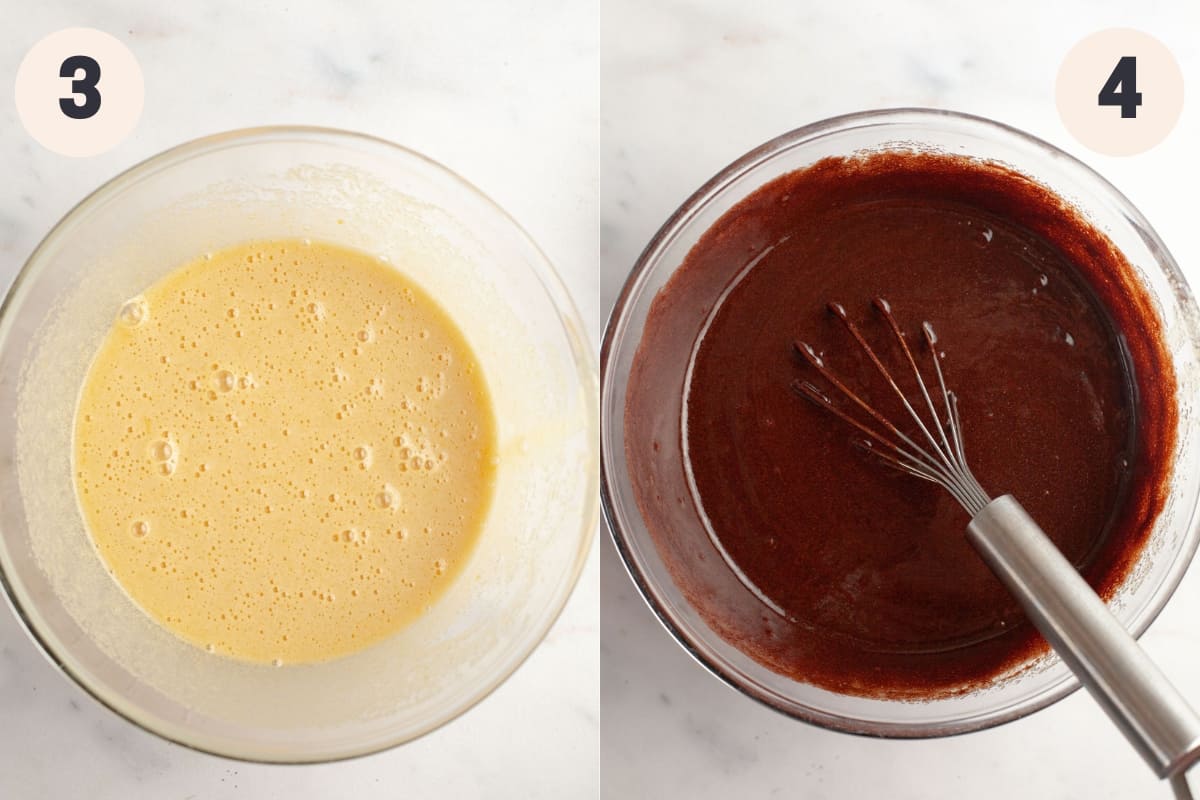
Step Three: In another bowl, whisk the eggs with the light brown sugar and granulated sugar for a minute and a half to two minutes. This is going to give you a thin crackly top. You'll know it's ready when it turns a slightly lighter color, and when you stop whisking you have bubbles on the surface.
Step Four: Once the melted chocolate mixture has cooled down, pour the sugar mixture into the melted chocolate. Whisk until smooth and add the vanilla extract.

Step Five: Mix in the flour, salt and espresso powder with a rubber spatula. Mix until just combined.
Step Six: Stir in the chocolate chips.

Step Seven: Pour the chocolate brownie batter into your prepared pan. Bake for 26-30 minutes. A toothpick inserted should come out with moist crumbs.
Step Eight: Let the brownies cool completely in the pan before removing and slicing into bars. Enjoy!
Making Super Fudgy Brownies
- Kitchen Scale: I recommend using a kitchen scale to weigh out the flour and cocoa powder. If you add too much of either, it will make your brownie dry and cakey.
- Chilling Brownies: want to make your brownies super fudgy? Once they've cooled down in the pan, place in the fridge for a few hours. Chilling them is going to make the texture extra fudgy and gooey.
- Don't Overbake: all ovens are different so keep an eye on these brownies as you don't want them to overbake!
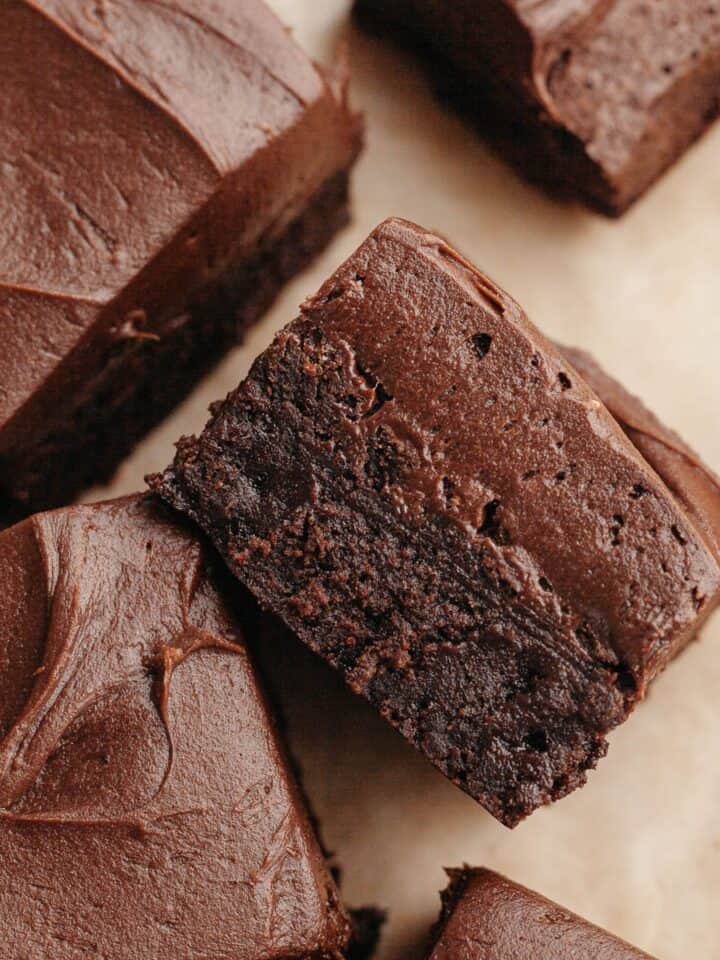
- Frost the Brownies: if you want to make these triple chocolate brownies even more decadent, you can frost the (cooled) brownies with whipped ganache frosting!
Try these brownie recipes next!
Made This Recipe?
Make sure to leave a ⭐️ rating and review below! You can tag me on Instagram @alpineella or follow along on Pinterest, Facebook and TikTok!
Thank you!
Ella
Recipe

Triple Chocolate Brownies
Equipment
- 8x8 baking pan
Ingredients
- ¾ cup (170 grams) unsalted butter
- ½ cup (45 grams) dutch process cocoa powder
- 4 oz (113 grams) dark chocolate chopped
- 3 large eggs
- 1 cup (200 grams) granulated sugar
- ½ cup (100 grams) light brown sugar
- 1 teaspoon vanilla extract
- ½ cup (60 grams) all purpose flour
- 1 teaspoon kosher salt
- 1 teaspoon espresso powder
- ¾ cup (135 grams) semisweet chocolate chips
Instructions
- Preheat the oven to 350℉/180℃ and line an 8x8 baking pan with foil.
- In a medium bowl, melt the butter in the microwave. It should be hot.¾ cup (170 grams) unsalted butter
- Add the cocoa powder to the hot butter and whisk until smooth. This is called blooming the cocoa powder and will make your brownies richer!½ cup (45 grams) dutch process cocoa powder
- Pour in the chopped chocolate and let sit for a minute or two. Whisk until smooth.4 oz (113 grams) dark chocolate
- In a separate bowl, whisk the eggs with the granulated sugar and light brown sugar. Whisk for 1:30-2 minutes. It should lighten in color, and when you stop whisking bubbles should form on the top.3 large eggs, 1 cup (200 grams) granulated sugar, ½ cup (100 grams) light brown sugar
- Once the melted chocolate mixture has cooled down slightly, pour in the sugar mixture. Whisk until smooth and add in the vanilla extract.1 teaspoon vanilla extract
- With a rubber spatula, fold in the flour, salt and espresso powder.½ cup (60 grams) all purpose flour, 1 teaspoon kosher salt, 1 teaspoon espresso powder
- Stir in the chocolate chips.¾ cup (135 grams) semisweet chocolate chips
- Pour the brownie batter into your prepared pan. Bake for 26-30 minutes, or until a toothpick inserted comes out with moist crumbs.
- Let the brownies cool completely in the pan. To have even fudgier brownies, place the cooled brownie pan in the fridge for a few hours.
Mahi says
Alternative of eggs ?
Ella says
I'm really sorry, I haven't tested this recipe with any egg alternatives!
Ish says
Why you have used cold eggs and not room temperature ones?
Ella says
Hi Ish! When I first developed this recipe, I was using cold eggs as I had read how Stella Parks (how has a great book called Brave Tart, highly recommend!) uses eggs straight from the fridge as when whipped with the sugars, they prevent it excessive aeration. Excessive aeration would mean the brownies aren't as dense and fudgy. To be candid, I've now tested this recipe with room temperature eggs and cold eggs and haven't found a huge difference in texture! I'll update the recipe card to reflect that, so thank you! 🙂
Nate says
They were so good, i had to wrap some up and hide them from my kids before they could eat them all so i could have some later that night once they went to bed!!! Highly recommended!!!
Nicola says
Tried these, ate these. They are amazing.
Ella, these were so popular. Thank you for such a great recipe.