

Beat the summer heat with these homemade mango popsicles! Each popsicle is a refreshing treat bursting with tropical flavor. They take just 10 minutes to make and only need 6 simple ingredients!

When summer rolls around I am all about no bake desserts. No turning on the oven for me when it's a hot day! That's where these refreshing mango popsicles come in. With just a few simple and fresh ingredients, you can easily whip up these easy mango popsicles!
With a combination of mango, greek yogurt, honey and lime, you will get the most refreshing treat!
Why you'll love this recipe!
- These creamy mango popsicles use basic ingredients, nothing fancy here!
- These are so much easier to make than ice cream!
- I like to switch it up by adding raspberries, coconut yogurt or Tajin seasoning.
- They're perfect for both adults and kids! A real crowd pleaser.
- The perfect refreshing treat for a hot summer day.
Ingredients Needed
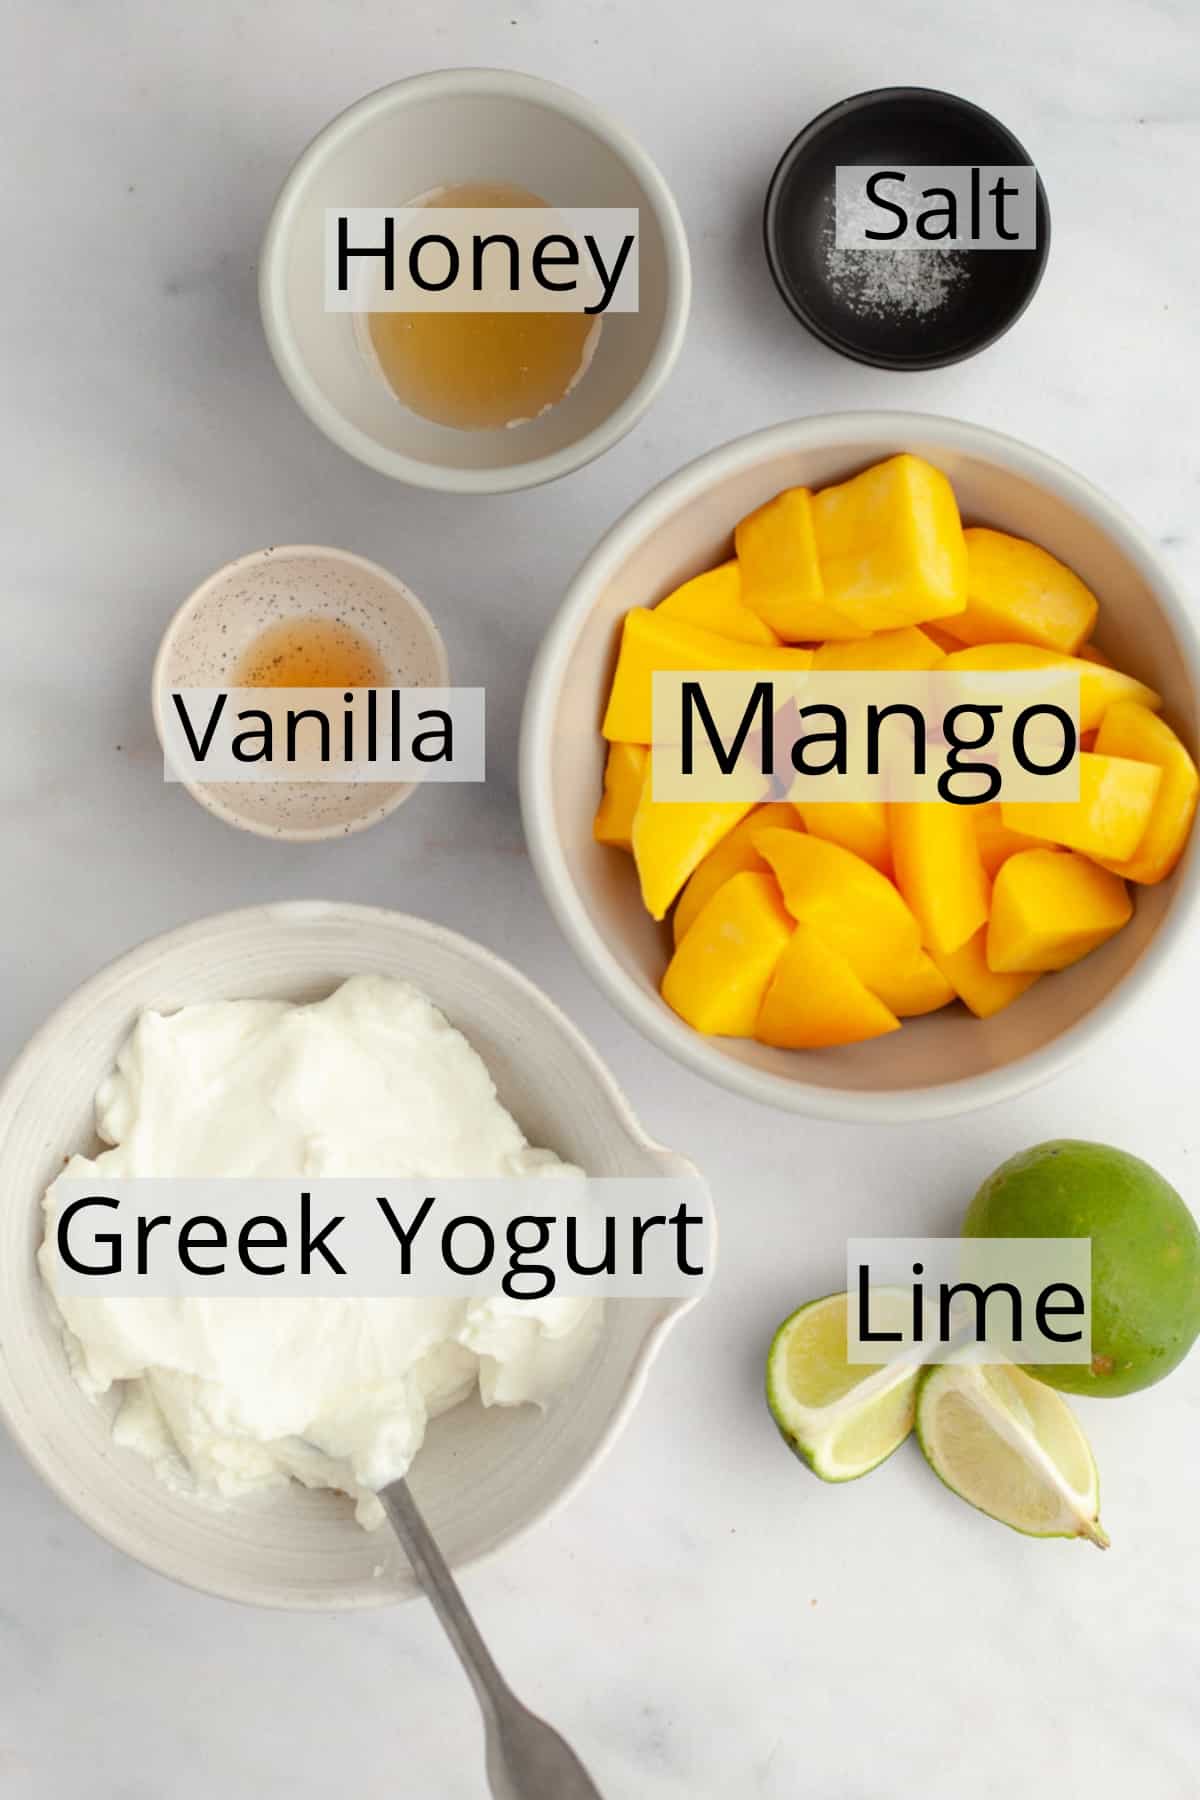
- Mango Chunks: you'll want to use juicy, fresh mango here! I've bought it chopped to make my life a bit easier.
- Greek Yogurt: use your favorite brand of greek yogurt.
- Lime: a squeeze of lime juice is going to make this so refreshing!
- Honey: just a tablespoon of honey is going to lightly sweeten these homemade popsicles.
- Salt: I always add a pinch of salt, it will help enhance flavors.
- Vanilla Extract: a dash of vanilla extract is perfect here.
Substitutions & Variations
- Raspberry Sunset: I love getting a sunset ombre vibe by mixing some of the mango mixture with raspberries! Fill up the popsicle molds about half way, then blend the remaining popsicle mixture with a handful of raspberries. Pour into the molds so they're now half mango, half mango raspberry!
- Coconut: swap out regular greek yogurt for a coconut flavored one for all the tropical vibes!
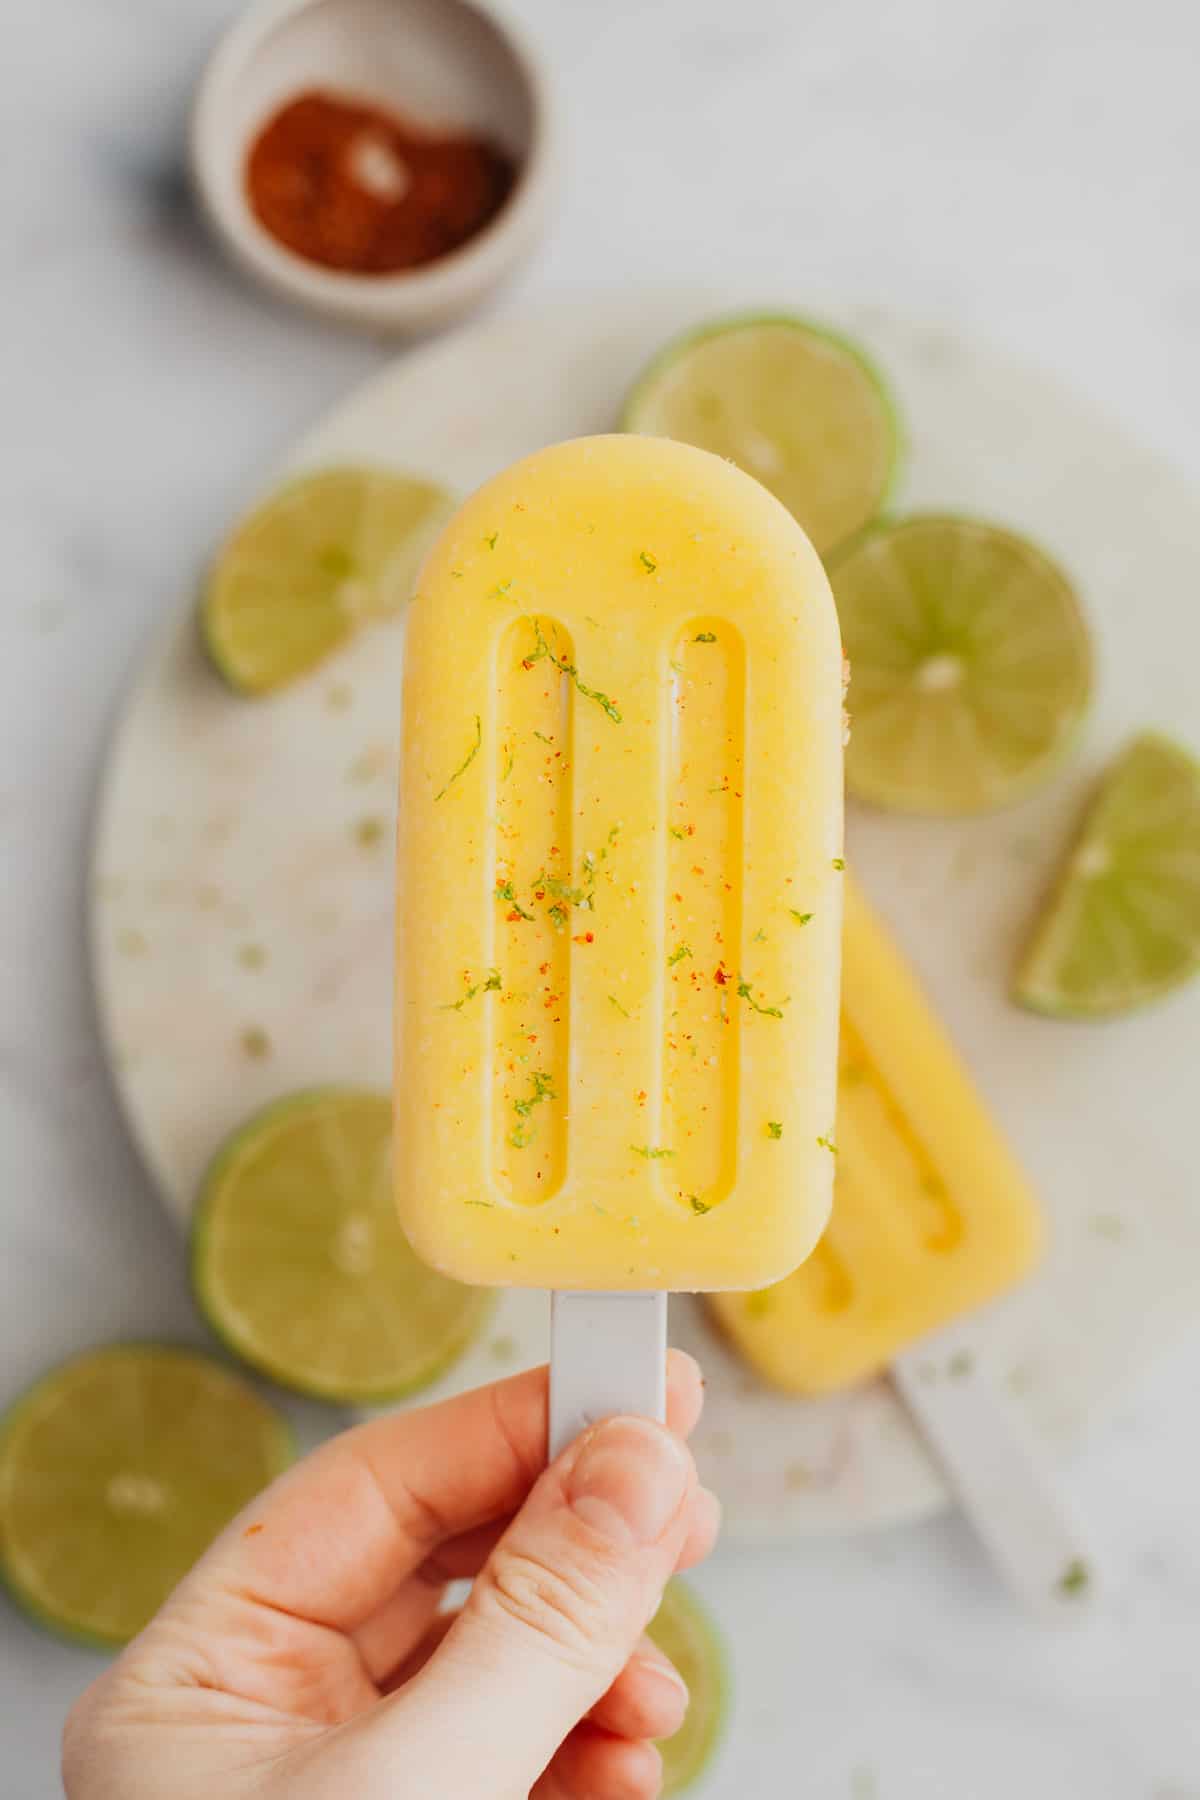
- Tajin Seasoning: one of my favorite things to do with these mango ice pops is add a sprinkle of tajin seasoning! You can also buy the chile lime seasoning at trader joes.
- Honey: swap out honey for maple syrup if you're vegan.
Step by Step Instructions

Step 1: Place all of your ingredients in a large blender or food processor.
Step 2: Blend until completely smooth.
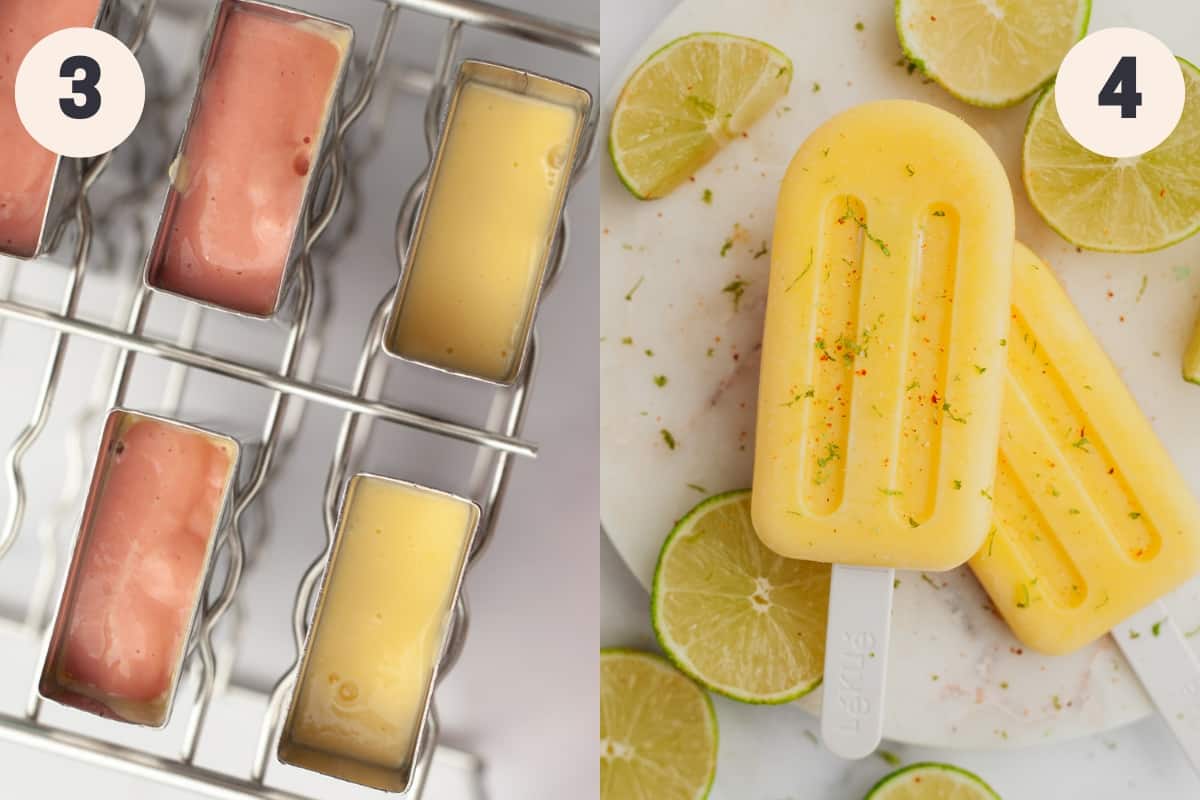
Step 3: Pour into your popsicle molds.
Step 4: Freeze for 6-8 hours, but preferably overnight. Enjoy!
Expert Tips & Tricks
- Make sure the mixture is completely smooth before pouring into your popsicle molds.
- I have only tested this with fresh fruit, not frozen mango.
- No molds? Use small paper cups or plastic cups and popsicle sticks!
- My popsicle mold has a holder for the stick. If yours doesn't, let the popsicle freeze for about an hour, then gently press the stick in.
- Some popsicle recipes use water, but to really get that creamy popsicle texture I recommend sticking to yogurt.
- My favorite popsicle variation is adding a sprinkle of Tajin seasoning to the popsicles just before freezing!

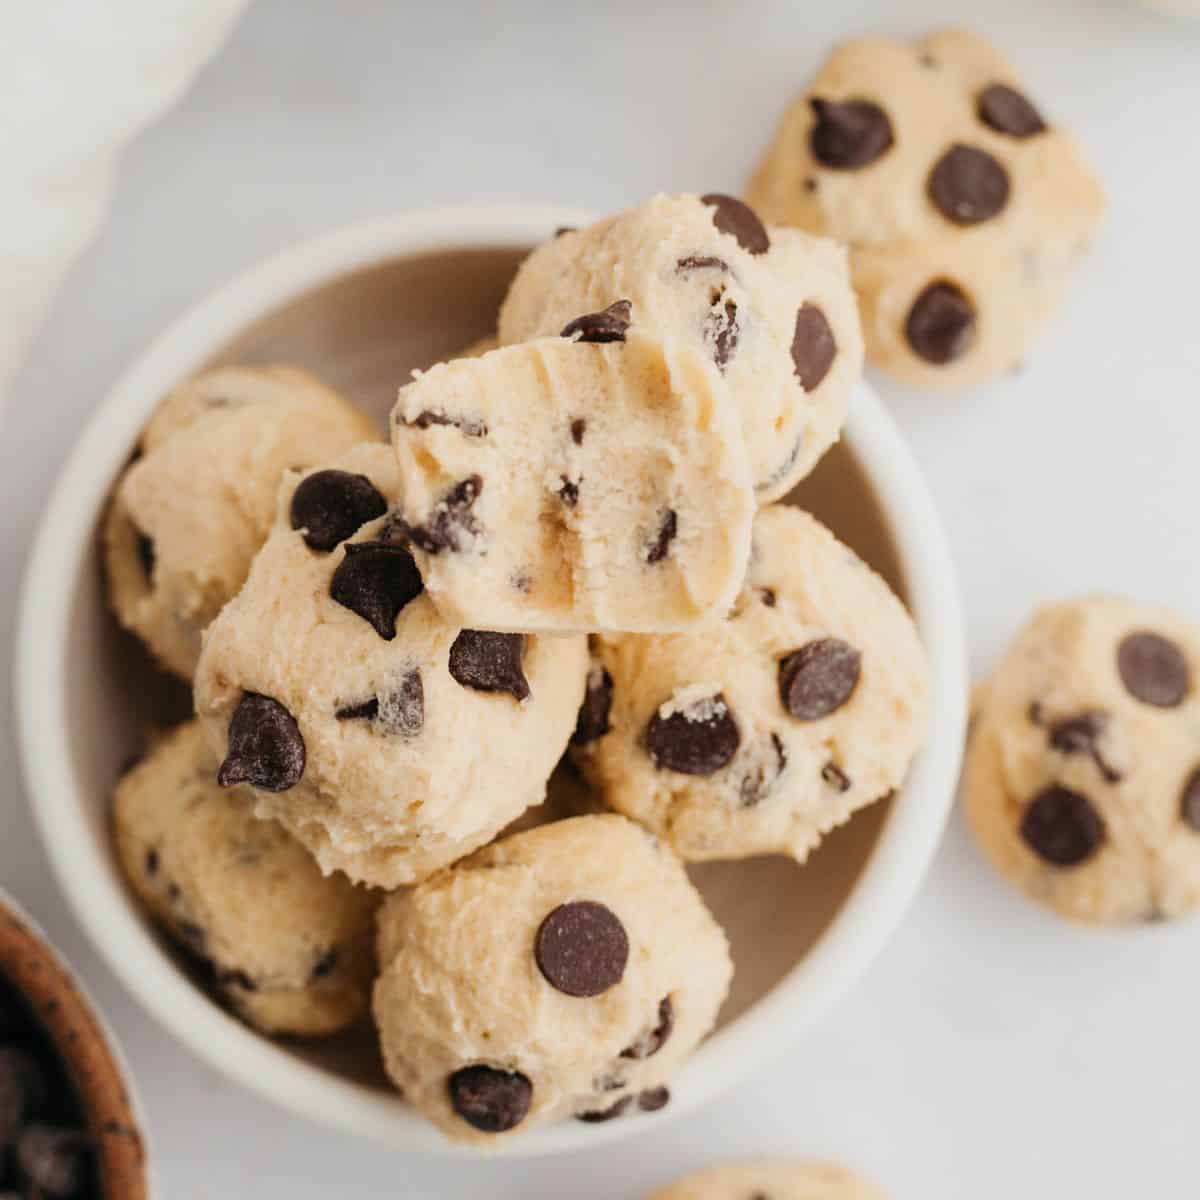
Try these no bake treats next!

Have you made this recipe? Please rate the recipe below! Don't forget to follow me on Instagram @alpineella and Pinterest!
Recipe

Mango Popsicles
Equipment
- popsicle molds
Ingredients
- 2 cups (340 grams) mango chunks
- 1 cup (227 grams) Greek yogurt
- juice of 1 lime
- 1 tablespoon honey
- pinch salt
- dash vanilla extract
Instructions
- In a blender or food processor, blend the mango chunks with the Greek yogurt, vanilla, salt, lime juice and honey until smooth.2 cups (340 grams) mango chunks, 1 cup (227 grams) Greek yogurt, juice of 1 lime, 1 tablespoon honey, dash vanilla extract, pinch salt
- Pour this mango mixture into your popsicle molds.
- Place in the freezer for at least 6 hours, but preferably overnight.

Leave a Reply