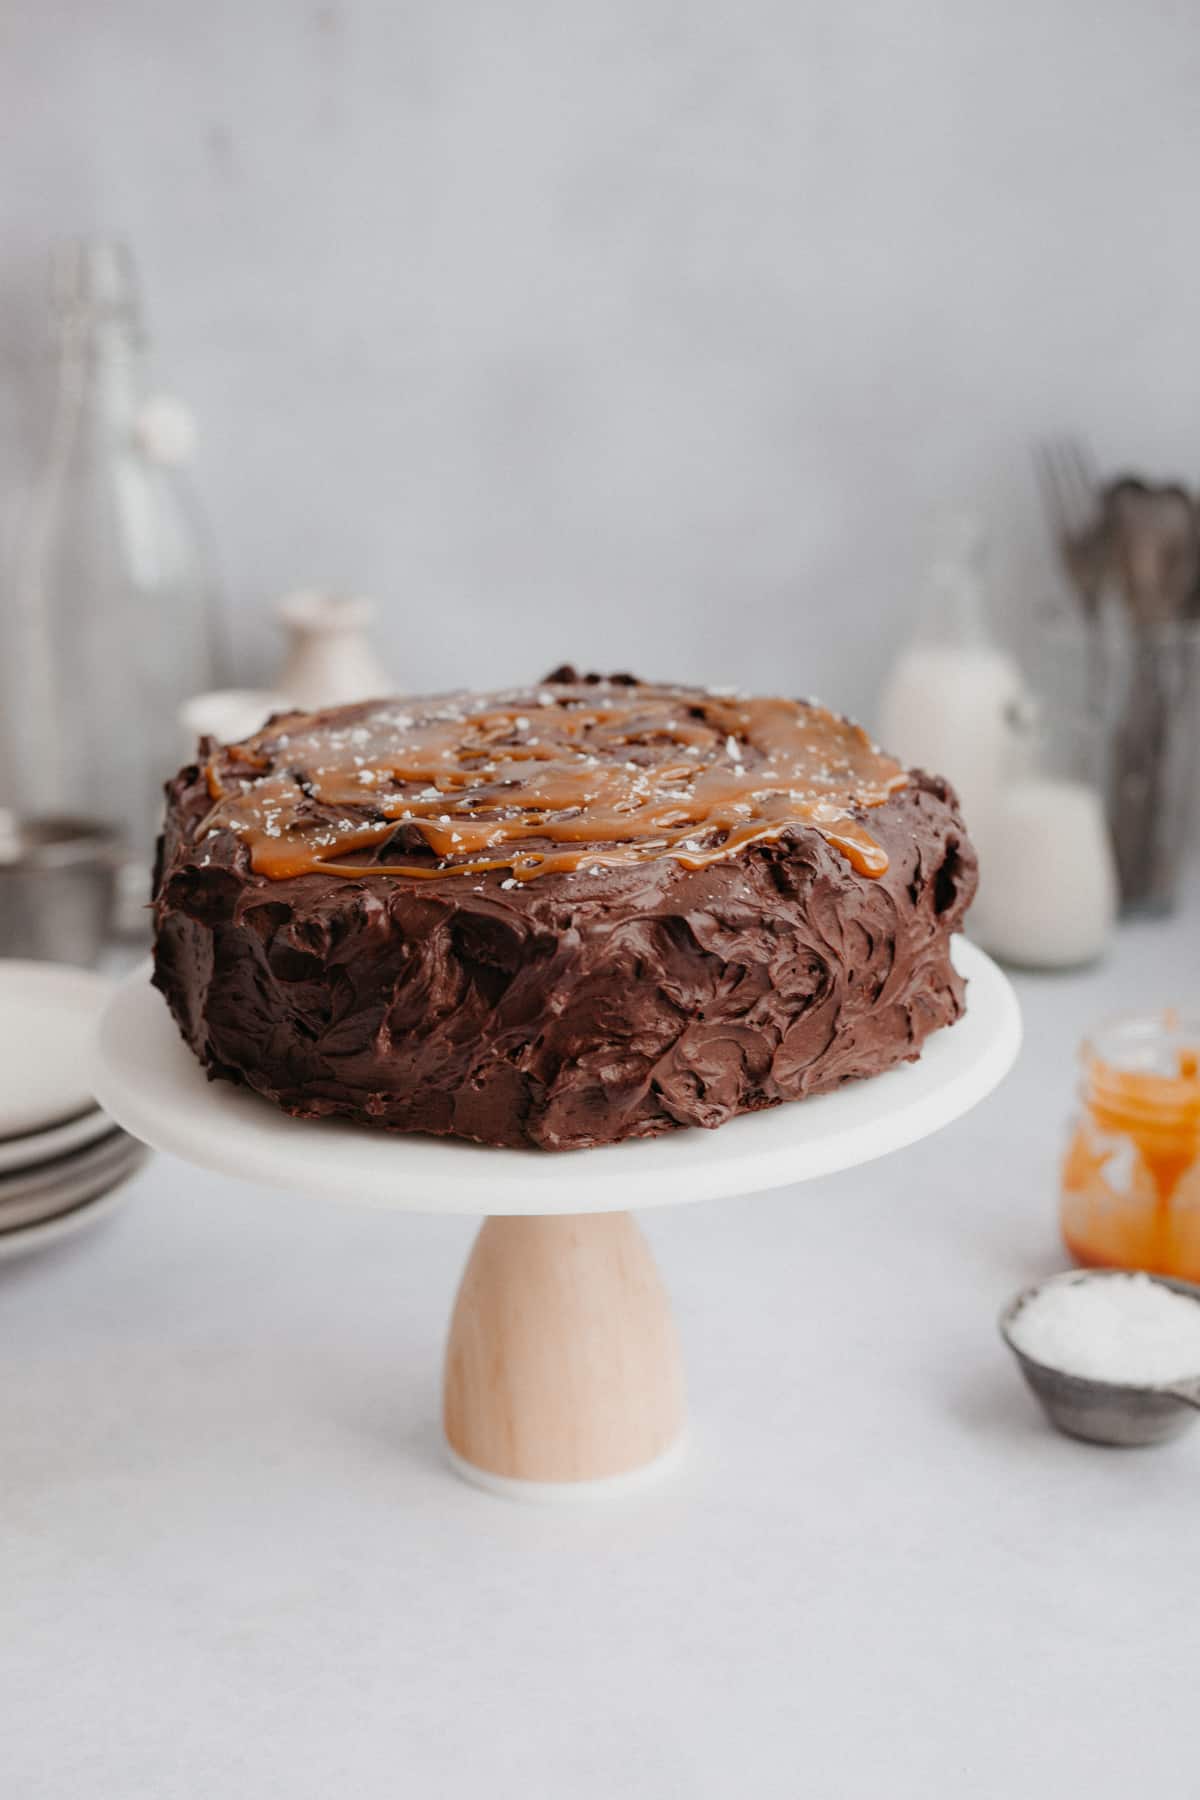
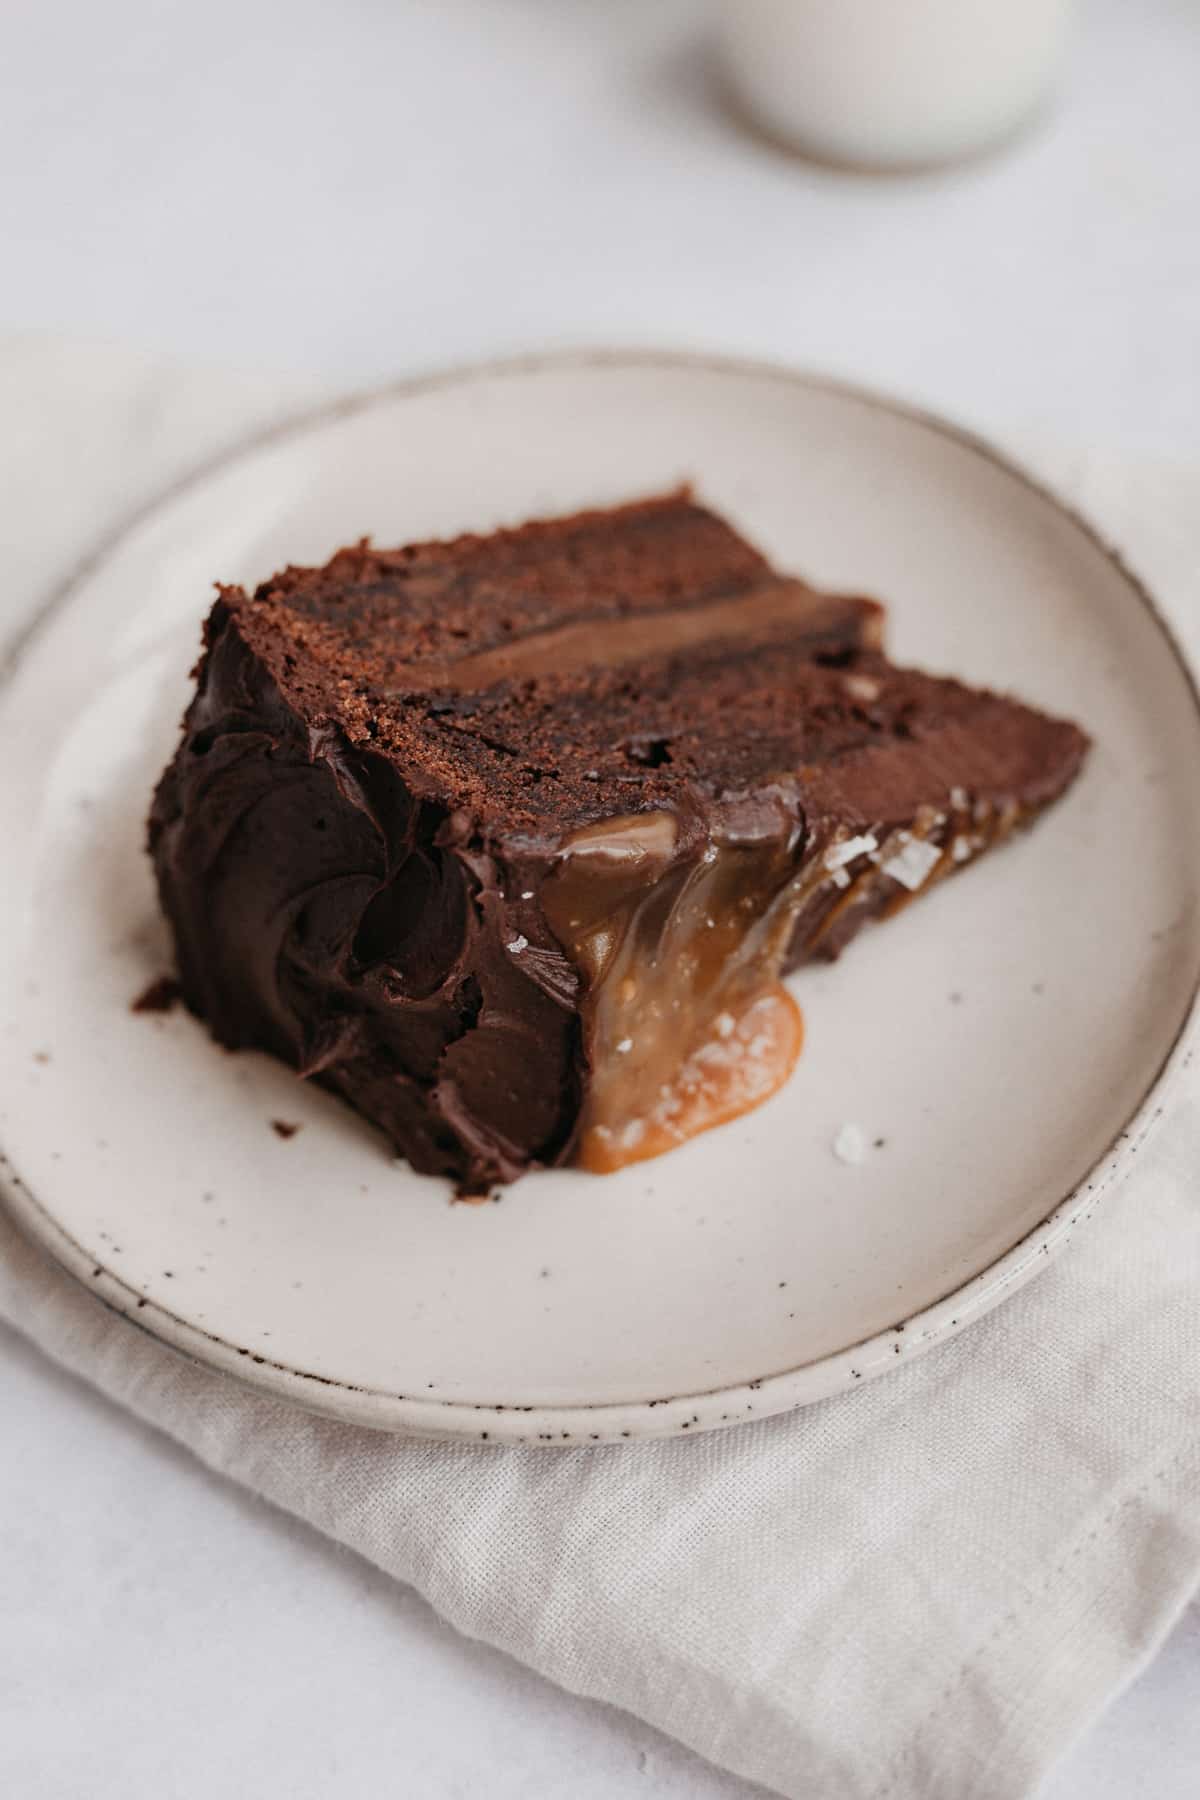
This rich and indulgent chocolate cake is filled with a salted caramel ganache and salted caramel sauce, before being topped with a chocolate cream cheese frosting. Learn how to make your own salted caramel in just a few easy steps!
Tell me about this cake!
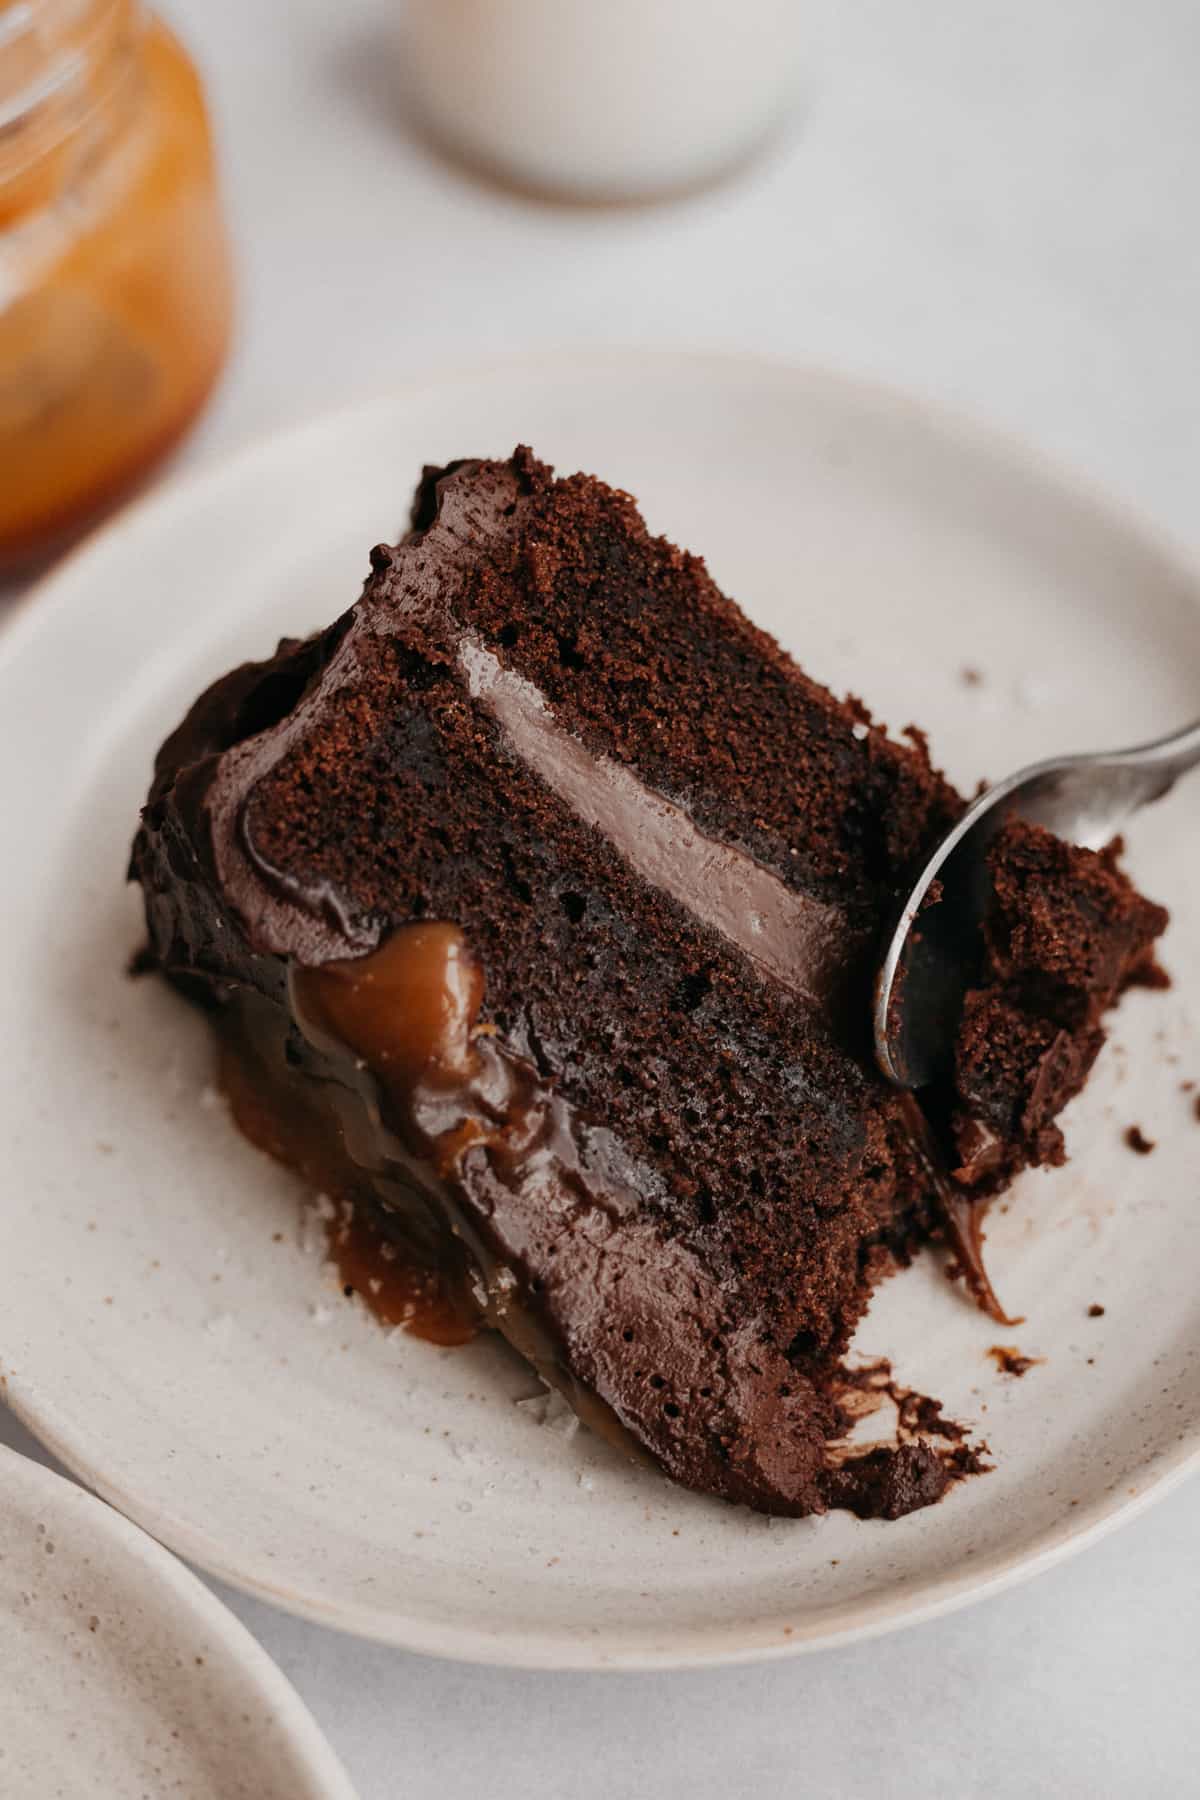
This cake is the ultimate celebration cake. It is super rich, delicious and it looks beautiful. Your friends will think this is a real showstopper but here's the secret - it is actually really easy to make!
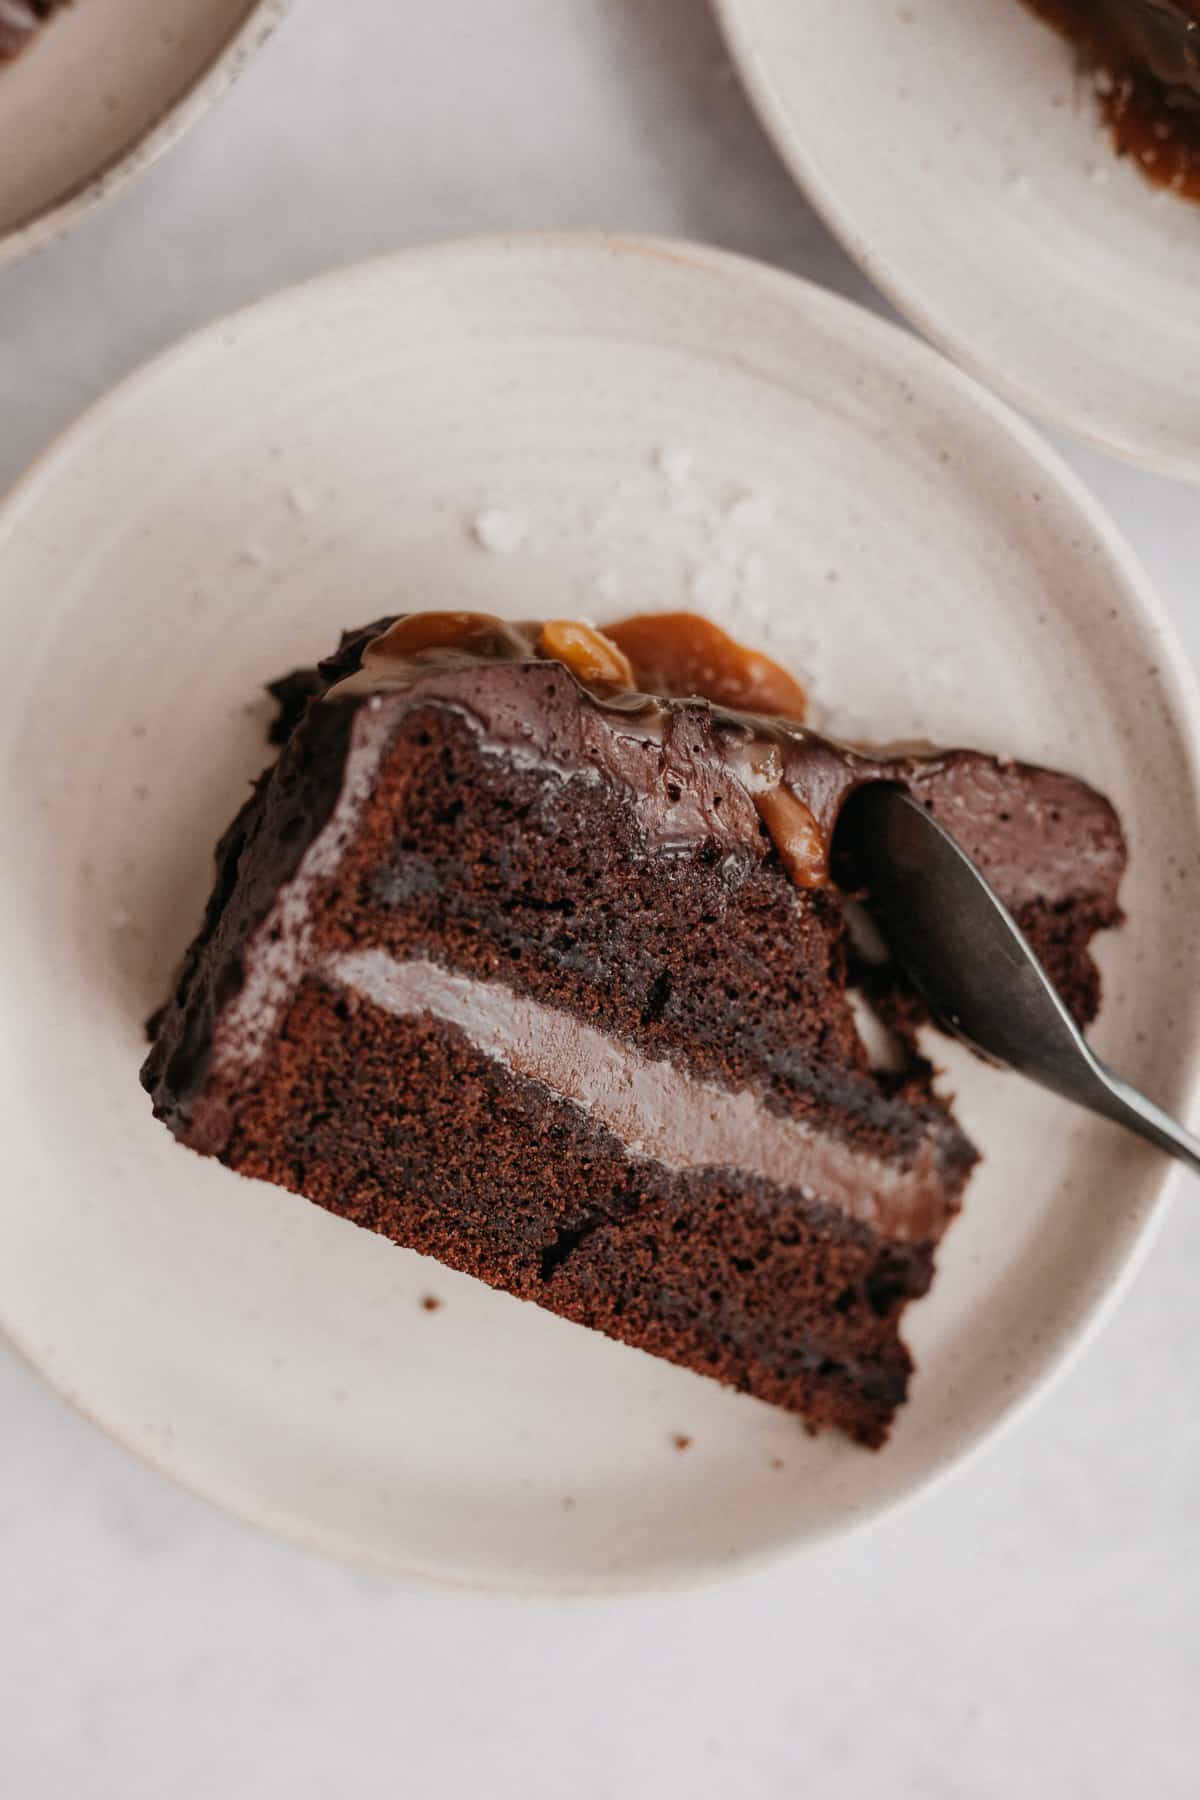
- Flavor: The flavors here are all chocolate and salted caramel. The cake layers are extra chocolatey as they're made with melted chocolate and cocoa powder. The chocolate cream cheese whipped cream frosting isn't overly sweet so it pairs well with the salted caramel.
- Texture: The frosting is super creamy as it's made with cream cheese and whipped cream. The cake is nice and tender, and I love adding flakey salt on top of the cake for extra texture.
- Ease: This is more of an intermediate project as you need to make your own caramel.
- Time: I was able to make and assemble this cake in just a couple of hours - there are about 45 minutes of hands-on time for this and the rest is chilling time (literally).
- Would I make this again? If I wanted to make a cake to wow people, this would be it!
Four components to this cake:
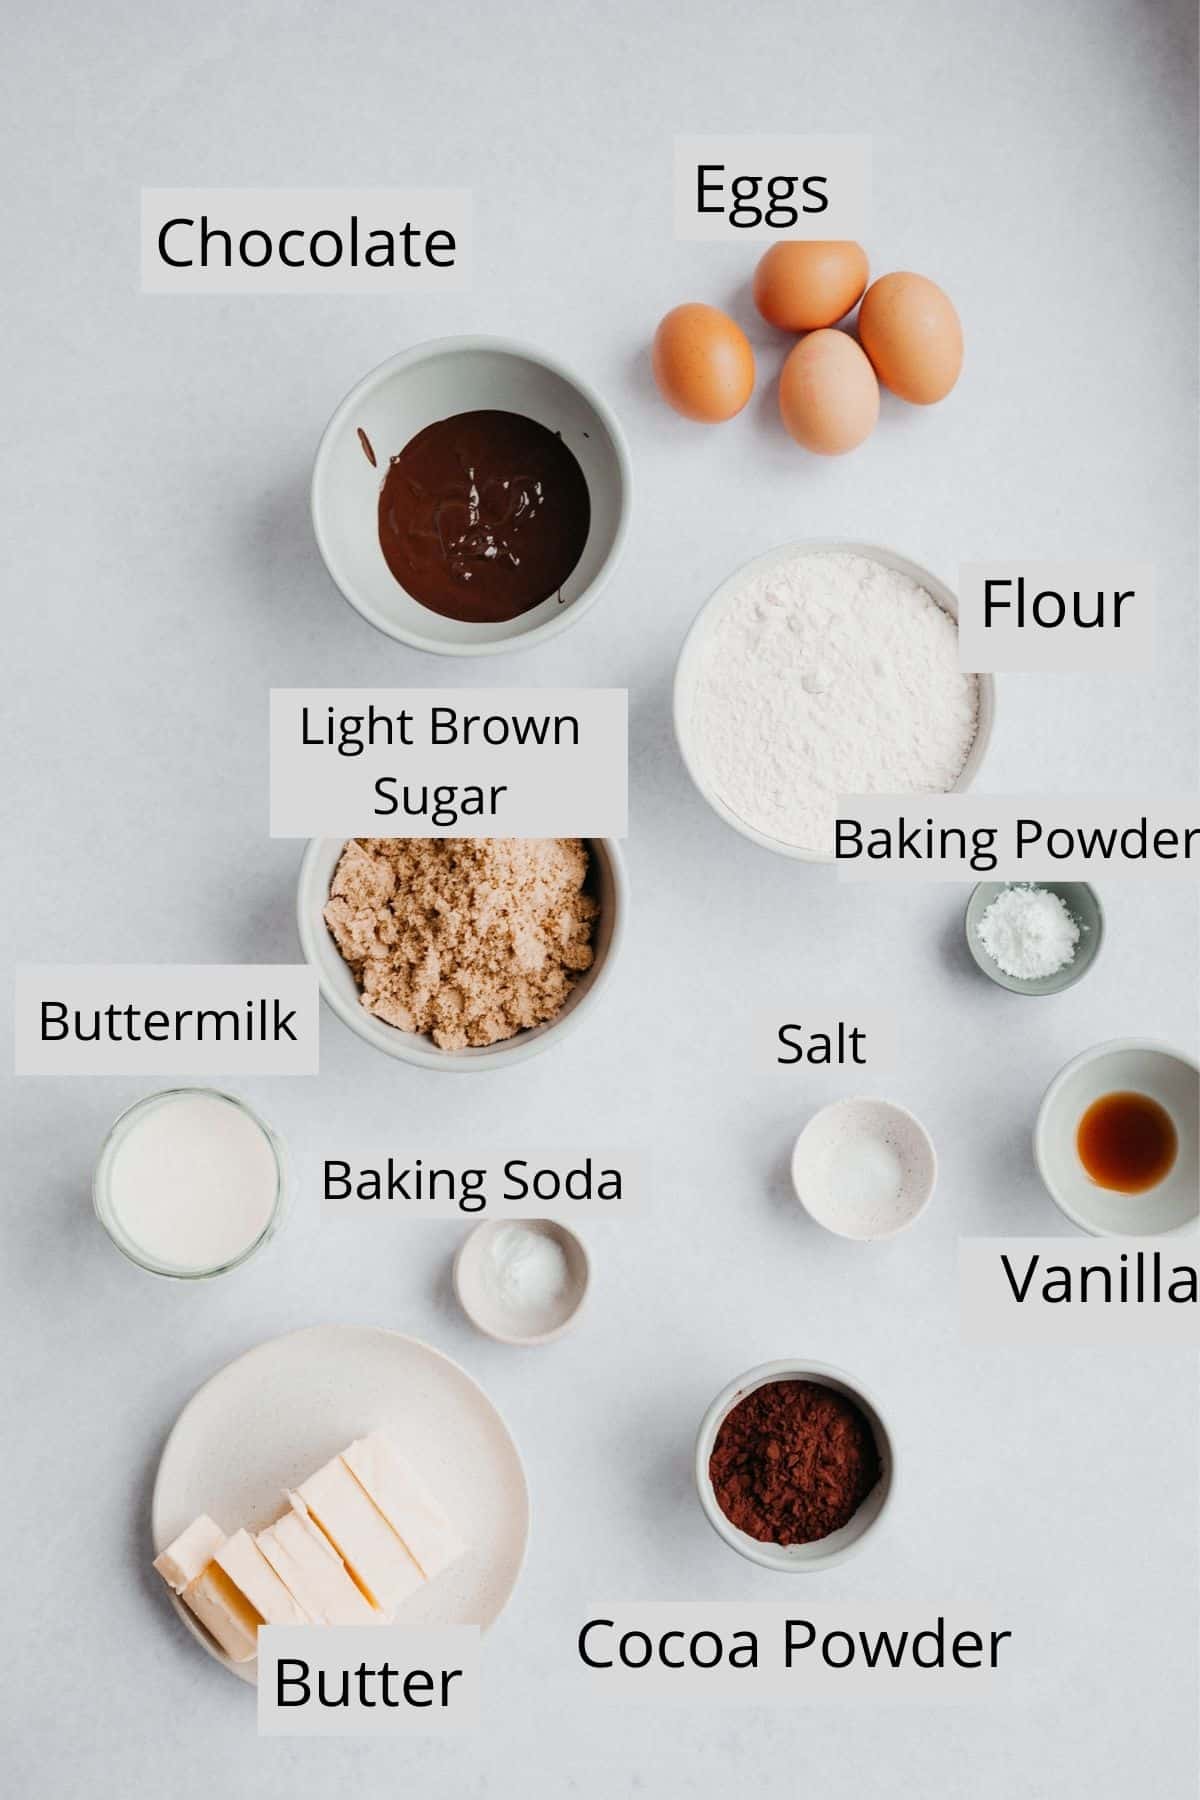
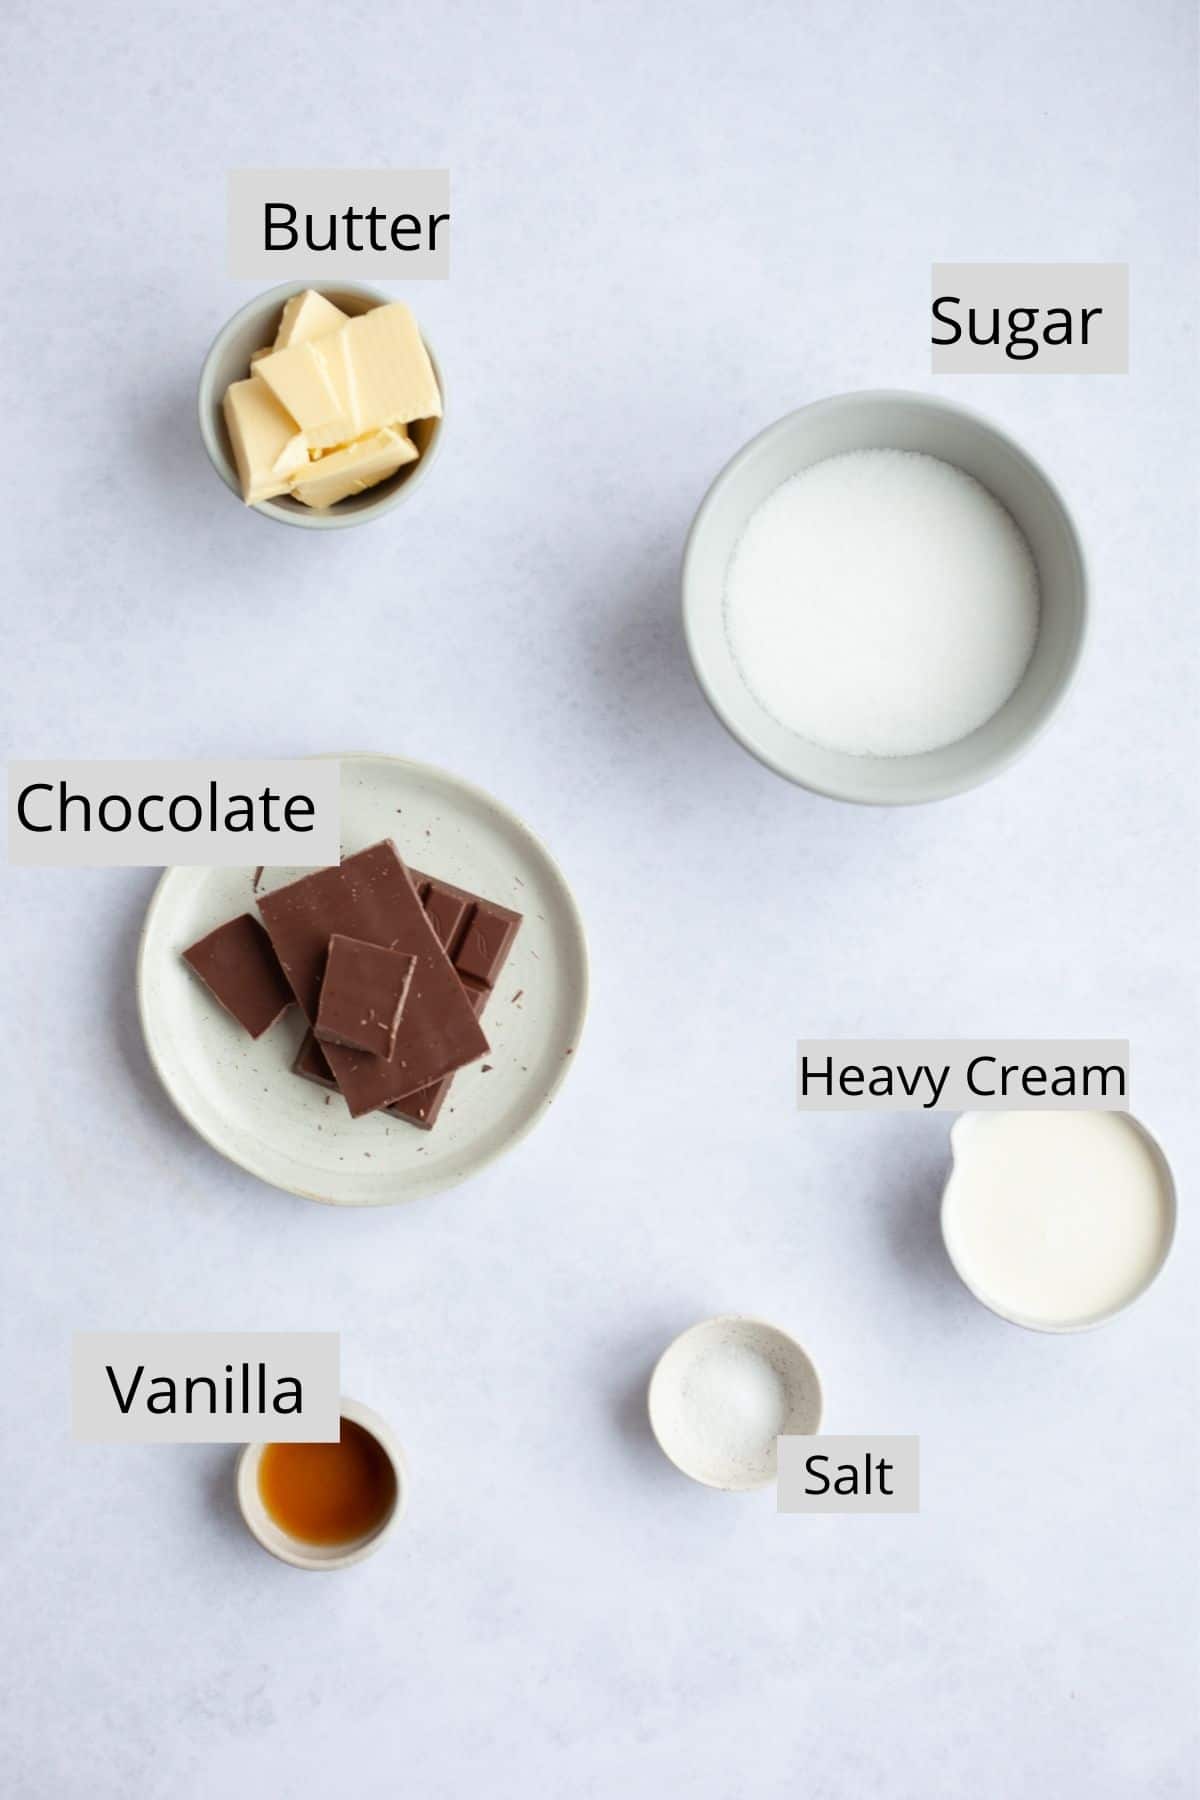
There are four things you're going to have to tackle for this cake - the chocolate cake, salted caramel, caramel ganache, and the chocolate whipped cream frosting. So let's grab our ingredients!
Chocolate Cake
First step is making the chocolate cake. You'll want to do this first as it needs plenty of time to cool down. You can make the cake the day before and wrap it in clingfilm until you're ready to decorate.
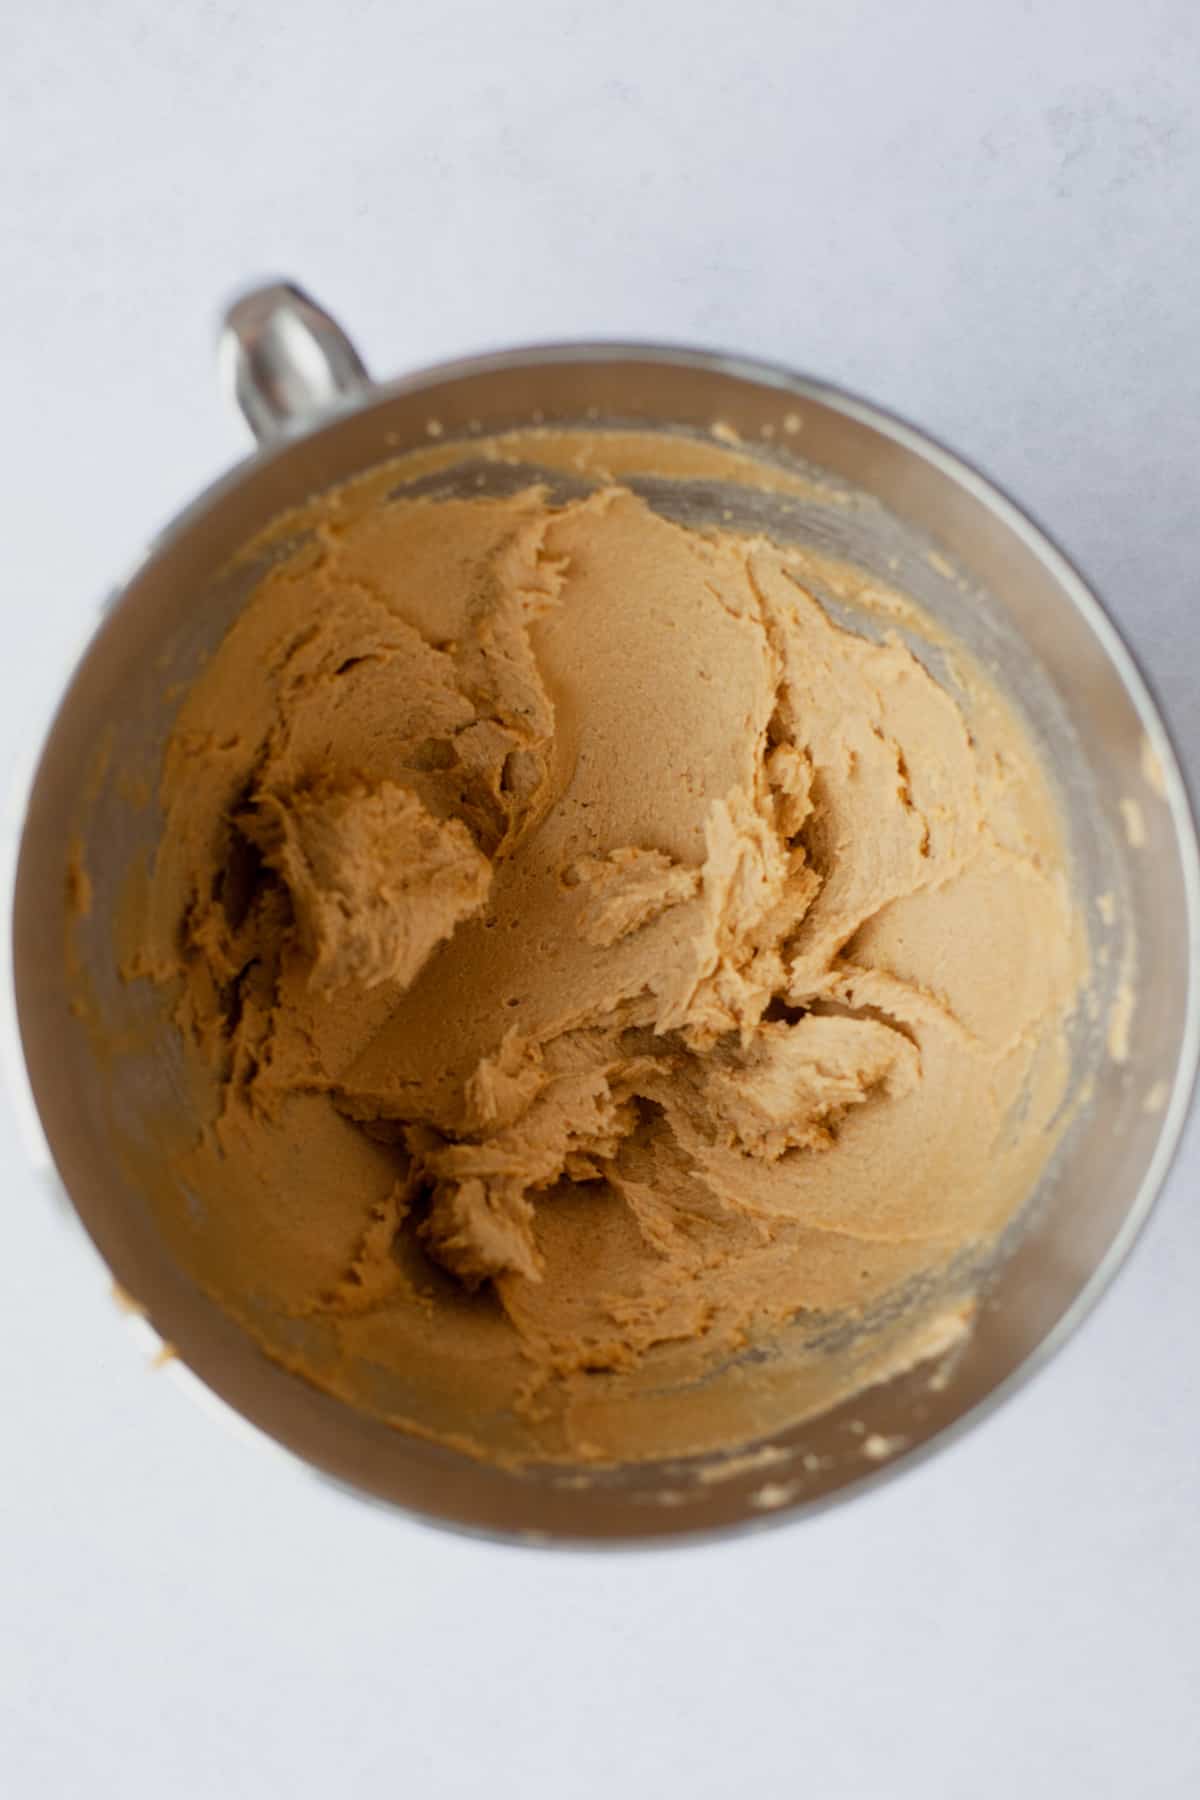
You'll need to beat the butter and sugar together until light and fluffy. Light brown sugar is used instead of granulated white sugar to give the cake a caramel flavour.
Add the eggs to the mixture. We'll then add the dry ingredients and wet ingredients in 3 additions, starting and ending with dry. Finally, add in the melted chocolate. Make sure that the melted chocolate has completely cooled beforehand.
Salted Caramel
This part might seem tricky, but I promise it's easy! All we're going to do is heat up sugar until it dissolves.
In a small saucepan, pour in a ¼ of a cup of sugar. Once it dissolves, add the next ¼ cup and repeat until you've dissolved all of the sugar. You then want it to turn a copper penny colour, and then turn off the heat. Drop in your butter, a tablespoon at a time. Be careful, it can sputter! Pour in your heavy cream, salt and vanilla.
Caramel Ganache
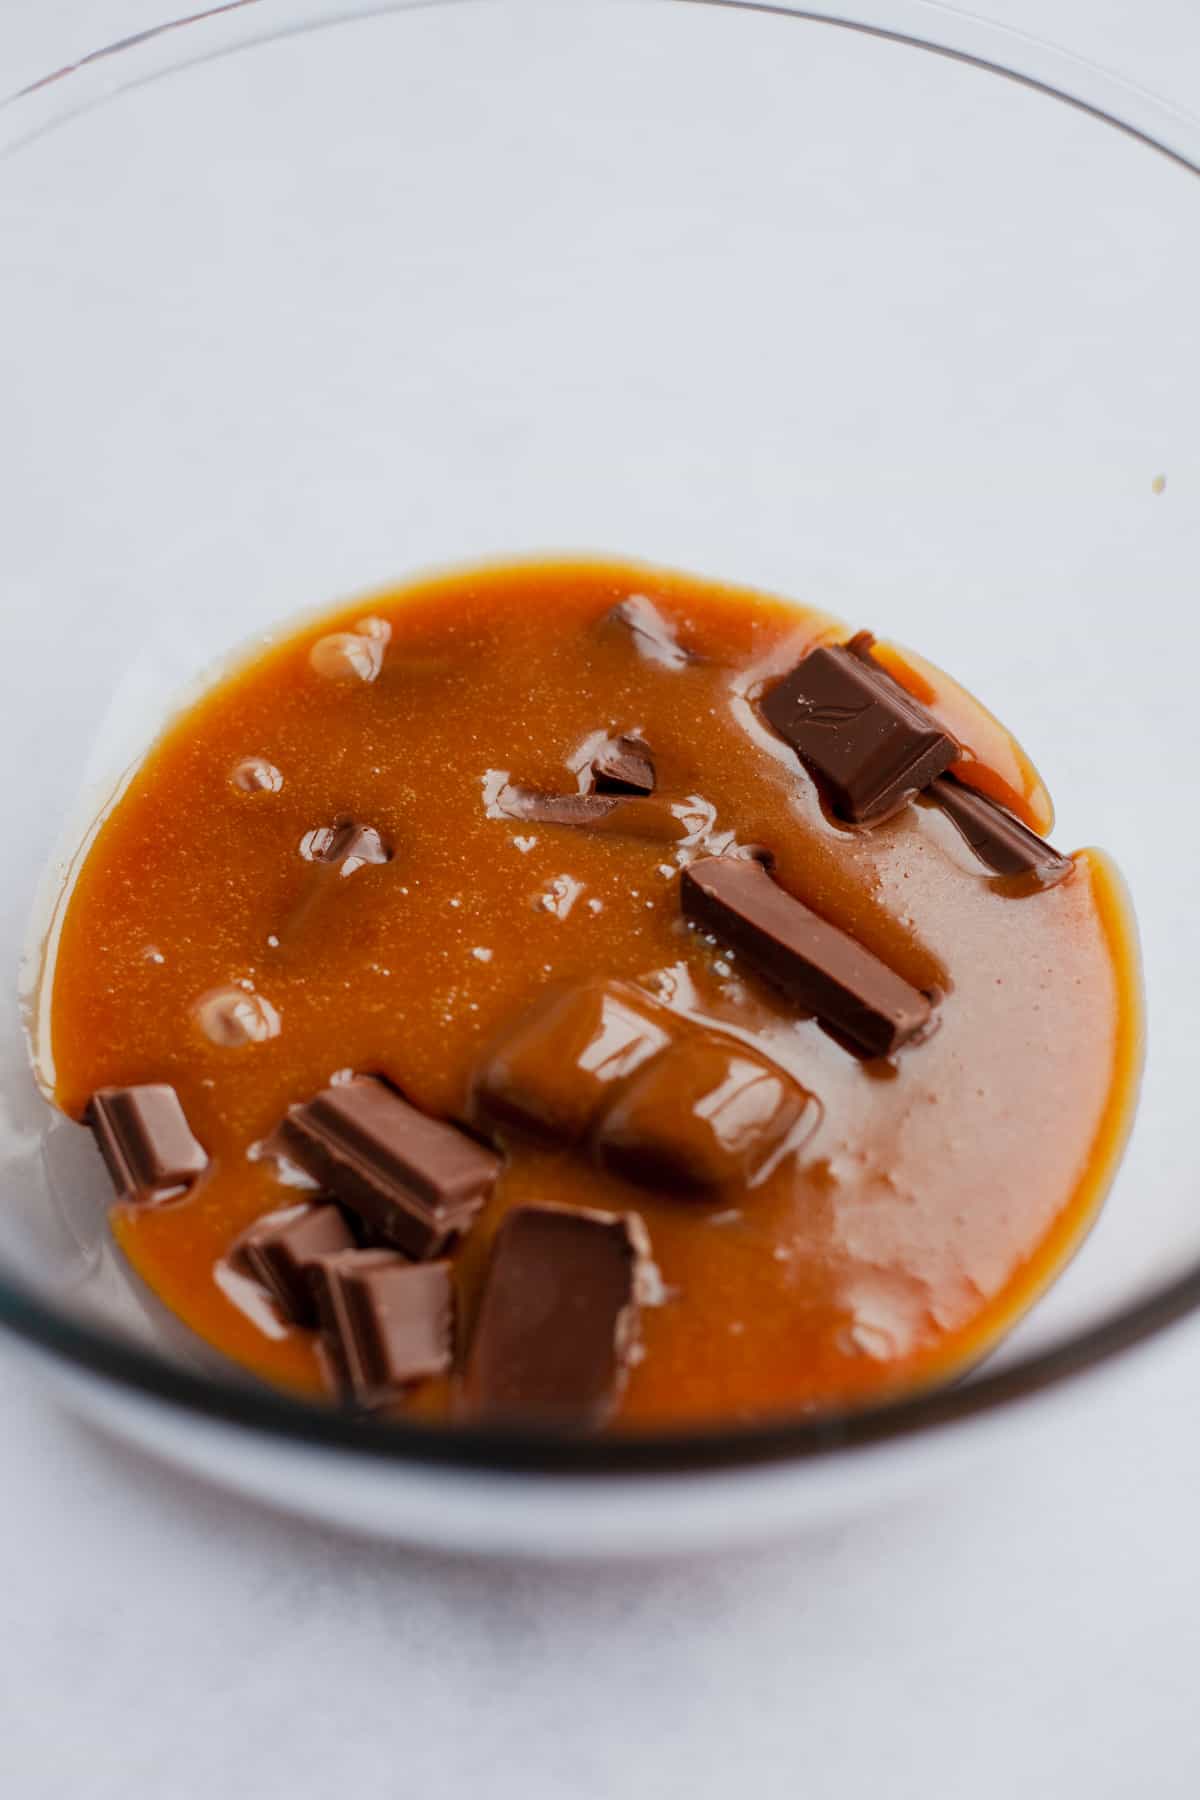
Now for an easy part! Pour half of the caramel you've made over chopped chocolate in a heatproof bowl. Let it sit for 5 minutes, and then use a rubber spatula to smooth the mixture. That's it! You'll want to let the mixture cool and thicken before you use it.
Chocolate Whipped Cream Frosting
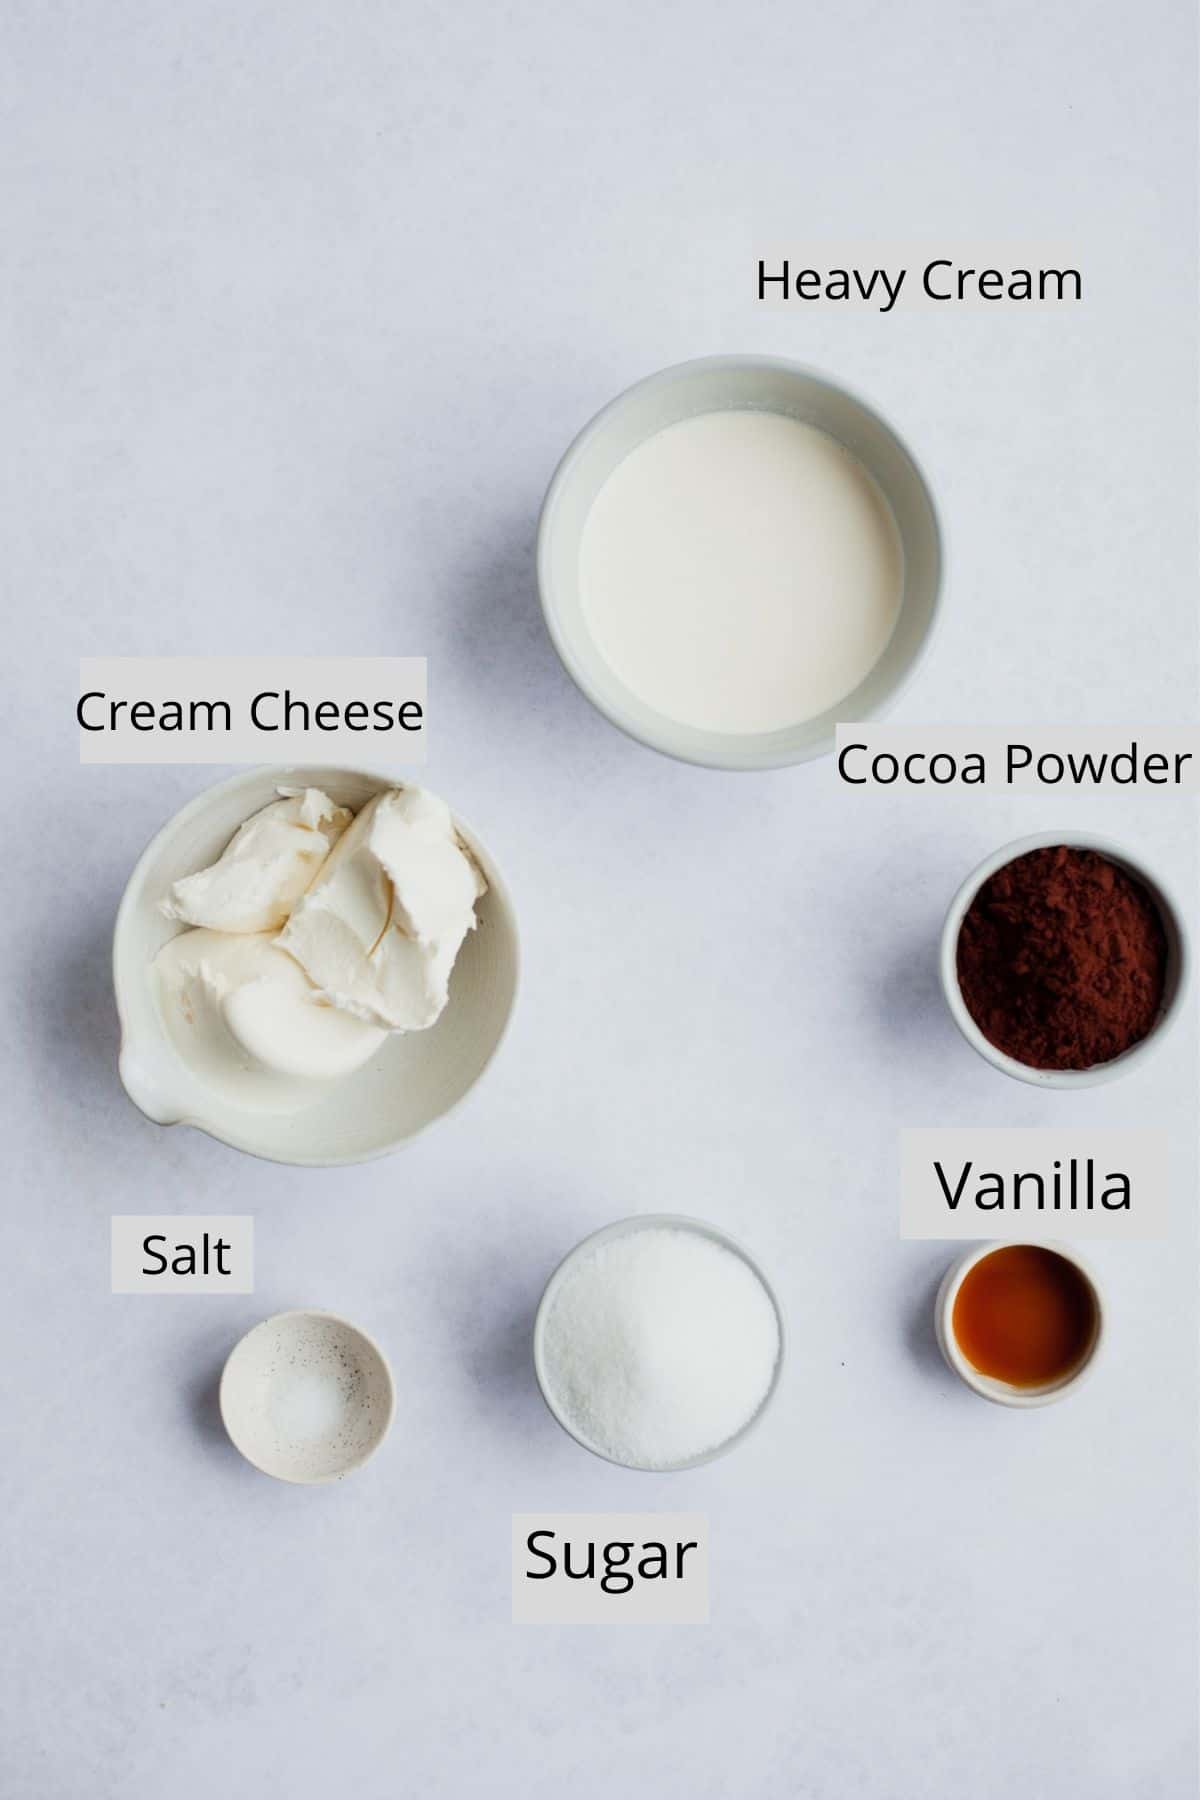
This chocolate whipped cream cream cheese frosting is so easy to make! Sure dissolve the sugar, salt, and vanilla in the heavy cream and whip it until it becomes really thick, almost like Greek yogurt. Then add in the cream cheese a tablespoon at a time. Whip it again on high until it becomes smooth and thick. Finally, add in your cocoa powder!
Assembling the cake
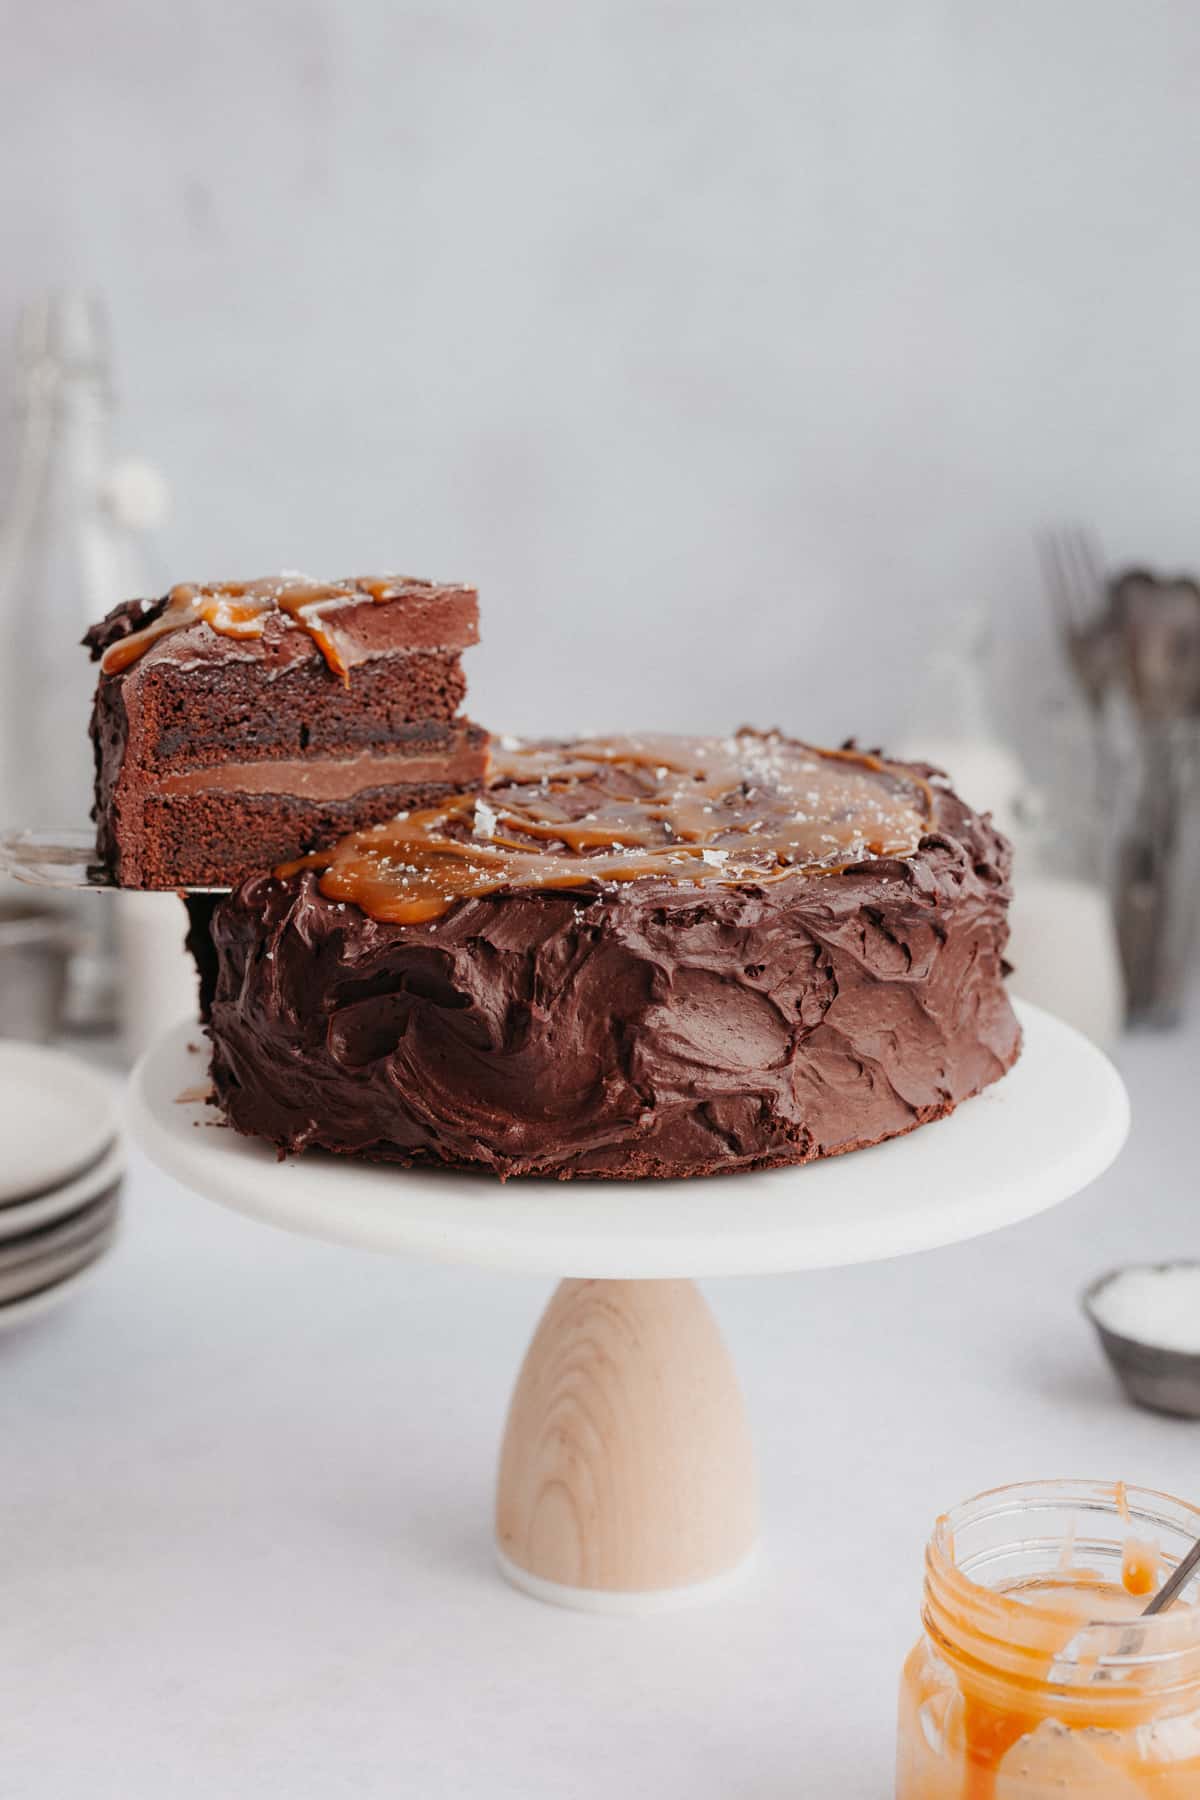
Now for the fun part - putting it all together!
Start off with cooled cake layers. If you don't allow your cakes to cool, the frosting is going to slide right off. Put your first layer down, then spread over the caramel ganache. I then poured over a bit of the leftover salted caramel to get an extra dose of caramel.
Place the next cake layer on top. Use an offset spatula to spread the frosting over the top of the cake. Use the spatula to bring the frosting down to cover the sides. I then use a small spoon to create those swoops and swirls.
Pour over the rest of your salted caramel on the cake, and finish by sprinkling flaky sea salt.
Frequently Asked Questions
This cake is best stored in the fridge, but let it sit at room temperature for 20-30 minutes before eating to let the caramel soften. Keep it for up to 4 days.
You can make the layers a day in advance and wrap in clingfilm. If you want to make the salted caramel or caramel ganache you'll have to warm it up again in order to make it spreadable.
You can use 9 inch pans instead, but because the layer will be thinner you'll need less time in the oven.
More cake recipes to try:
- Double Chocolate Sour Cream Pound Cake
- Pistachio Carrot Cake with Whipped Cream Cheese Frosting
- Brownie Cookie Dough Cake with Fudge Frosting
Make sure to tag me on Instagram @alpineella and leave a review below if you've made this cake! If you want more baking ideas, you can follow me on Pinterest.
Recipe
Salted Caramel Chocolate Cake
Equipment
- 2 x 8" cake pans
Ingredients
Cake
- 240 grams all-purpose flour
- 1 ½ teaspoon baking powder
- ½ teaspoon salt
- ½ teaspoon baking soda
- 41 grams cocoa powder
- 240 ml buttermilk
- 2 teaspoon vanilla extract
- 227 grams unsalted butter room temperature
- 266 grams light brown sugar
- 4 eggs
- 113 grams melted chocolate
Caramel Ganache
- 200 grams granulated sugar
- 84 grams unsalted butter room temperature
- 76 ml heavy cream
- ¾ teaspoon salt
- 1 teaspoon vanilla extract
- 113 grams milk chocolate chopped
Frosting
- 150 grams granulated sugar
- 210 ml heavy cream
- 2 teaspoon vanilla extract
- 63 grams cocoa powder
- 339 grams cream cheese cold
Instructions
Cake
- Preheat your oven to 350°F/175°C. Line and grease 2 x 8 inch cake pans
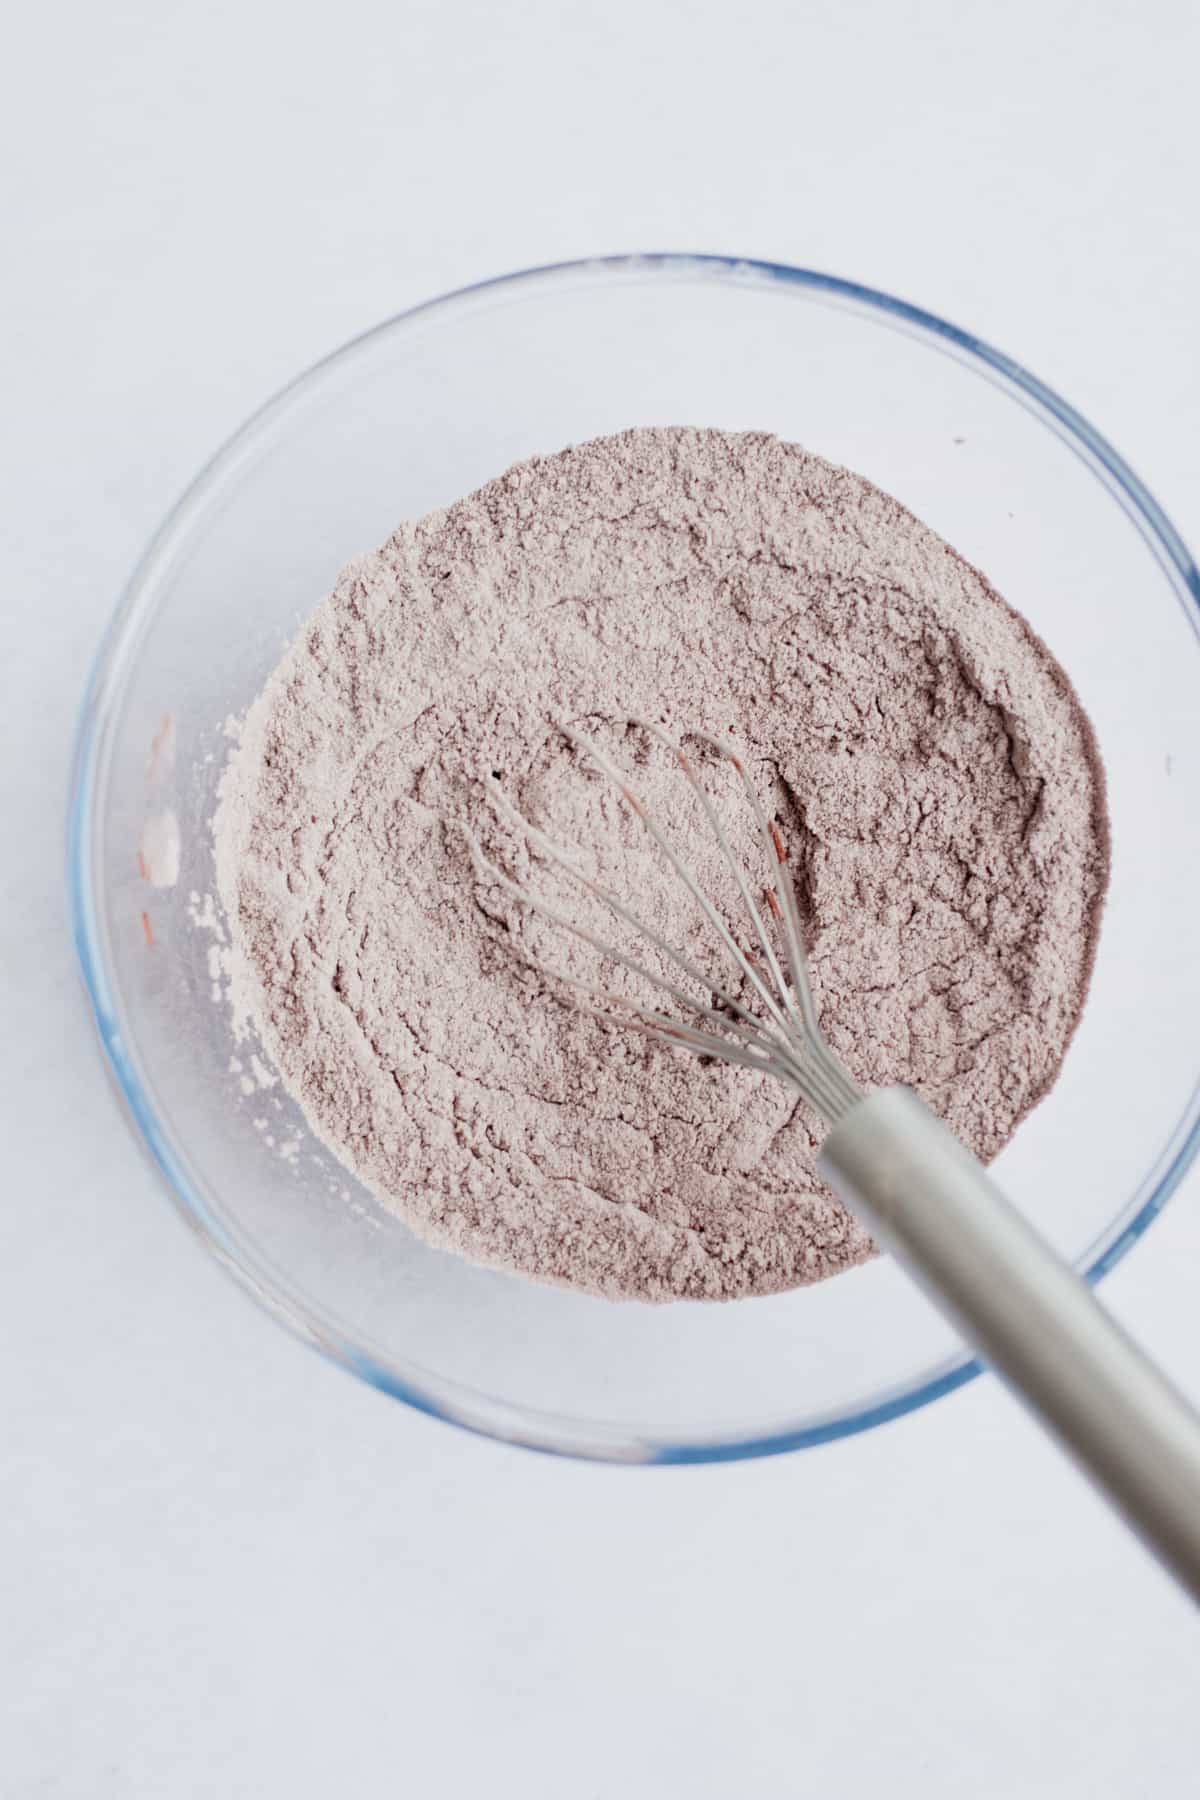
- Whisk together the flour, salt, cocoa powder, baking powder, and baking soda until smooth.
- In a stand mixer with the paddle attachment, beat the butter and the light brown sugar together on medium speed until light and fluffy. This takes about 5 minutes. Scrape down the bowl every few minutes.
- Add the eggs one at a time, beating well after each addition. Add the vanilla and beat well.
- Reduce the speed to low. Add the dry ingredients and buttermilk in three additions, starting and ending with dry.
- Pour in the melted chocolate and mix until smooth.
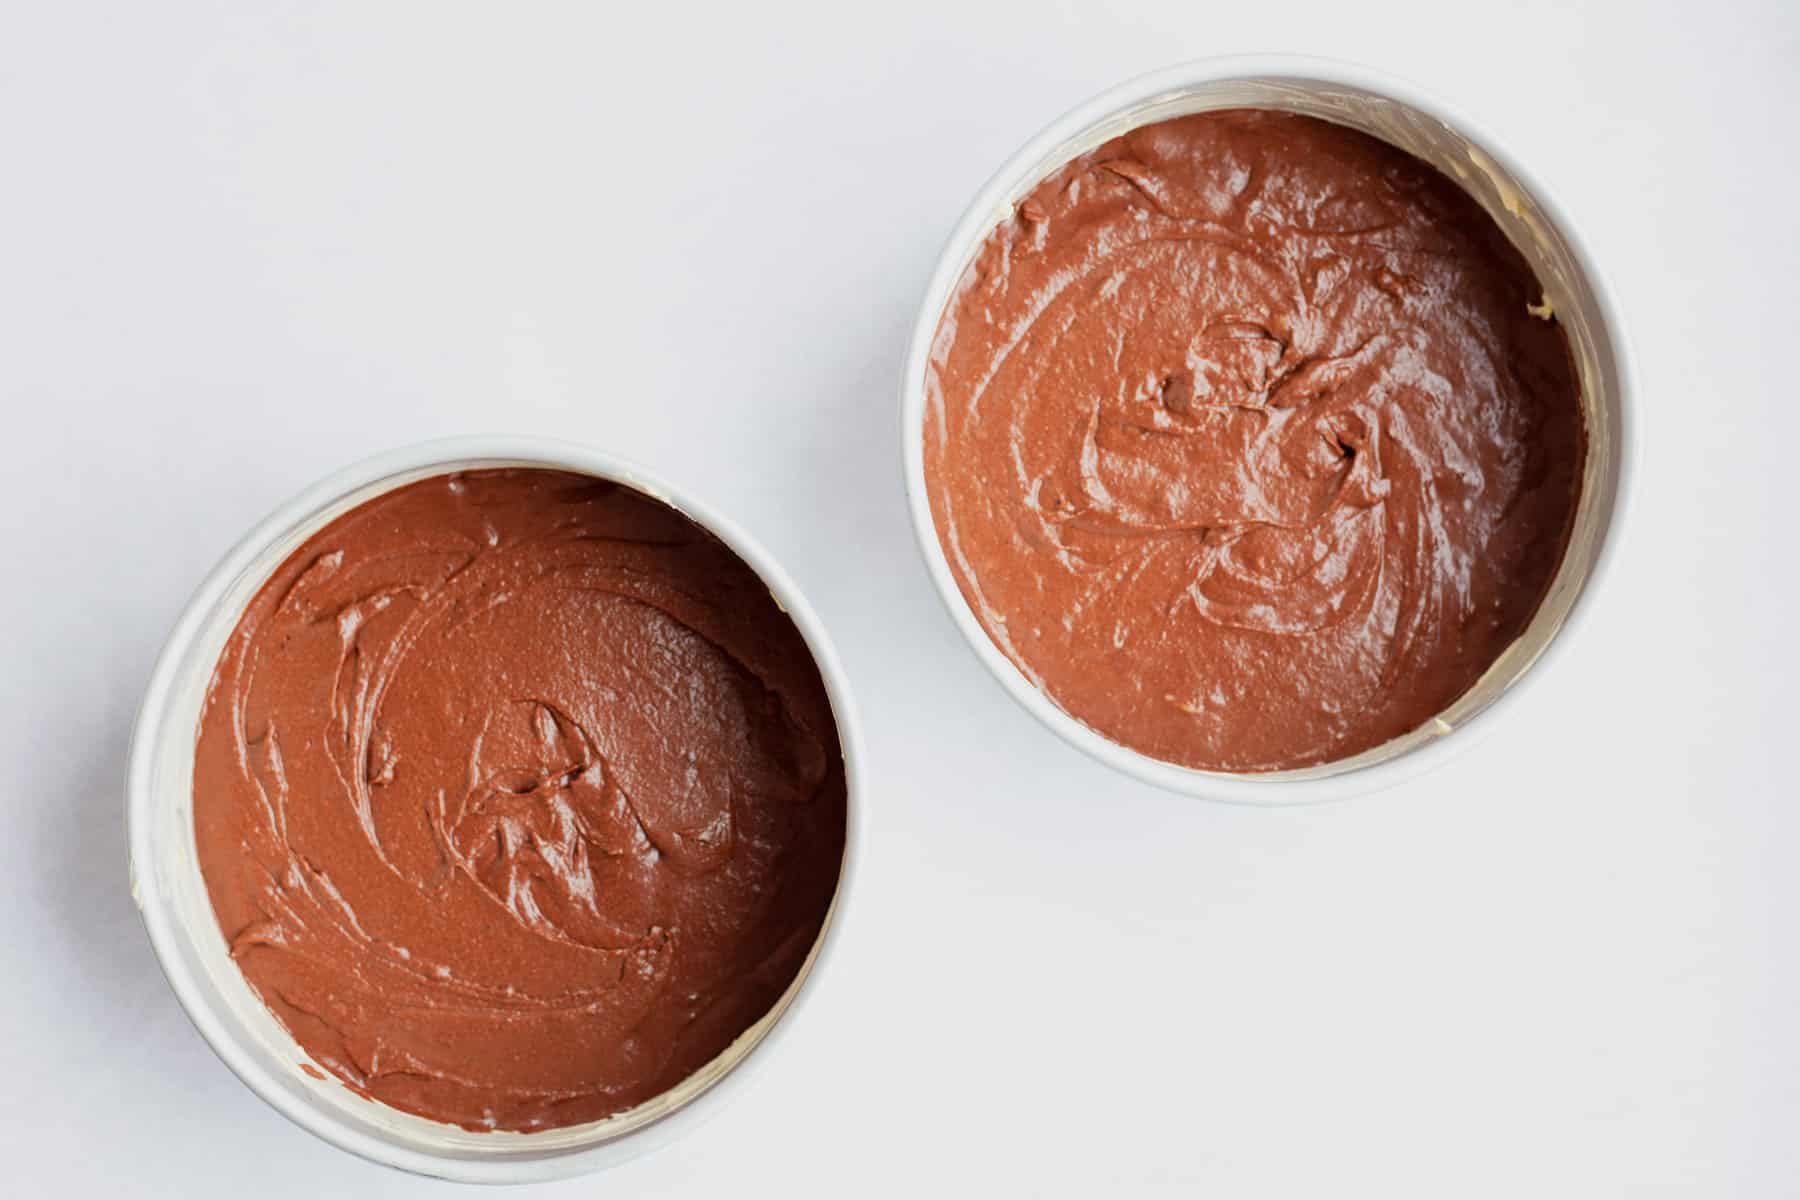
- Divide the batter evenly between the two pans (about 620 grams per pan).
- Bake for 25-28 minutes. A toothpick inserted will come out clean.
- Let cool completely.
Ganache
- Place your chopped chocolate in a heatproof bowl. Set aside.
- Take a small saucepan and place it on your stove over medium heat. Add the sugar ¼ cup at a time, letting the sugar dissolve completely until you add the next ¼ cup.
- Stir occasionally until the sugar has completely dissolved and turns a dark amber colour. Turn the heat off.
- Add the butter in a piece at a time, be careful as it may sputter! Stir with a heatproof spatula as you add the butter. Stir in the cream, salt, and vanilla.
- Pour half of your caramel sauce over the chocolate. Use a rubber spatula to whisk until smooth. Leave to cool and thicken. Keep the rest of the salted caramel in a container and allow to cool.
Frosting
- Chill your mixing bowl for at least an hour or overnight.
- In a stand mixer with the paddle attachment, beat together the heavy cream, salt, sugar, and vanilla at a low speed. The sugar should dissolve after 2 minutes.
- Increase the speed to high for 2 minutes until the mixture resembles Greek yogurt.
- With the mixer on low speed, add the cream cheese a tablespoon at a time. Once all the cream cheese is in, stop the mixer. It should look like cottage cheese. Scrape the bowl then turn the speed to high and beat for 3 minutes. It should look smooth and fluffy. Pour in your cocoa powder, and mix for 1 minute.


Jan
Recipe doesn’t stipulate what KIND of melted chocolate!! I’m assuming unsweetened/ bittersweet baking chocolate. Is that correct?
Ella
Hi there, I live in the UK where we don't label our chocolate bittersweet, semisweet, etc. I used dark chocolate for this which was 51% cocoa.
Agnes
Delicious!! Made it for my moms birthday, it is VERY rich, the ganache is so sweet. The sponge is the moist-est I´ve ever made, beautiful texture. The salted caramel is perfect, I´m saving the left-overs for my coffee. Took about three hours, start to finish. Well worth a try if you´re considering it!
Ella
Thanks so much for your review! 🙂