Packed with flavor and a little bit of tartness, this cherry rhubarb pie is the perfect dessert for the warm weather months. This pie has a simple filling which comes together in minutes, and is topped with a cinnamon oat crumble.

Tell me about this recipe!
- I walk you through using your stand mixer to make pie dough! I know a lot of people are put off of making their own dough, or feel like the butter in the dough keeps melting when making it by hand. As I've got really warm hands, I've found making pie dough in the stand mixer means your butter is less likely to melt and you can get your butter to be a uniform size - flakier pie crust!
- This recipe is made using frozen fruit! I love to prep fruit when it's in season and keep in my freezer to have fresh pies all year round.
- It only takes a few minutes to prep the filling for this pie - no precooking needed! Plus the oat crumble topping comes together in just a minute.
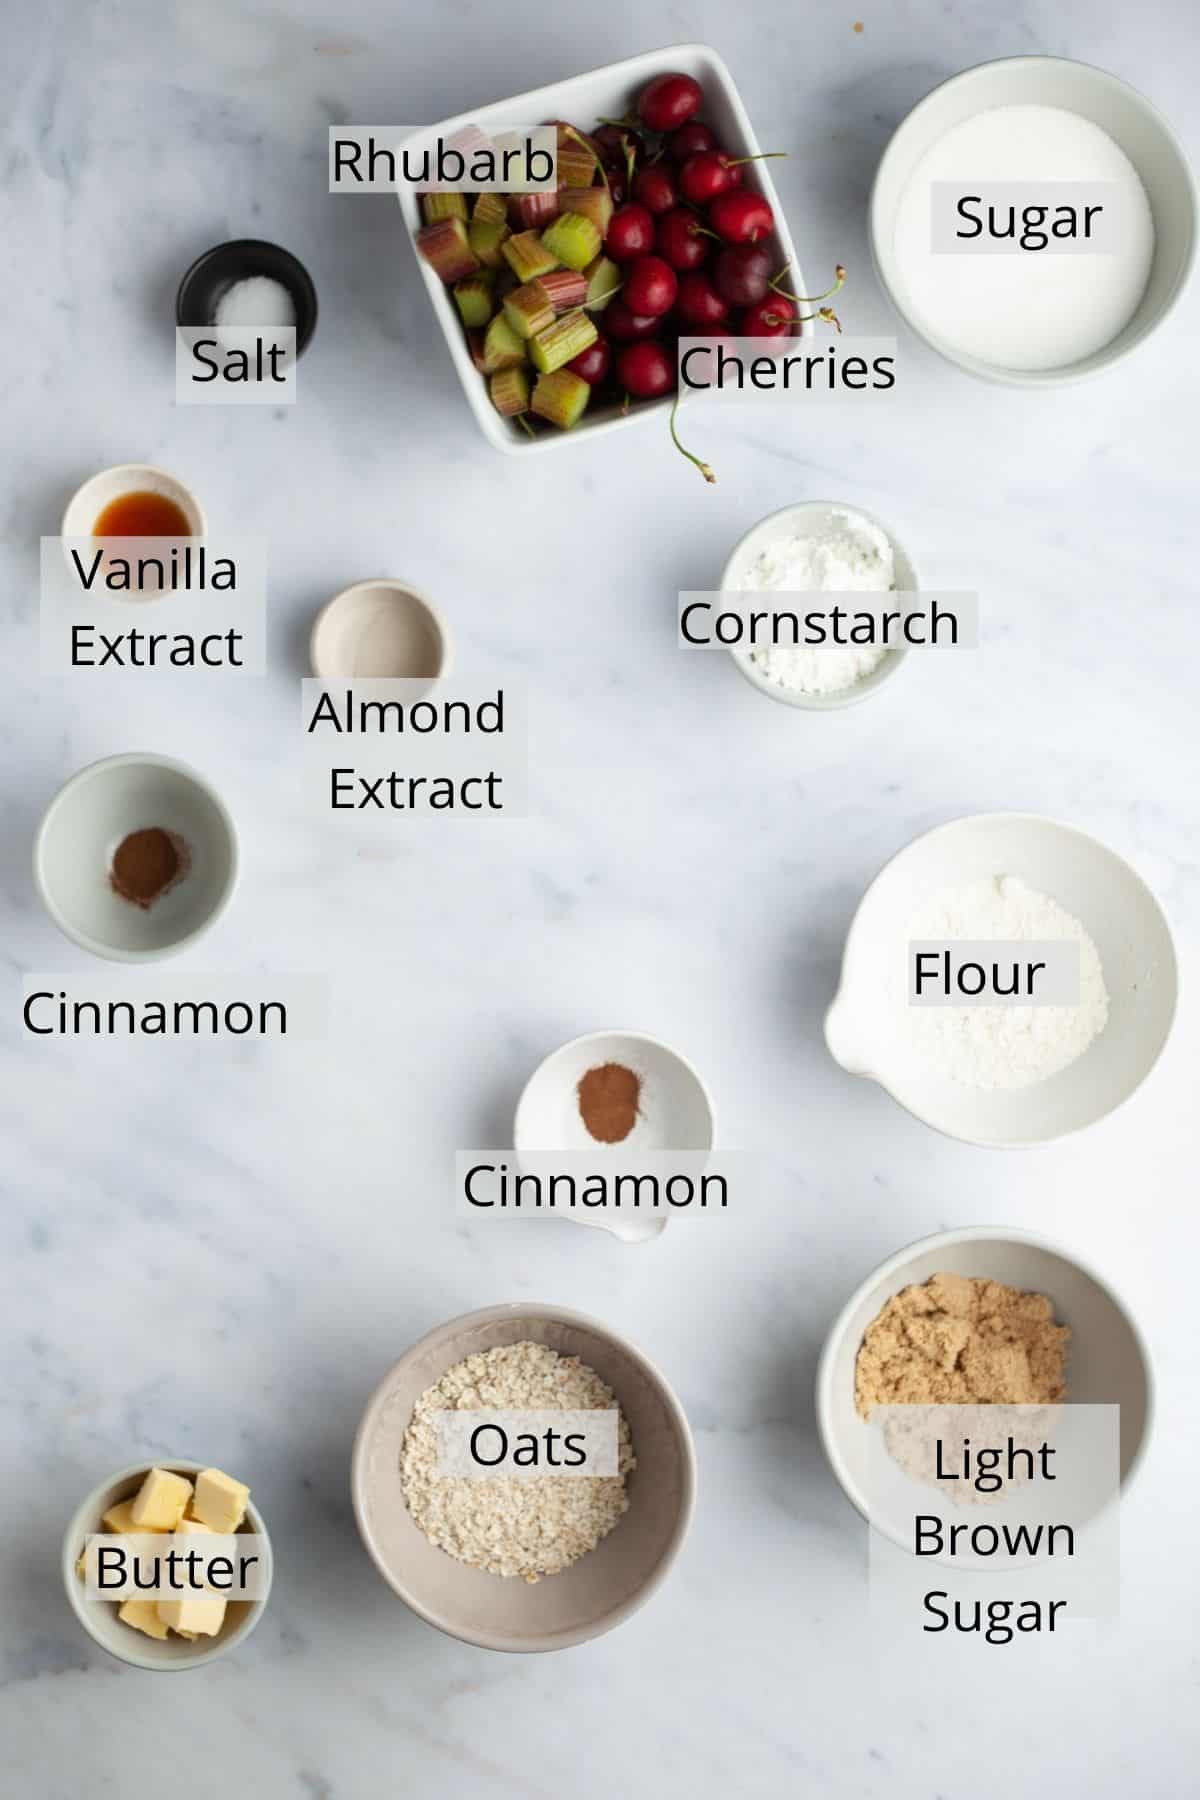
Ingredients Needed
Pie Dough Filling and Topping
The printable recipe card with the full list of ingredients and instructions can be found at the bottom of this post.
Ingredient Notes
- Butter: I always use European style butter in my recipes, like Kerry Gold butter. European style butter has a higher percentage of butterfat, giving you a much richer and creamier taste and a softer texture.
- Rhubarb: I buy rhubarb when it's in season and immediately prep it to freeze for pie fillings. Wash your rhubarb, then slice it into ½ inch rounds, then place into a freezer bag. Then when it's time to make the pie, just let it thaw in the fridge for about 4 hours.
- Cherries: because rhubarb is already quite tart, I used sweet cherries to help balance it out. If you don't have any sweet cherries, replace with the same amount of strawberries.
- Cornstarch: you tend to see cornstarch as a fruit filling as it will hep thicken the mixture and not let it get too runny. If you're in the UK, you can use cornflour.
How to make pie crust from scratch
One Two
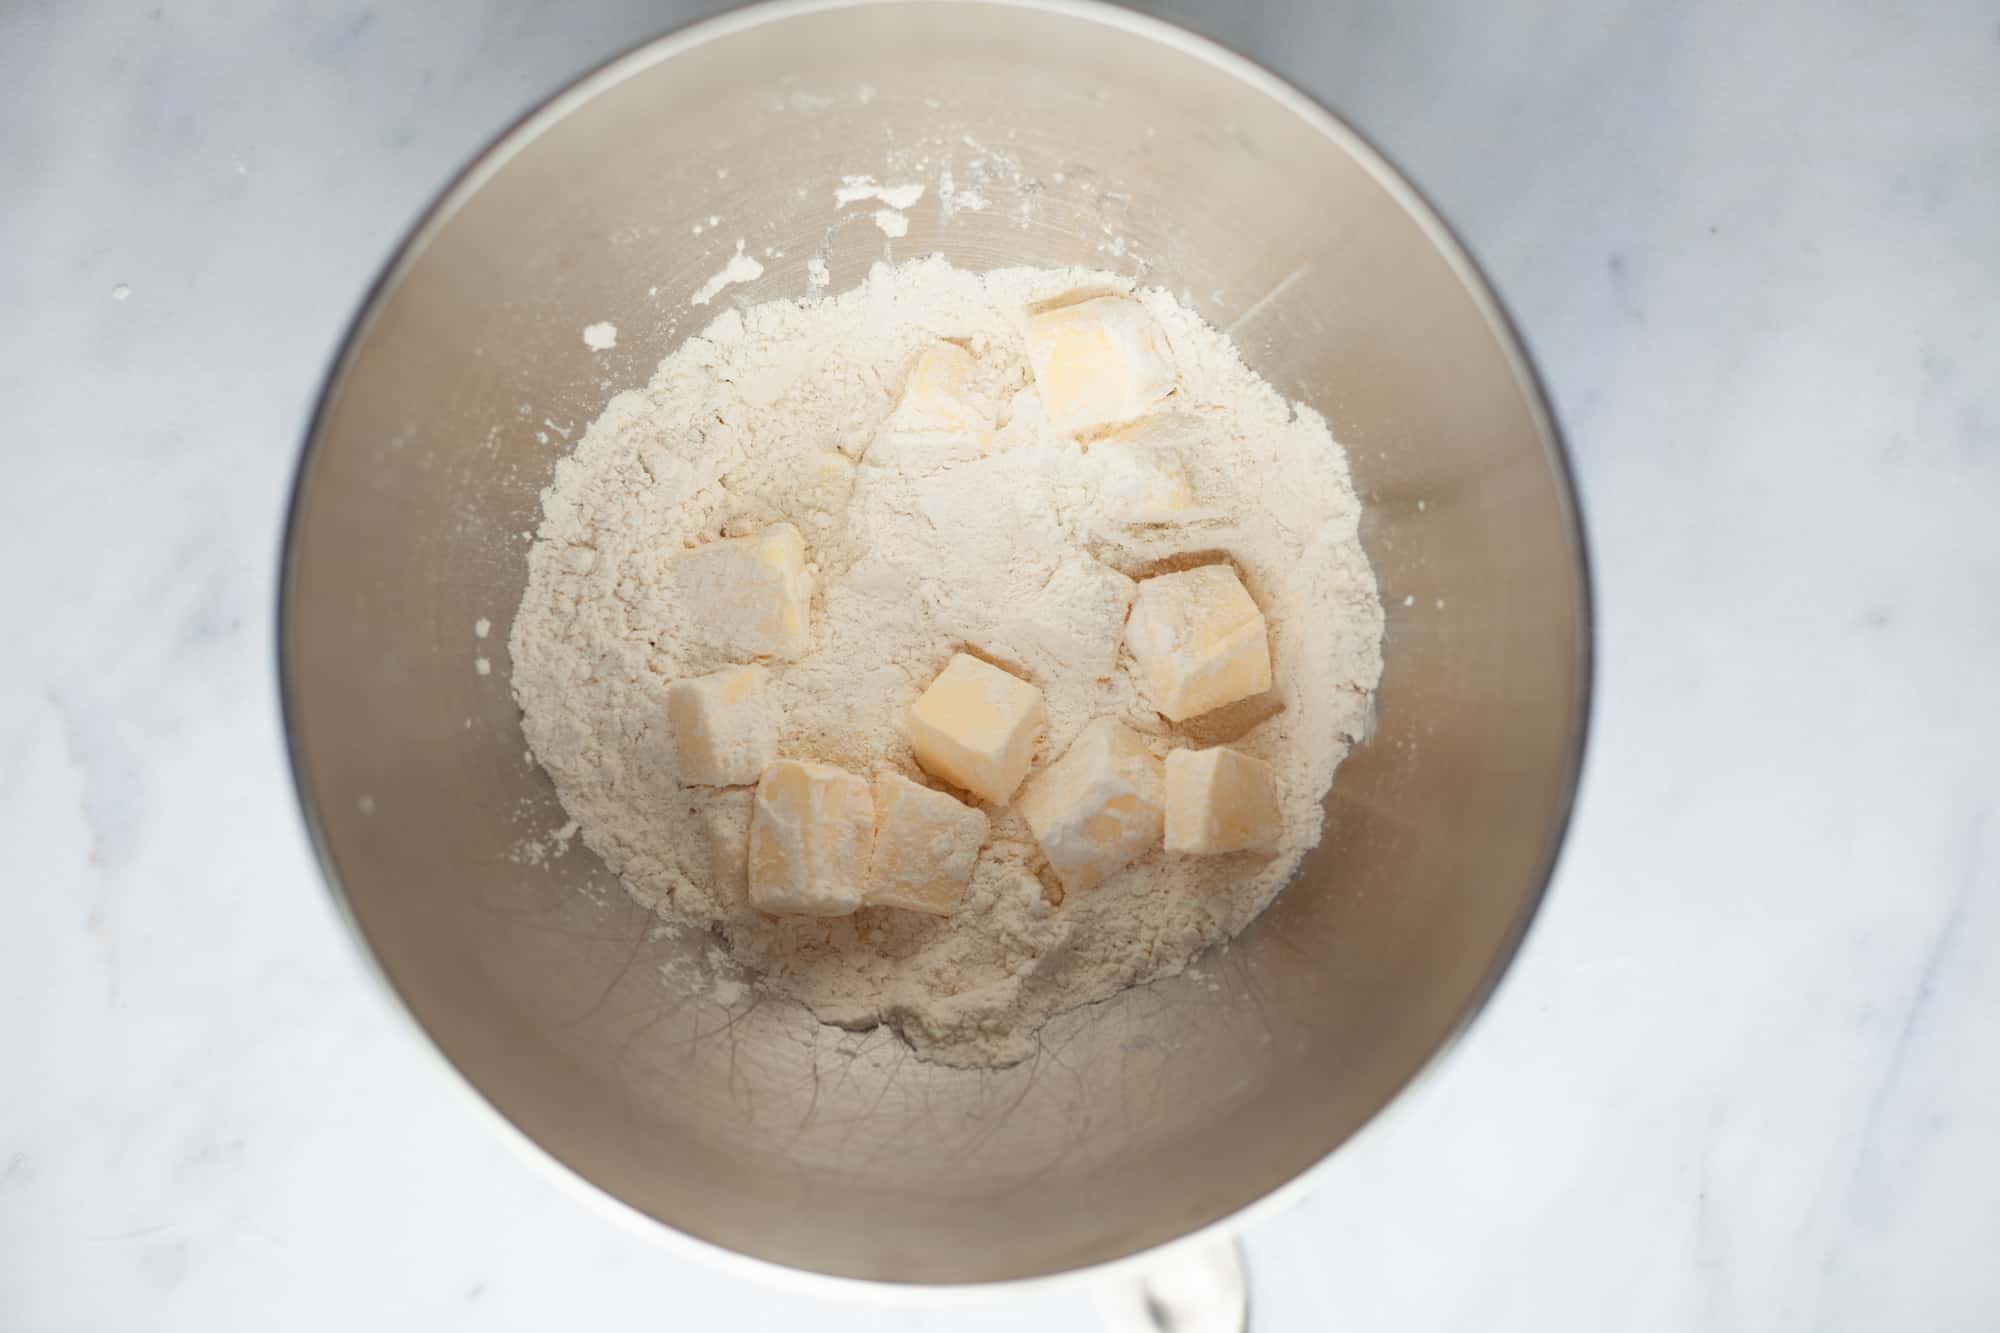
One: before starting, prep and weigh out all of your ingredients. Then, place everything in the fridge to chill for at least 15 minutes. The reason we do this is because we want everything to be as cold as possible, as we don't want the butter the melt. Then toss your cubes of butter with your dry ingredients in the bowl of a stand mixer (or in a regular bowl if making this with your hands)
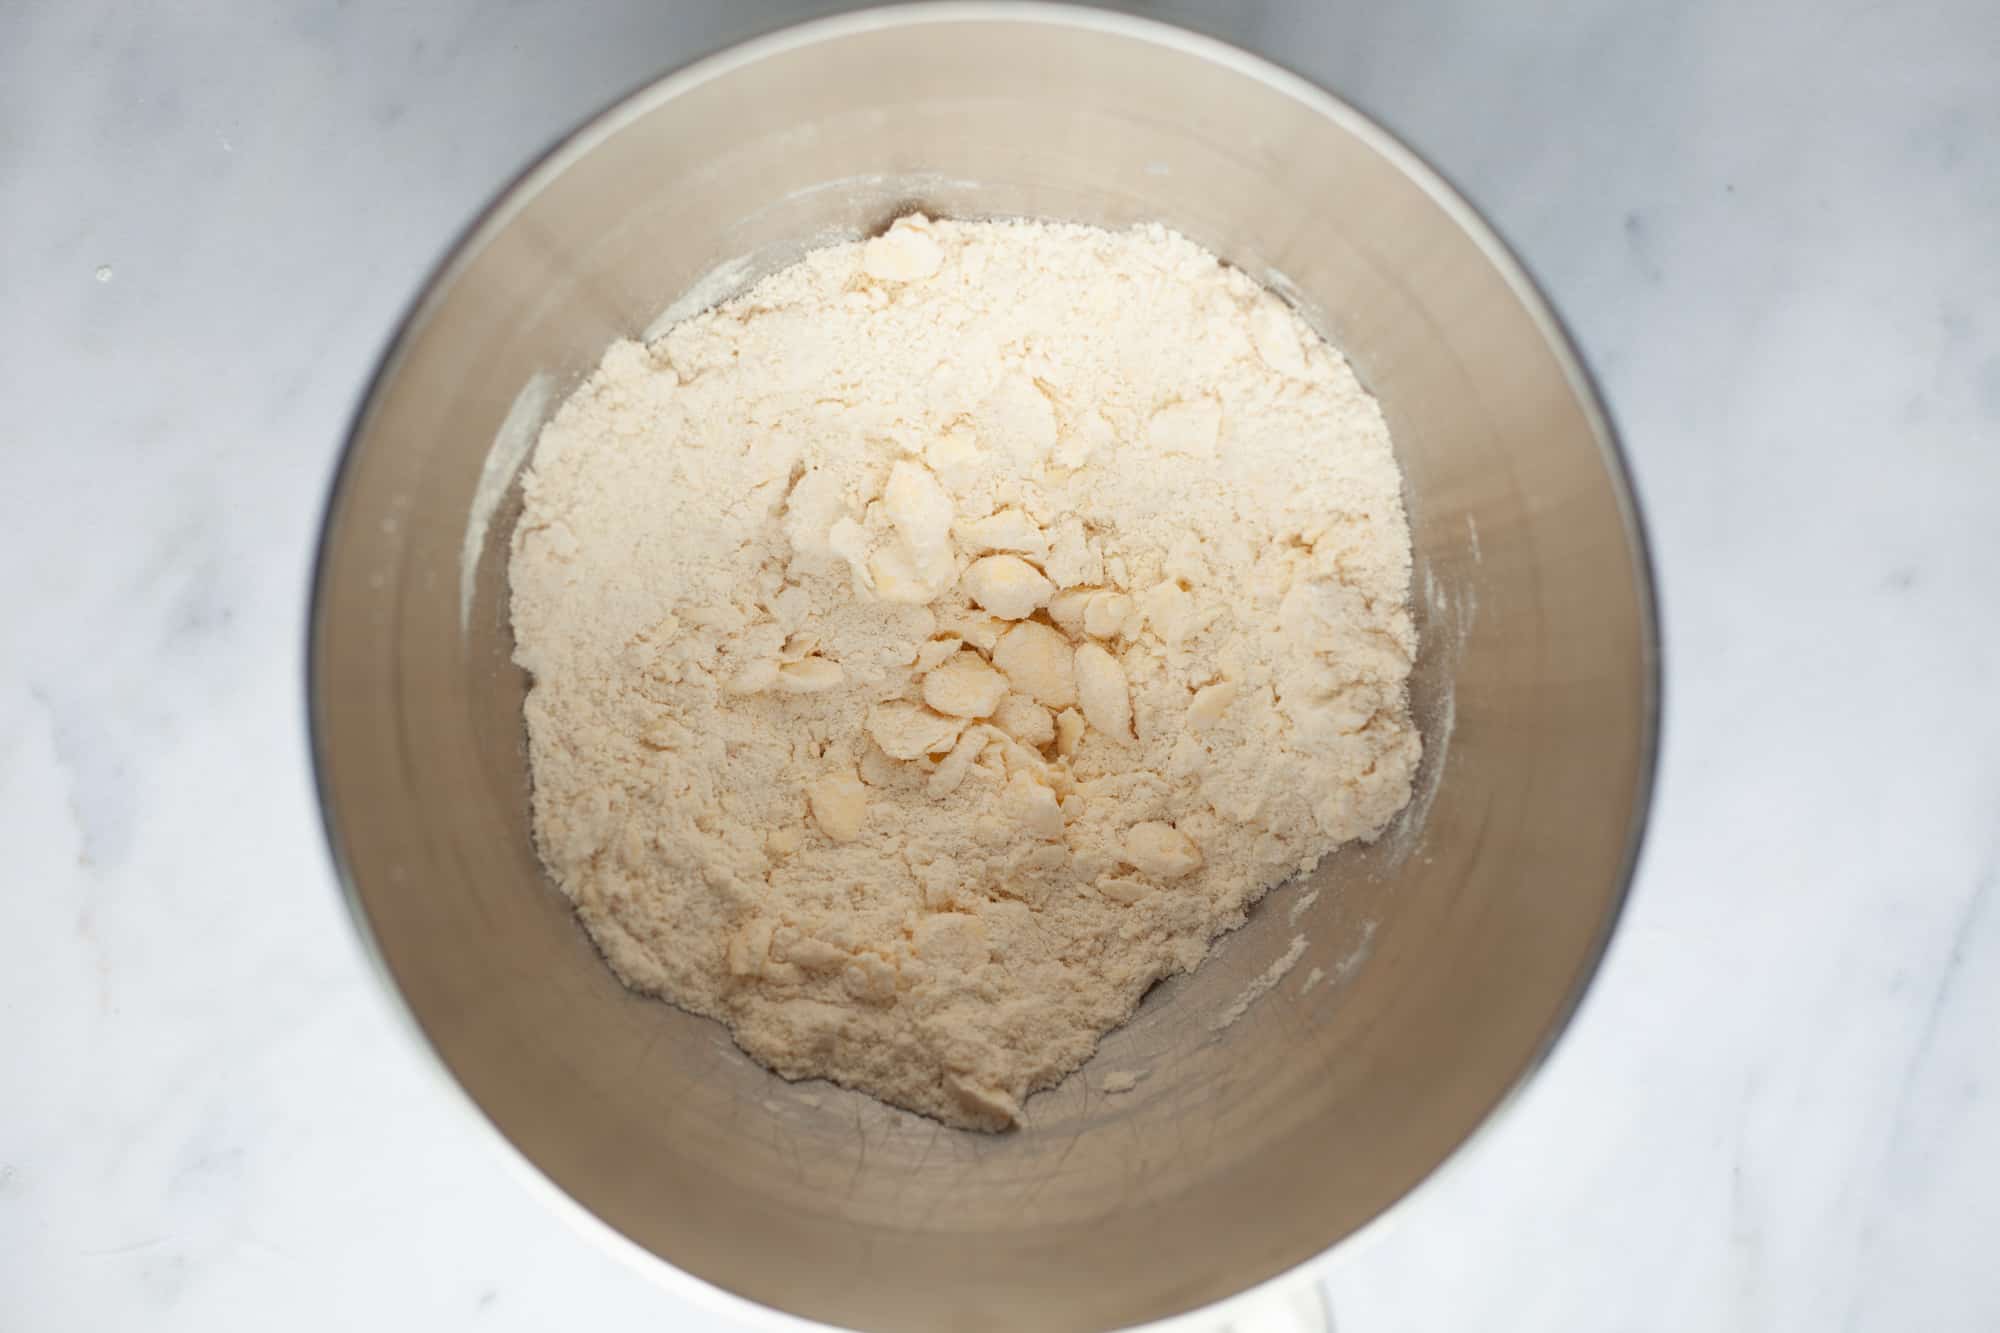
Two: with your paddle attachment, turn the speed on to low and beat the mixture for about 2 minutes. The pieces of butter should be about the size of peas. You don't want to go too small or your pie crust will get too flaky.
Three Four
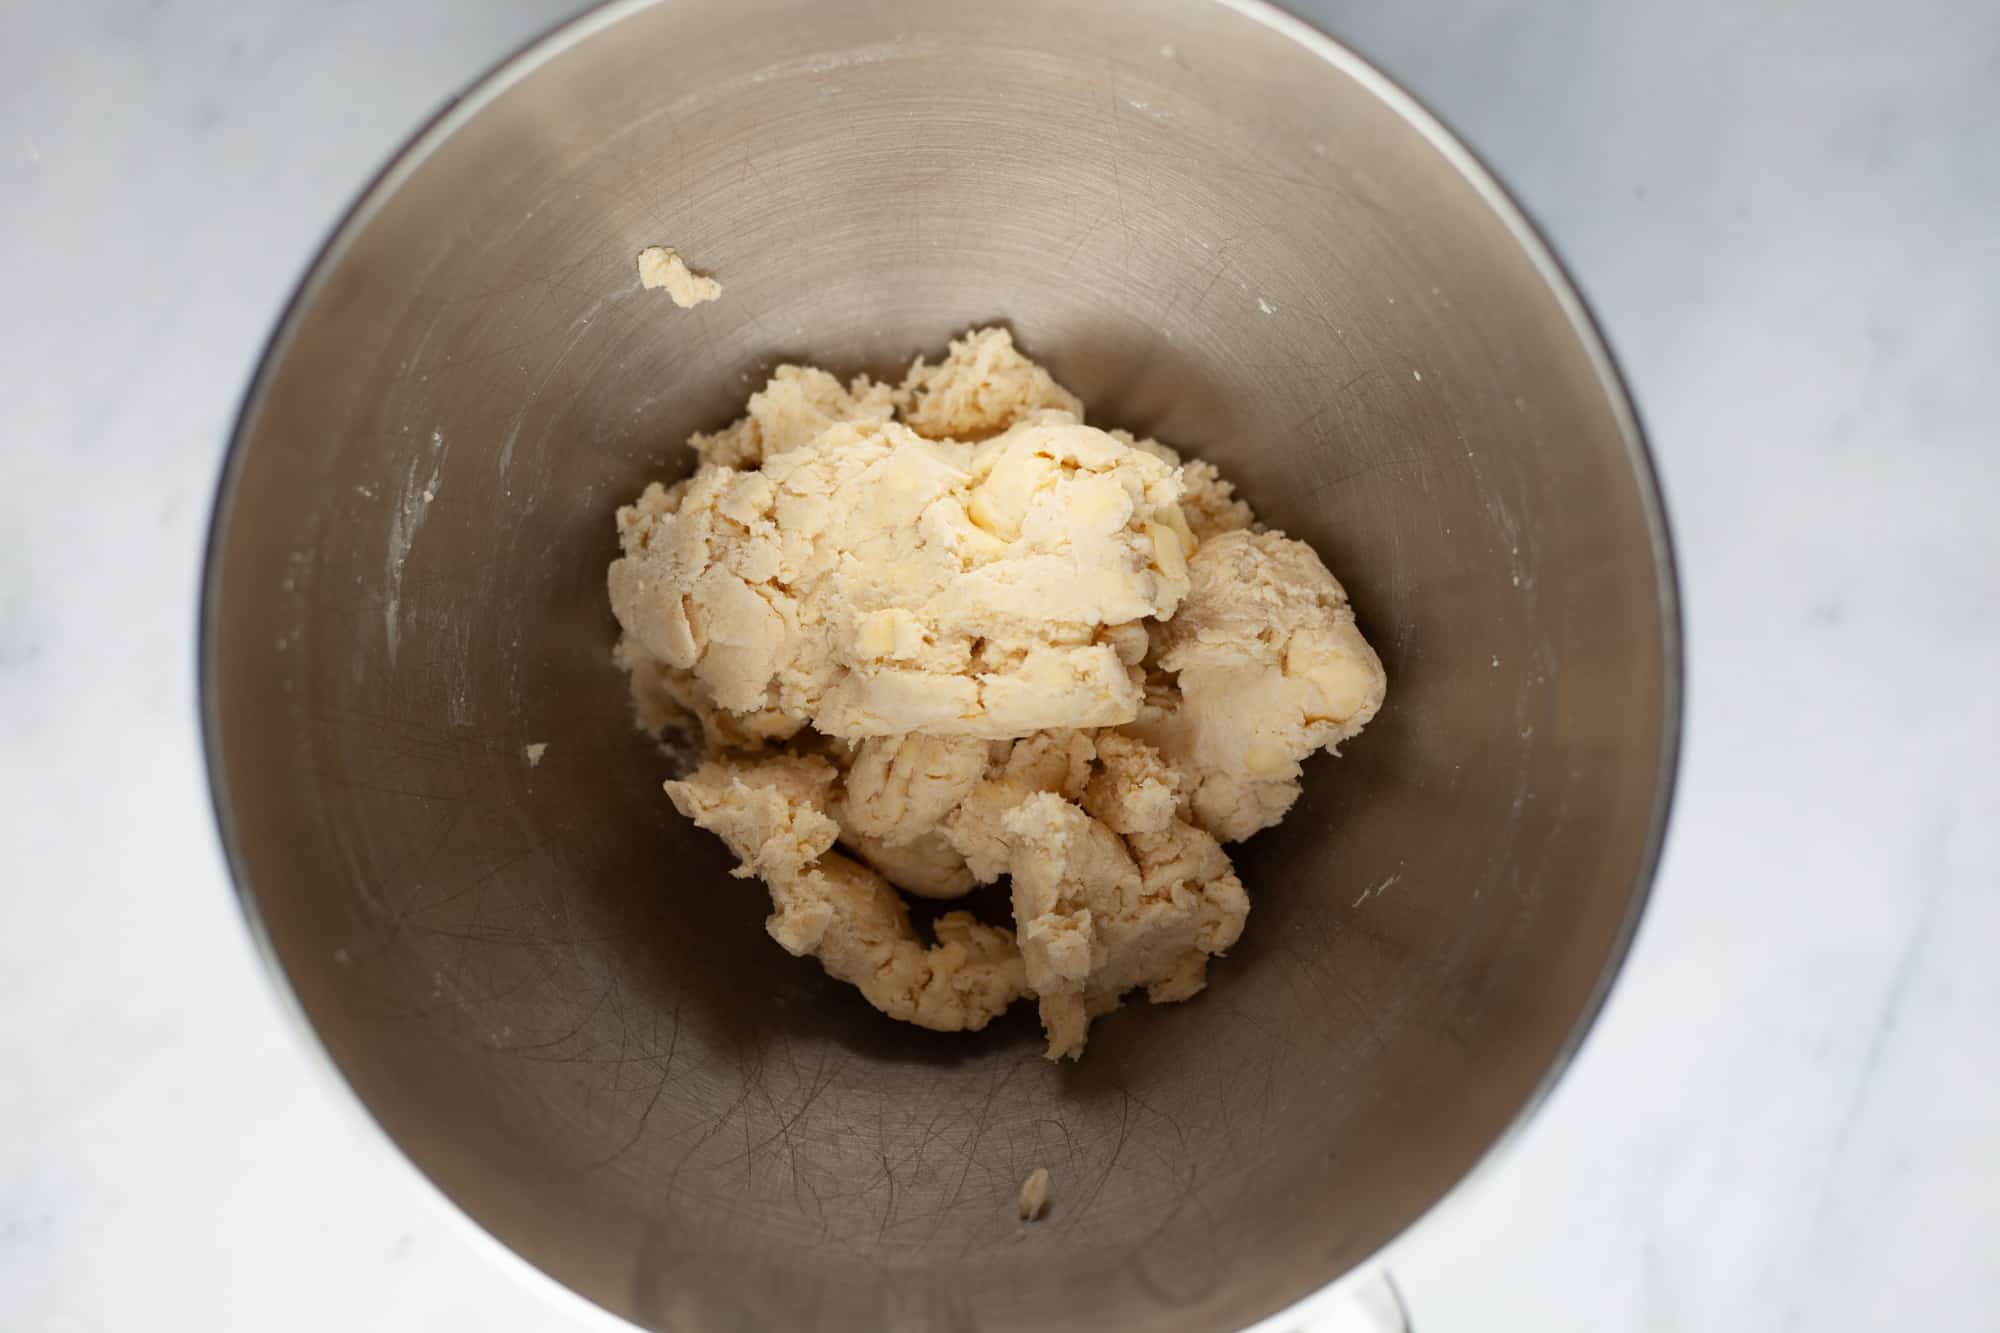
Three: with the mixer still running on low, slowly pour in your cold water/vinegar mixture. Note that you may not need to use all of it, it all depends on the brand of your flour and the humidity of your kitchen! Once your dough is dampened but not too wet, stop. We don't want a dough that is too wet as then you won't be able to roll it out.
Four: Shape your dough into a disc and wrap in plastic wrap. Chill for at least an hour.
Five Six
Five: Roll out your dough on a lightly floured surface until it is about one inch wider than your pie plate. Carefully place the dough into your pie plate. Tuck the edges under and gently press together. If have too much dough overhanging, your scissors to trim it before pressing the edges together.
Six: Now is the time to crimp! Here I used a fork to create a basic crimping pattern. Cover your pie in plastic wrap and pop in the fridge while you prepare the filling and topping.
How to make the filling and topping
Seven Eight
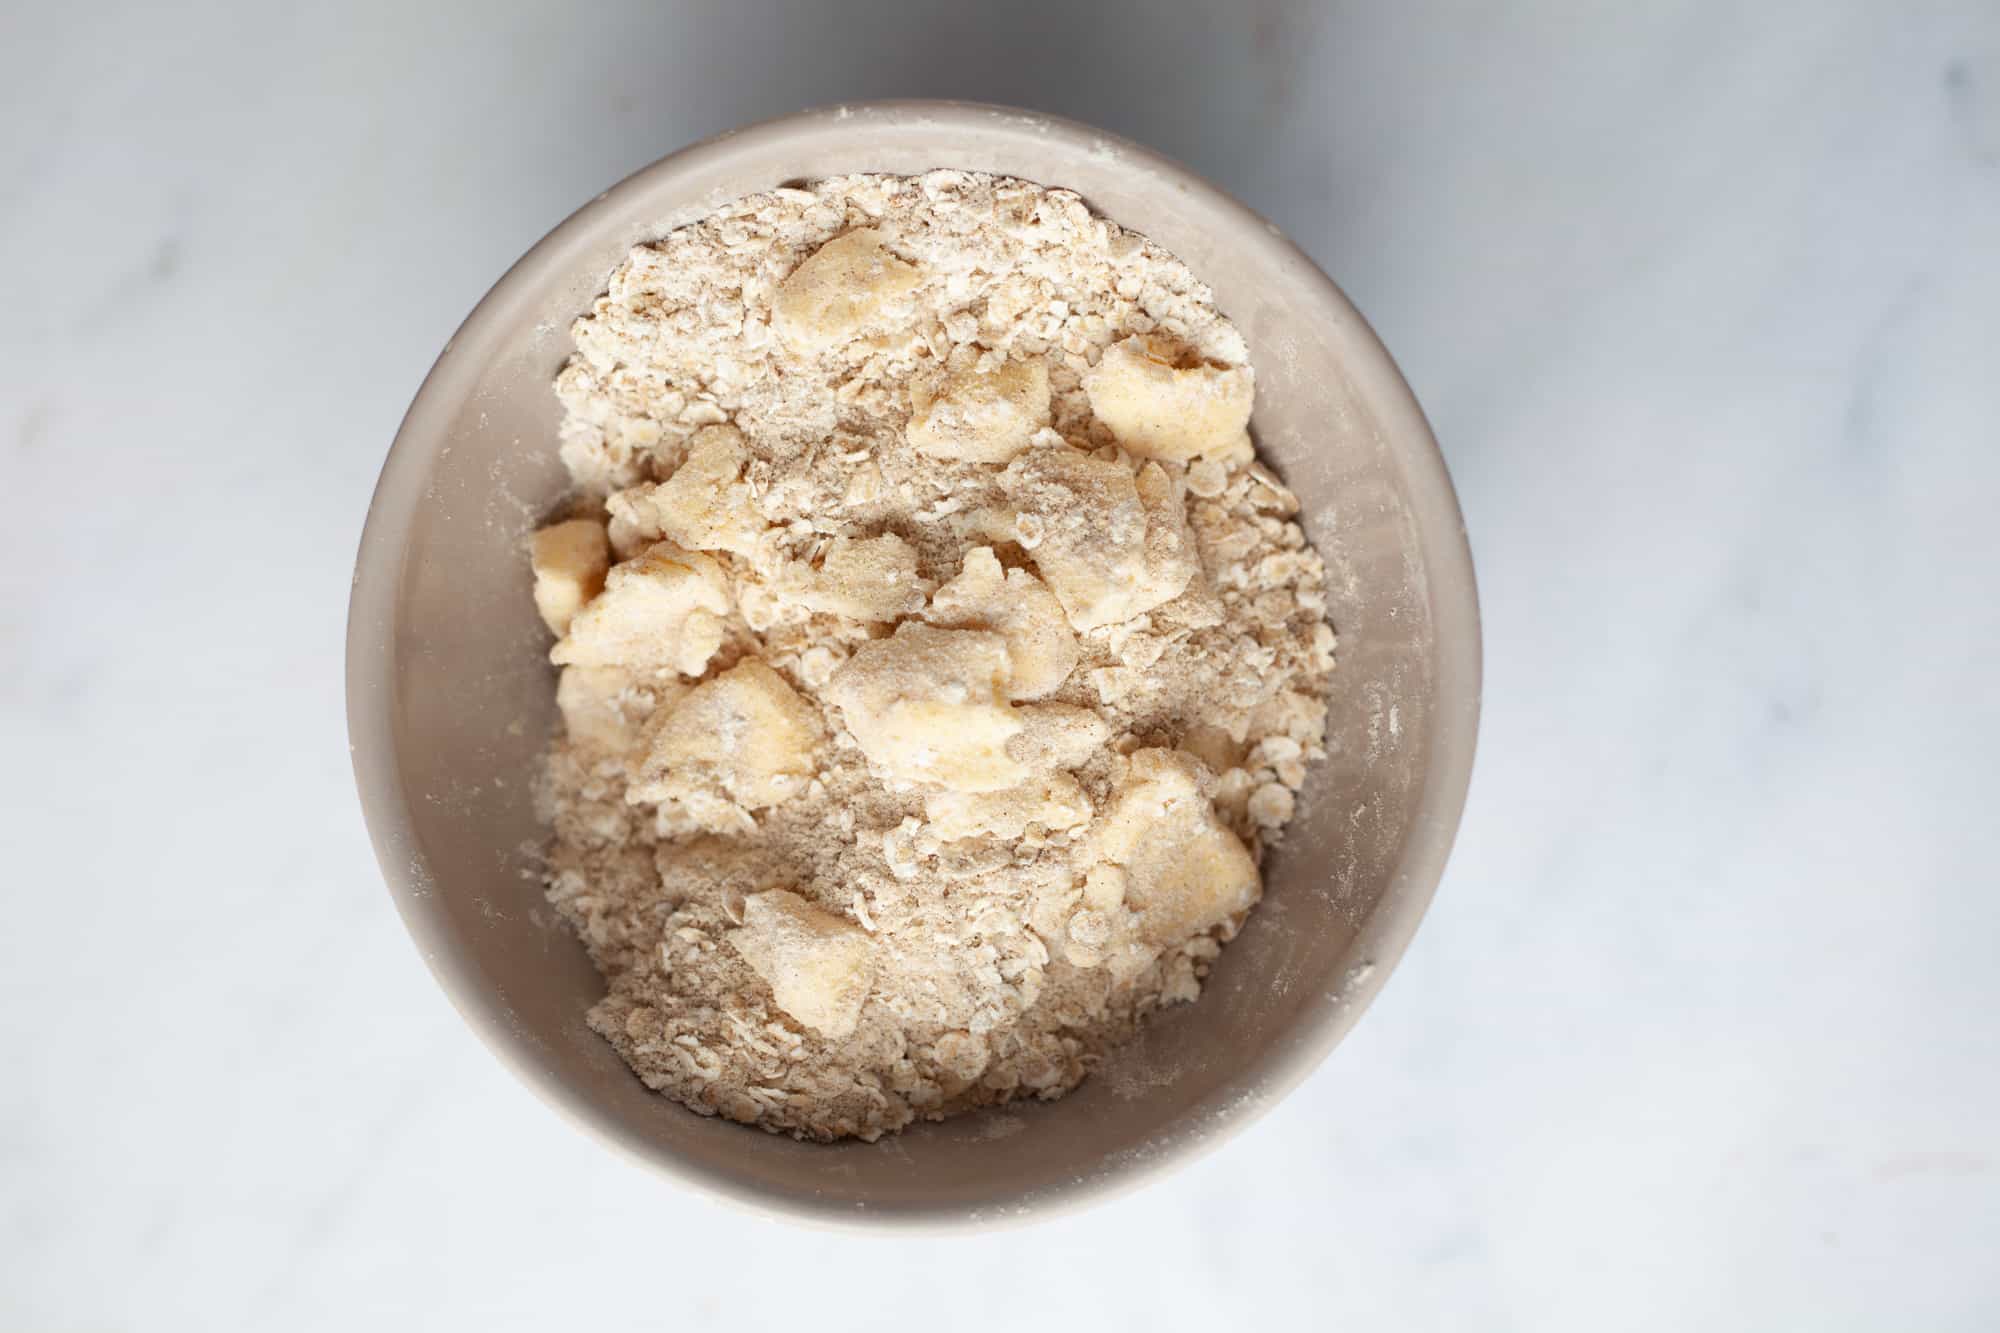
Seven: Use your fingers to mix together all the topping ingredients, then set to the side. Preheat your oven and line a baking tray with foil - that way if any juices bubble over you won't make a mess at the bottom of your oven.
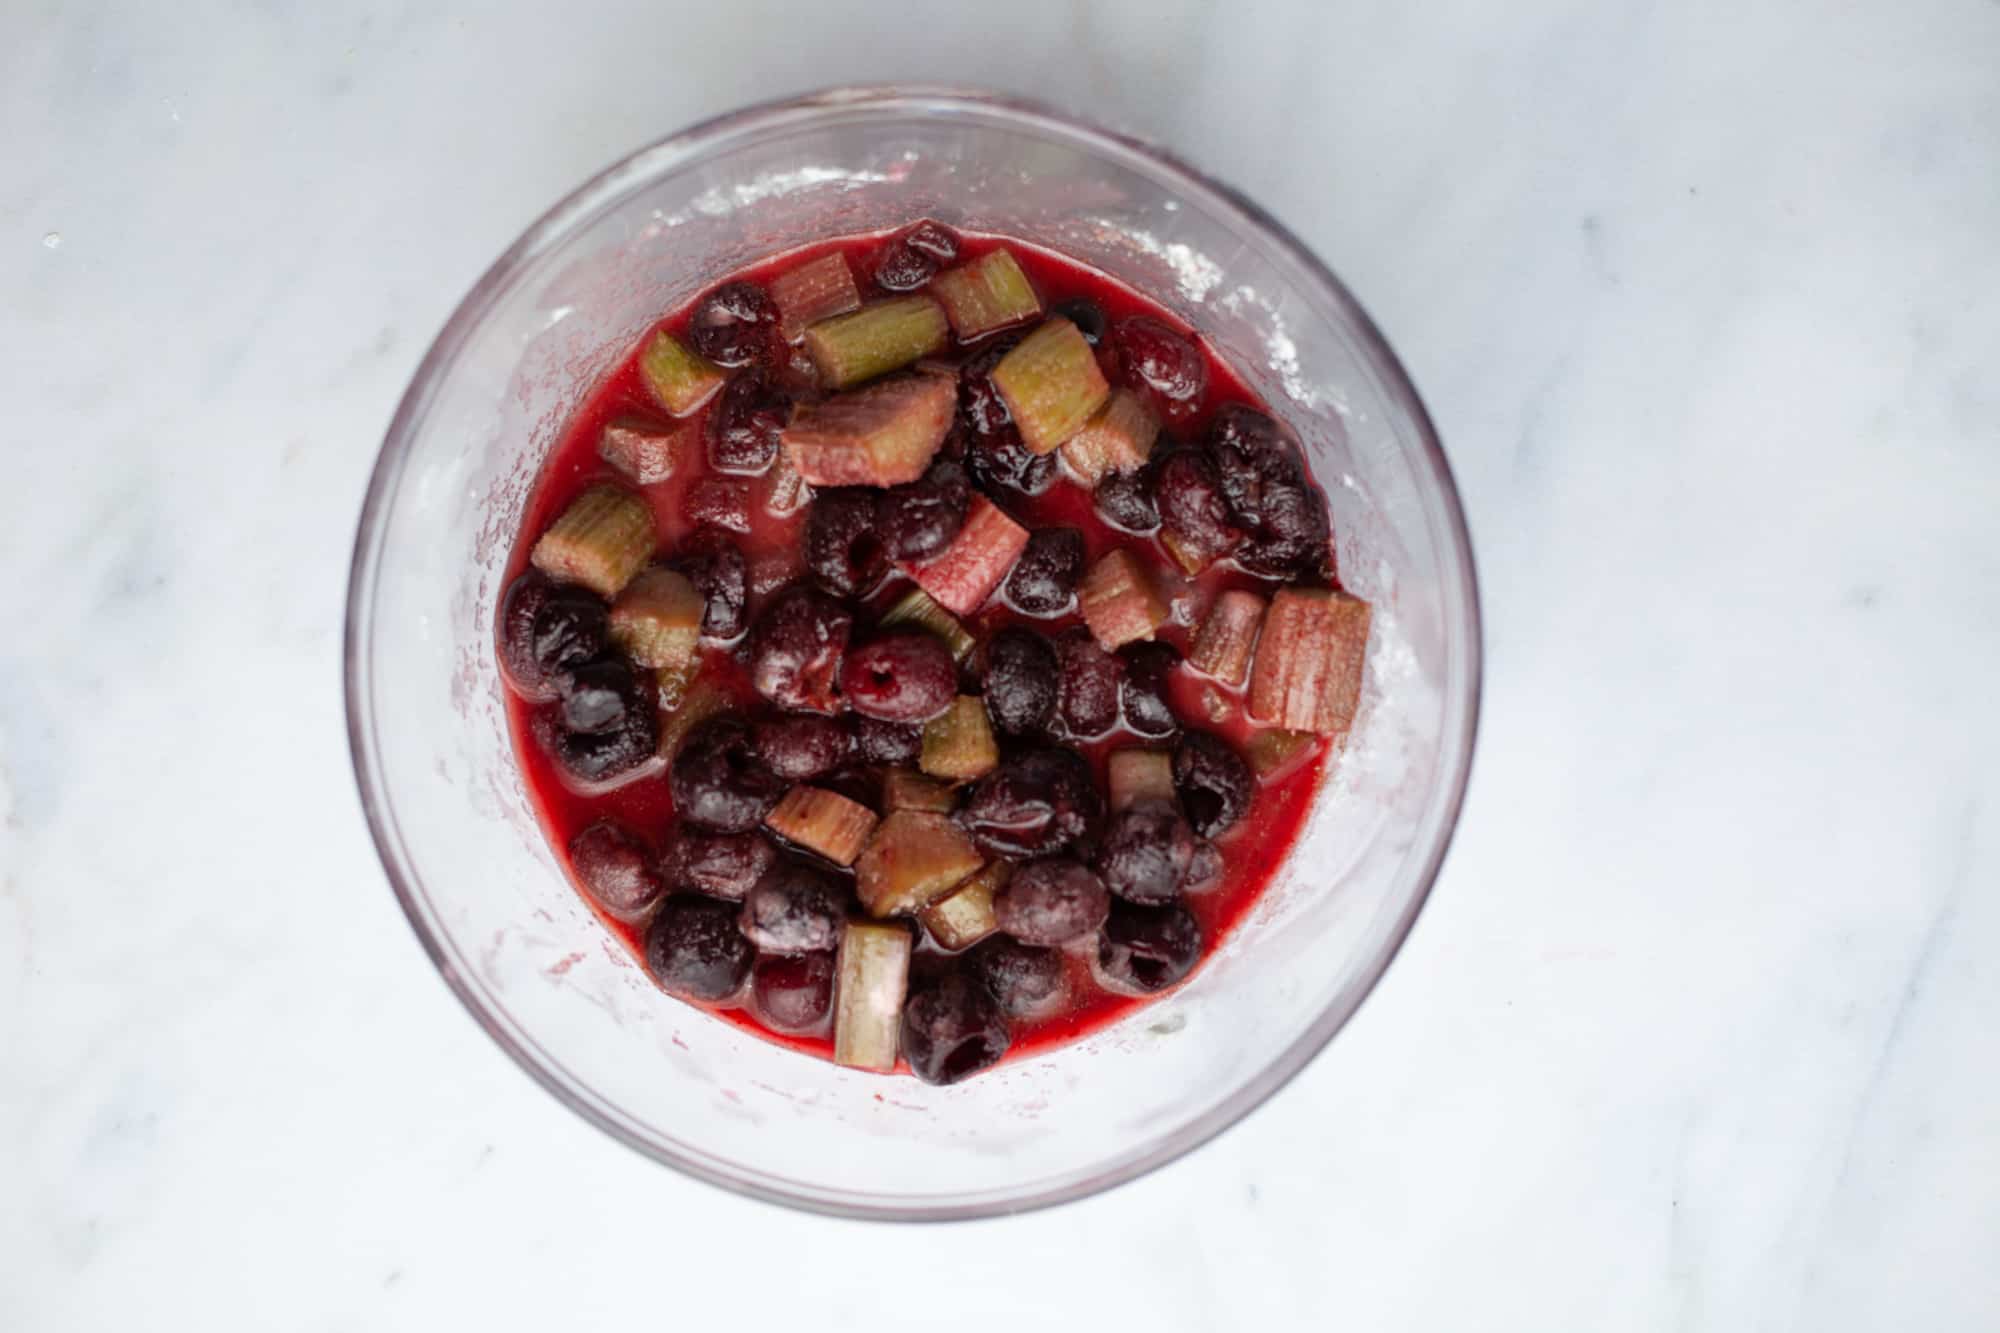
Eight: In a large bowl, mix together all of the filling ingredients. Let it sit for 10 minutes. Take your chilled pie dough out and pour the filling in. Sprinkle over your topping and bake!

Recipe Tips:
- When you're rolling your pie dough out, if you see any bits of melted butter just pop it back into the fridge for 15 minutes or so. If your pie dough isn't cold enough, you risk having the butter seep out of the crust in the first moments of baking. This would leave you with a very brittle crust. Just remember, always keep your pie crust very cold!
- You'll know your pie is done when you can see the juices bubbling!
- If part way through baking you notice the crust starts to brown too much, take some foil and place it all around the crust. This will stop it from burning.
- Make sure to let your pie cool down completely, at least a few hours, before slicing. Otherwise you risk slicing into it and all the juices will still be runny.
Frequently Asked Questions
Yes! I tested this recipe with fruit from my freezer and it worked great. I already had rhubarb prepped and frozen, then I had frozen sweet cherries. I took them out and let them thaw in the fridge for about 4 hours, then drained them from any excess liquid.
If you are brand new to baking pies, I would recommend a glass pie dish. Glass pie dishes are great for beginners as you're able to see if the bottom of the pie is fully cooked. If you've had some practice with pie baking, then I recommend using a metal pie dish which is what I used here.
Cover and store in the refrigerator for up to one week.
Other Pie Recipes:
Make sure to tag me on Instagram @alpineella and leave a review below if you’ve made this pie! If you want more baking ideas, you can follow me on Pinterest
Recipe

Cherry Rhubarb Pie
Equipment
- 9" pie tin
Ingredients
Pie Dough
- 1 ½ cups all purpose flour
- ½ teaspoon kosher salt
- 1 teaspoon cornstarch
- 10 tablespoon unsalted butter
- 1 teaspoon white wine vinegar
- ⅓ cup cold water
Cherry Rhubarb Pie Filling
- 3 cups cherries
- 3 cups thickly sliced rhubarb
- 1 teaspoon vanilla extract
- ¼ teaspoon almond extract
- 2 tablespoon lemon juice
- ⅓ cup cornstarch
- ½ teaspoon kosher salt
- 1 ⅓ cup sugar
- ¼ teaspoon ground cinnamon
Crumb Topping
- ½ cup rolled oats
- ⅓ cup all purpose flour
- ¼ cup light brown sugar
- ½ teaspoon kosher salt
- 4 tablespoon unsalted butter cold and cubed
- ¼ teaspoon ground cinnamon
Instructions
Make Pie Dough
- Mix together the flour, cornstarch and salt in a large bowl. Cut the butter into ½ inch cubes and place on a plate. Mix the water and vinegar together in a jug. Place everything in the fridge for at least 15 minutes.
- Place all the dry ingredients into the bowl of a stand mixer fitted with the paddle attachment. Add the butter and toss them in the flour, making sure they're completely covered in flour.
- Put the speed to low and mix together until the butter is the size of peas, about 2 minutes. If using your hands, mix together the butter and flour until the size of peas.
- With the mixer running on low, pour in the water/vinegar, until the mixture is wet enough - I didn't use all of the water and left about 1 tbsp. If using your hands, create a well in the center of the bowl and pour the water/vinegar there. Use your hands to toss the mixture together. You don't want it to be too wet or too dry.
- Place the dough onto a floured surface and use your hands to shape it into a disc. Cover in plastic wrap and chill for at least 1 hour.
- Preheat the oven to 400°F/200°C. Line a baking tray with foil to catch any bubbling juices.
- After 1 hour, roll the dough out on to a lightly floured surface until it is about 1 inch wider than your pie plate. Carefully place the dough on to your pie plate. Tuck the excess under and press it gently together to make your edges. Crimp the edges as you wish, I used a fork and gently pressed it along the sides. Chill for 15 minutes while you prepare the filling
Cherry Rhubarb Filling + Topping
- In a large bowl, mix together the cherries, sliced rhubarb and the remaining pie ingredients. Leave for 10 minutes.
- In a medium bowl, mix together all the crumb toppings until it resembles wet sand.
- Pour the filling into the pie plate and sprinkle over the topping. Chill for another 15 minutes.
- Place the pie plate on the baking sheet and bake for 55-60 minutes. Make sure the juices are bubbling, that's how you know it is ready.




Bex L
Made this for Thanksgiving and it was so good. Must admit that I cheated and used a frozen gf pie crust. Just didn’t want to figure out if gf flour would work. The filling was so very yummy. I added a sprinkle of clove to the crumble to give a more fall feel. Used frozen rhubarb from the garden and canned cherries from the farmers market. Everyone loved this pie and couldn’t believe it was homemade! Look forward to using this recipe again!
Pam Fuessel
I'm not a proficient pie maker at all. This turned out fantastic!!! Hubby loved it, even the crust. Pie wasn't runny, good sweet/tart combo, and crust was very good.
Ella
thanks so much for your review!