

Every year as it gets closer to Will's birthday I ask him what kind of cake he wants. And every year his answer is 'yellow cake'. Think of the boxed yellow cakes you saw as a kid, or had at someone's birthday party (where there would be a goodie bag. Why don't we do this as adults? One year as a kid someone was handing out tamagotchis. It BLEW my mind)
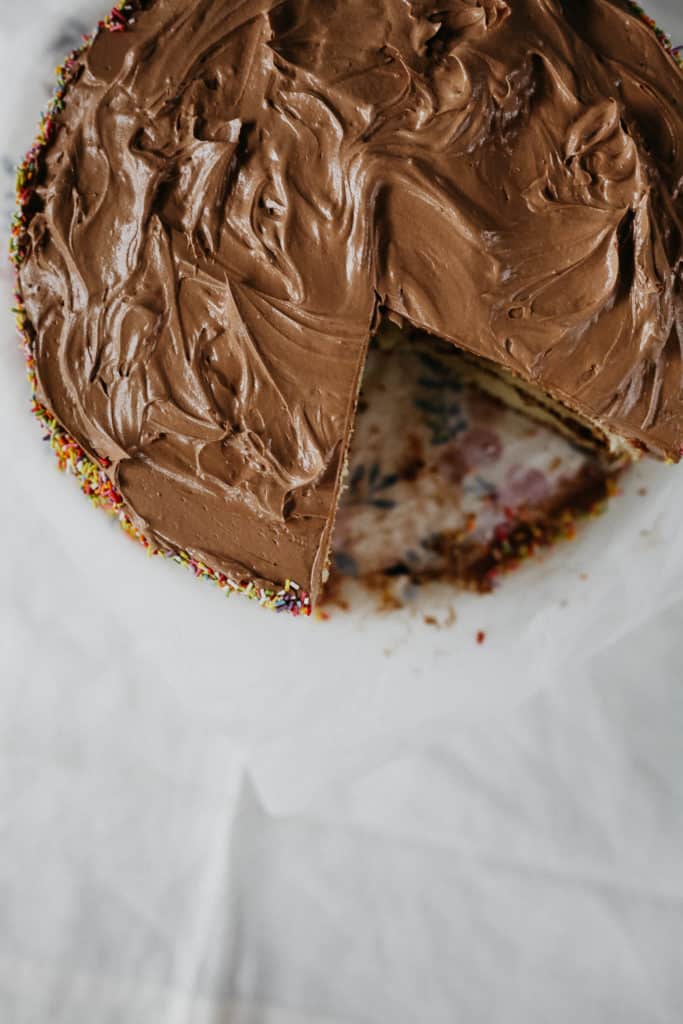
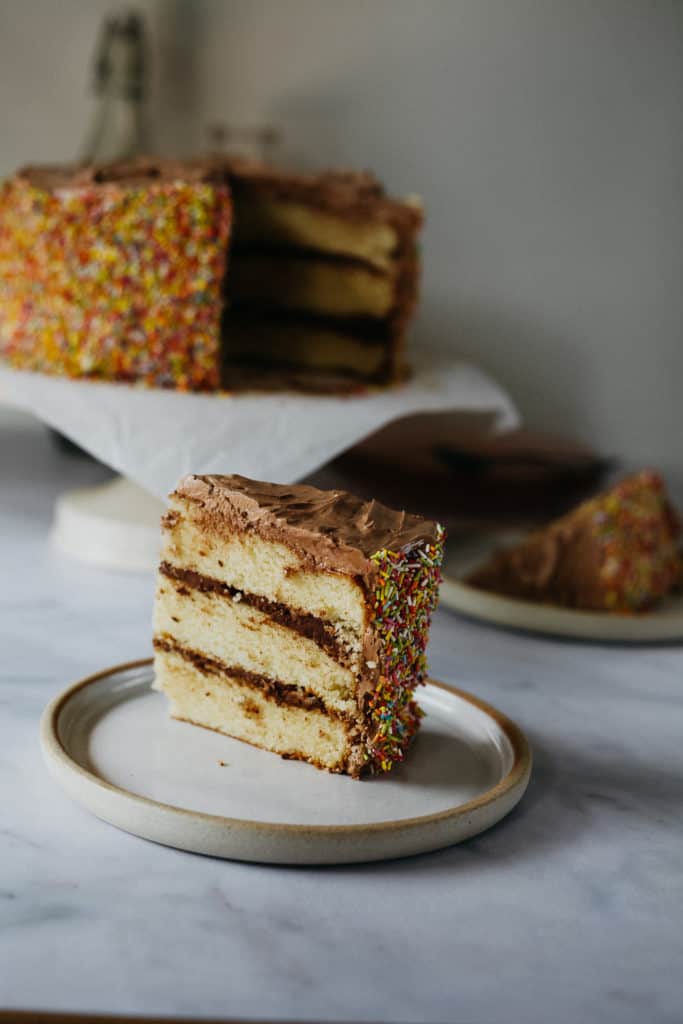
I had watched the Baking School videos from Bon Appetit when we first entered lockdown and loved the look of the classic yellow birthday cake with a chocolate ganache filling and sprinkles up the sides. Unfortunately the video doesn't give you the recipes, so here we are.
While trialling out different methods and recipes for the yellow cake I did briefly come to the conclusion that there is a reason why we have a box mix. Because the perfect yellow cake doesn't exist.
I wanted to try a few different methods of mixing the cake, with traditional creaming (beating the butter and sugar until fluffy and then adding the remaining ingredients) and reverse creaming (combining the butter with the dry ingredients to create a coarse sand and then adding the wet ingredients) to see which one gave me a more tender crumb. Newsflash - it was neither! *sobs while surrounded by empty butter wrapper*
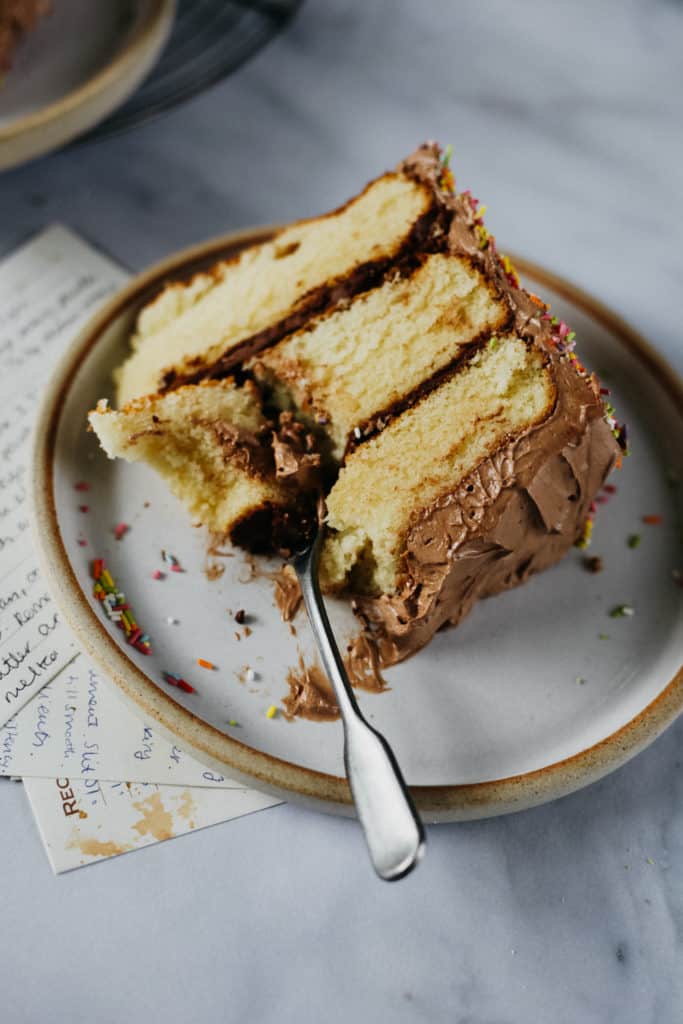
When I felt that all was failing I decided to check out the King Arthur Flour website. That morning I had gone there looking for a good buttermilk pancake recipe and it was literally (in a Chris Traeger voice) the best pancakes I have ever had. While perusing their yellow cake recipes I saw their version heated up the milk and added the butter into the saucepan, to melt the butter. I decided to give that a shot and huzzah, here is the most tender, moist yellow cake recipe I have yet to make!
Best of the Buttercreams
When I first started on this cake I hadn't realised how many types of frostings there were. I had always done the American buttercream, which is made by creaming butter and icing sugar. It is a really sweet option so sometimes it's better to use on cupcakes rather than a whole cake.
Swiss meringue buttercream (which is what I used here) uses a (wait for it) meringue base. Egg whites and sugar is heated above simmering water until it reaches a certain temperature, then whipped into soft peaks. Butter is then added as well as any other colours/flavourings you want.
Italian meringue buttercream is really similar to the Swiss version, except it uses an Italian meringue base. You're making a hot sugar syrup that you then add to the egg whites, then it is whipped into stiff peaks. Again, you add butter as well as any other flavours you want. I use this kind of buttercream when I want a marshmallowy frosting. It's also a good one if you want to take a torch to it to give a toasted effect!
Fillings!
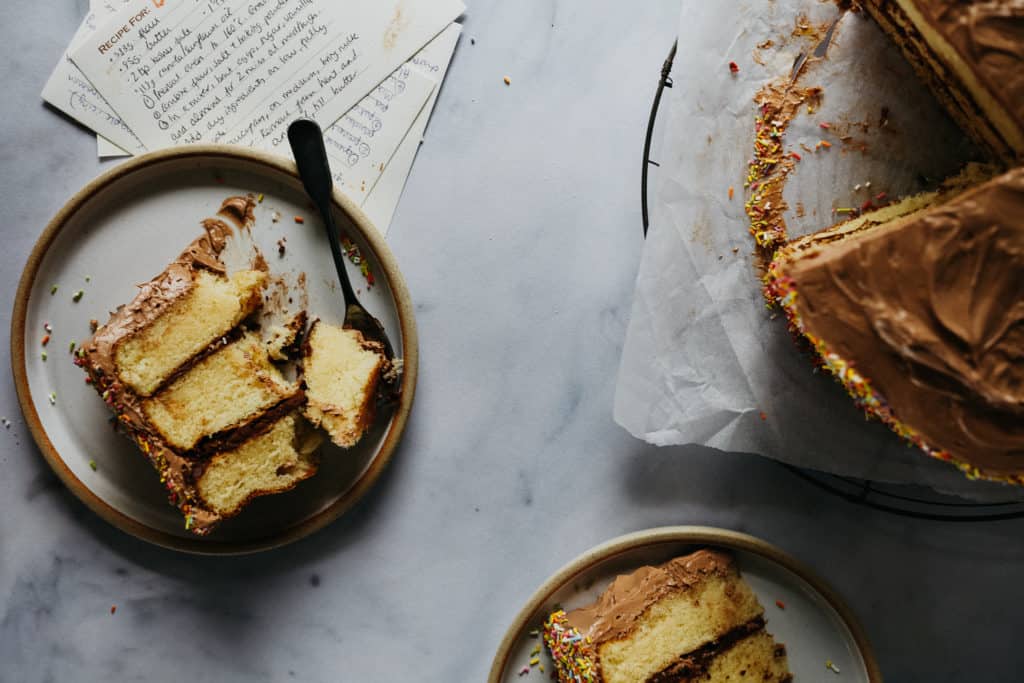
When I made a layer cake I would always use the same frosting for the filling as I used on the outside. During the wonderful Baking School videos I realised that some of my favourite cakes that I've had in real life (as in, not me making them in the kitchen) have had a different filling. Having a different filling makes all the difference, it gives a surprise to the person cutting into the cake!
I used a simple chocolate ganache for this filling, using a dark chocolate to cut the sweetness of the Swiss meringue buttercream and sprinkles. Think about other fillings you could do though, a dark chocolate cake with a cream and cherry filling, a white cake with a caramel coconut filling, a milk chocolate cake with a peanut butter filling - the fillings just give you so much room for activities!
Baking Tips
- Make sure all of your ingredients are at room temperature. If you forgot to take your eggs out of the fridge beforehand you can put them in a bowl of warm water for 5-10 minutes to bring them round to room temperature. When baking you want to make sure your ingredients are all at the same temperature.
- When putting your cake mix into your pans weigh them to make sure your layers are all even
- If your cakes come out domed, you can use a serrated knife to even up the top layer.
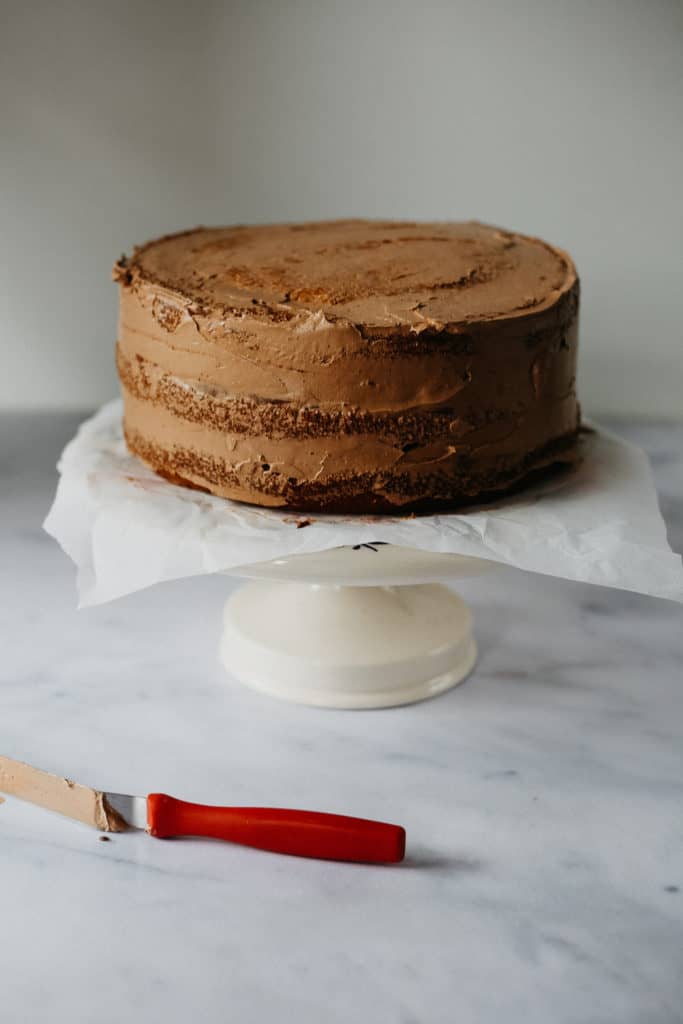
- Make sure your cakes are completely cool when you frost them. I tend to make layer cakes the night before the fillings and frostings, that way I know I won't have any runny frosting. I also always do a crumb coat!
Recipe
Yellow Cake with Swiss Meringue Buttercream
Equipment
- 3 9" cake pans
Ingredients
Yellow Cake
- 383 grams cake flour or all-purpose flour
- 85 grams unsalted butter
- 340 grams milk
- 6 eggs
- 113 grams sunflower oil
- 595 grams caster sugar
- 1 tablespoon baking powder
- 2 teaspoon kosher salt 1 teaspoon fine sea salt if you don't have kosher
- 1 ½ tablespoon vanilla extract
- ¼ teaspoon almond extract
Chocolate Ganache
- 113 grams dark chocolate
- 120 grams double cream
- 28 grams unsalted butter
- ⅛ teaspoon kosher salt
Chocolate Swiss Meringue Buttercream
- 225 grams granulated sugar
- 135 grams egg whites about 5 eggs
- 300 grams unsalted butter cut into pieces
- ½ teaspoon kosher salt ¼ teaspoon if you have fine sea salt
- ¼ teaspoon cream of tartar
- 156 grams dark chocolate
Instructions
Yellow Cake
- Preheat oven to 165°C. Grease 3 9"cake pans and line the bottom with parchment paper. Grease the top of the parchment paper too.
- In a small bowl, mix the flour, salt and baking powder. Set aside.
- In a larger bowl, using a stand mixer or handheld electric mixer, beat the eggs, vanilla, sugar and almond extract until thick and gold, about 2-3 minutes at medium-high speed.
- Add the dry ingredients to the large bowl and mix just enough to combine.
- In a small saucepan over medium heat, simmer the milk. Once it has started to simmer remove from heat and add the oil and butter. Stir until all the butter has melted.
- Turn the mixer on a low speed, and slowly pour in the milk mixture. Combine until the mixture is smooth. Compared to other yellow cake batters, this one is much more fluid - but that isn't a bad thing!
- Divide the batter evenly among the three pans. Bake the cakes for 35-40 minutes, you'll know they're ready when a toothpick inserted in the centre comes out clean. Leave to cool for 15 minutes before taking them out of their pans, and leave to cool completely on a wire rack.
- Once the cakes are completely cool, I wrap each one in clingfilm and keep in the fridge to frost the next day.
Chocolate Ganache
- Place chocolate in a medium bowl. In a small saucepan, bring the double cream and salt to a simmer over medium-low heat. Pour the cream mixture over the chocolate and let it sit for 10 minutes. Whisk the mixture until the chocolate is completely melted and glossy. Let it cool, for 45-60 minutes.
- Using a mixer on medium speed, beat the butter in the ganache until the mixture is light and has turned matte, about 3 minutes.
Chocolate Swiss Meringue Buttercream
- Fill a medium saucepan with a few inches of water, bring to a gentle simmer. Break the chocolate into small pieces and place in a heatproof bowl. Carefully place the bowl in the saucepan, but don't let the bowl touch the water! Stir occasionally while the chocolate melts. Once you have just a few chunks left, take it off of the heat and whisk the mixture so all of the chocolate melts. Leave to cool completely to room temperature.
- Keep the medium saucepan with the water simmering. Combine the sugar, salt, cream of tartar and egg whites in a large mixing bowl (if you have a stand mixer, you'll want to use that bowl), set the bowl above the simmering water. Heat, whisking constantly, until the sugar dissolves. The mixture will go from a yellowy, granular substance to white and opaque, this takes about 5 minutes. Using a thermometer, it should read 115°F. If you don't have a thermometer, when you pull the whisk up feel the mix with your fingers - if it is no longer grainy then it is ready!
- Put the bowl into your stand mixer with a whisk attachment and beat on medium-high until you get a stiff, glossy meringue - about 8-10 minutes. You'll want to be beating the mixture until the bowl is completely cool.
- Add butter one piece at a time, allowing it to incorporate fully, while still at medium-high speed. This should take 8-12 minutes. When you've added all the butter and the mixture looks smooth, slowly pour in the chocolate. Give it one final mix using a rubber spatula to make sure all of the chocolate is incorporated.
Unsure baker
This cake looks so amazing I think I'm going to have to give it a go!! How does it look so spongy and soft in a photo?!